Browse the glossary using this index

A | B | C | D | E | F | G | H | I | J | K | L | M | N | O | P | Q | R | S | T | U | V | W | X | Y | Z | ALL

S

Bethany Emory

Searching for Students

by Bethany Emory - Tuesday, June 10, 2025, 3:49 PM
 
Watermark Student Success & Engagement \ Aviso allows full time faculty and staff the opportunity to check the progress of all students enrolled at SCC. 
Step 1

Log into MySCC, then click the Aviso icon (under Resources)

Aviso icon
Step 2

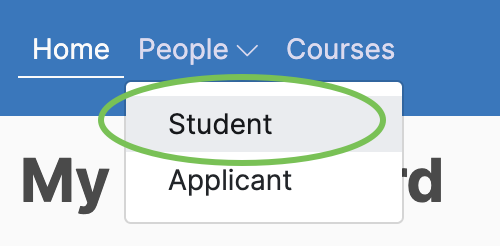
Click People then Student in the top blue navigation bar.

Select People then Student
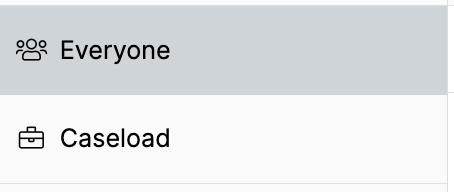
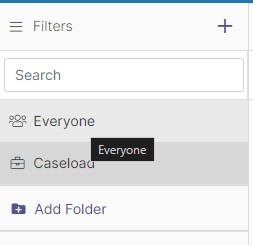
Step 3 In the left side of the screen you can choose if you want to search Everyone in the database, or only those assigned to you as an Advisees (otherwise known as your Caseload screenshot of student name typed in with blue outline around options and filter
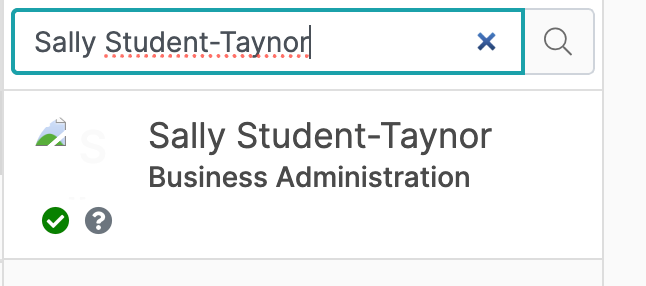
Step 4 In the search bar, type in the name or Colleague ID # of the student you wish to locate, then click the Magnifying Glass / Search Icon. screenshot of student name typed in with blue outline around options and filter


Questions? Please submit a Help Ticket to SCC E-Learning (under "Select Type of Help," choose "Moodle Assistance")


Matt Litchford

Sending a Text to Your Class Using Watermark \ Aviso

by Matt Litchford - Thursday, July 9, 2026, 8:43 AM
 

Messages in Watermark \ Aviso can be sent as emails or text messages. 

Step 1

Log into MySCC, then click the Aviso icon (under Resources)

Aviso icon, a cartoon loudspeaker.

Step 2

Click on the courses tab to display your class roster

Courses link, white text on blue background.


Step 3

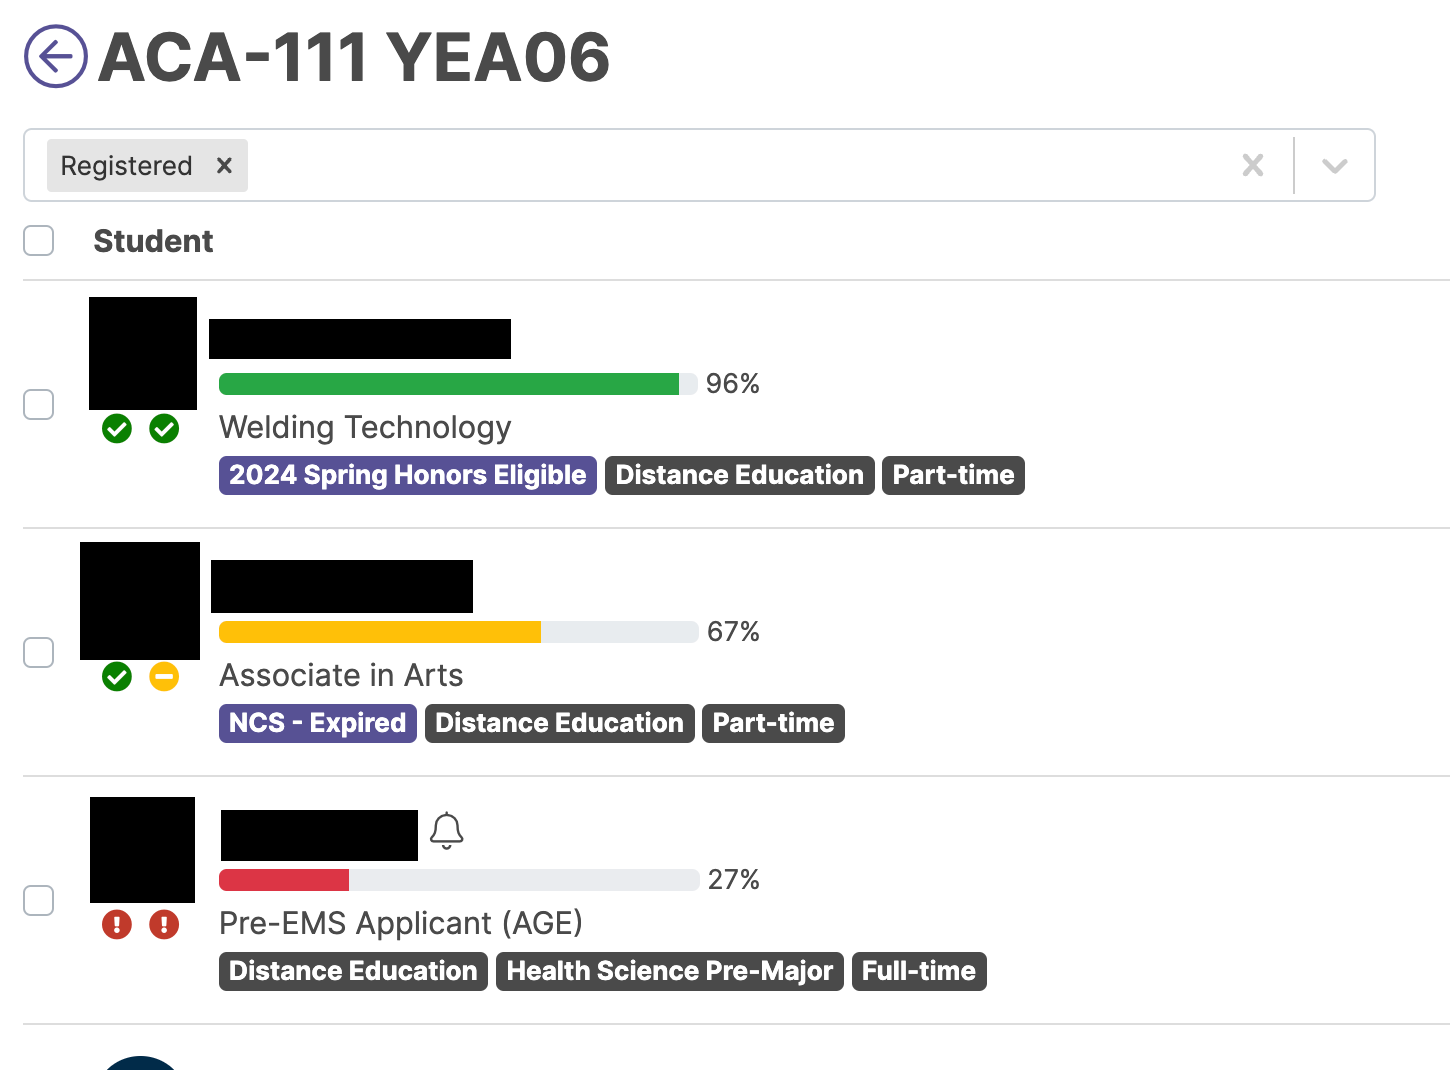
Select the whole class by clicking the box at the top, or select individual students by clicking the box next to their name.

Registered student list with names and images blacked out. Lists program and status.


Step 4

Click message at the top of the screen

Running banner for student profile with message highlighted in blue


Step 5

Choose Text Message in the message screen

Communication tabs with Text Message highlighted in blue.

Step 6

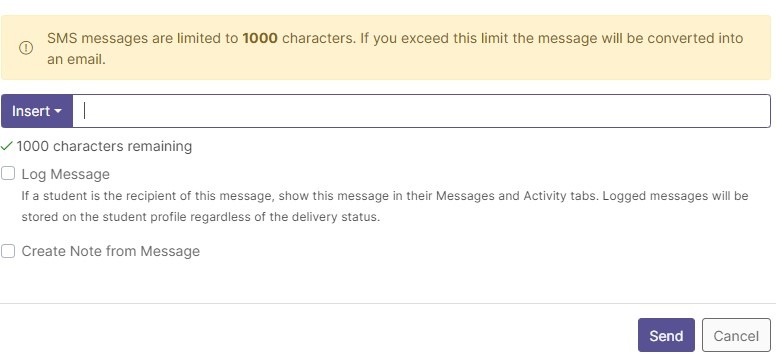
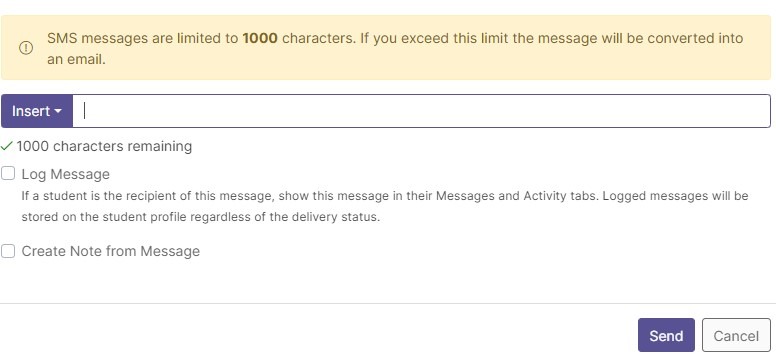
Type your message of 1000 characters or less, then click send.  

Note if your message includes more than 1000 characters, it will be sent as an email.  

Message input text box with log message and create note options.


Questions? Please submit a Help Ticket to SCC E-Learning (under "Select Type of Help," choose "Moodle Assistance")


Matt Litchford

Setting up Watermark Texting

by Matt Litchford - Thursday, July 9, 2026, 8:46 AM
 

Before sending a text to students, you will need to configure a phone number.  Follow the steps in this tutorial before sending your first text.  These steps only need to be completed once.


Step 1

Log into MySCC, then click the Watermark  icon (under Resources) 

blobid0.png

Step 2

Click Student in the top blue navigation bar.

Home, Student and Courses navigation links with Student highlighted.


Step 3

In the left side of the screen choose Everyone 

Search filters by everyone, caseload, and an add folder option


Step 4

In the search bar, type in the name:


Sally Student-Taynor, 


or id:  fc3360fd


then click the Magnifying Glass / Search Icon.

blobid3.png


Step 5

Once the student profile page appears, click the Message icon in the upper menu.

Running banner for student profile with message highlighted in blue

Step 6

A message pop-up window will appear. Click Text Message.  

Communication tabs with Text Message highlighted in blue.

Step 7

Type in “Test” and click Send.  (You should receive a student confirmation text message within 24 hours to show your account has been set up.  

Message input text box with log message and create note options.

Step 8

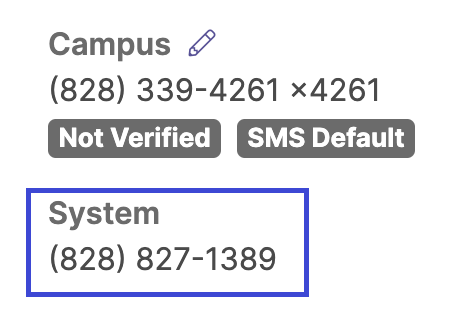
Once you have sent your first text through the system, you will see a new phone number in your Profile.  


This phone can be shared with your students (in syllabus etc).  


Note, students can only send texts to this number after they have received a text from it.  

Campus and System numbers, with the system number highlighted in a blue box


Questions? Please submit a Help Ticket to SCC E-Learning (under "Select Type of Help," choose "Moodle Assistance")


Accessibility

Background Colour Background Colour

Font Face Font Face

Font Kerning Font Kerning

Font Size Font Size

1

Image Visibility Image Visibility

Letter Spacing Letter Spacing

0

Line Height Line Height

1.2

Link Highlight Link Highlight

Text Colour Text Colour