
Moodle Help
Navigating the Glossary
At the top of the page, you’ll see several ways to browse:
-
Search Bar: A quick way to find specific terms. Enter a keyword (such as “Grades” or “Assignments”) and press Enter. This is often the quickest way to locate the information you need.
-
Categories: Select a category to see all tutorials surrounding a particular topic.
-
Alphabetical (A, B, C…): Click a letter to jump to entries beginning with that letter.
-
All: View the entire glossary on a single page.
Key Features
-
Bolded Keywords: Each glossary entry begins with a bolded term (like “MyCourses” or “Messages”), followed by a clear explanation of its function within Moodle.
-
Linked Terms: Many entries include links to related terms, allowing you to explore how different parts of Moodle connect.
A | B | C | D | E | F | G | H | I | J | K | L | M | N | O | P | Q | R | S | T | U | V | W | X | Y | Z | ALL
R |
|---|
Recycle BinIf you accidentally delete an activity or resource, don't worry. You can restore any activities or resources that you accidentally delete. The course Recycle bin stores the activities and resources you deleted for 14 days before permanently deleting from the course.
| ||||||
Respondus - Enabling Proctoring for a Quiz or ExamRespondus LockDown Browser is a custom browser that locks down the testing environment within a learning management system. Important Note: If you do not see the Respondus block, contact E-Learning at elearning@southwesterncc.edu to have it added to your course. We highly recommend adding in a sample ungraded quiz requiring LockDown browser so students have an opportunity to test the software prior to a higher-stakes assessment.
| ||||||||||||||||||||||||
Restrict Access SettingsThe restrict access feature enables teachers to restrict the availability of any activity or even a course section according to certain conditions such as dates, grade obtained, group, or activity completion.
| |||||||||||||||||||||
S |
|---|
Sections or Topics - Adding NewThe Add a Topic option appears only at the bottom of your course.
| |||||||||


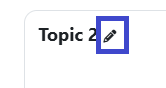
Sections or Topics - RenamingThe Add a Topic option appears only at the bottom of your course.
| ||||||
Self-Service - Preferred NameThis tutorial describes how to add a "preferred name" to your MySCC Self-Service profile. This name will appear in your Moodle profile and will be displayed instead of the name in the "first name" field. Note: please do not enter your last name.
| ||||||||||||
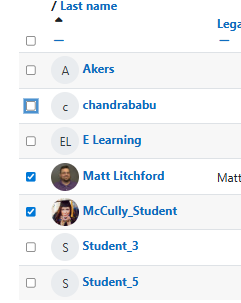
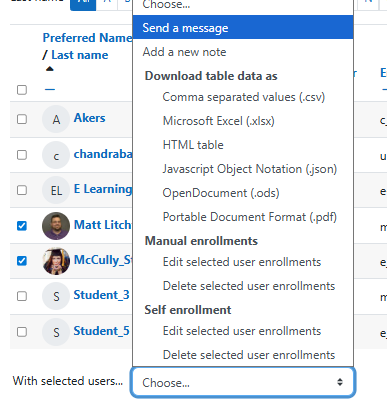
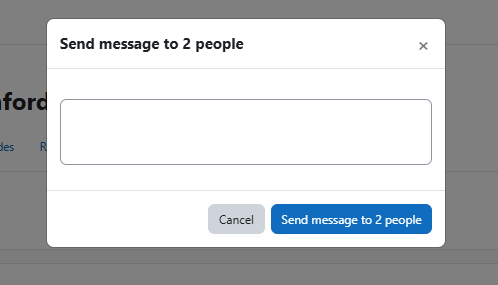
Sending Messages to Students via MoodleInstructors can send a group message to students via the Moodle messaging system. Messages will generate a notification in Moodle and an email that will go to students' SCC email accounts. Most of the time, putting in an announcement should be sufficient for communicating with your class; however, if you wish to message only specific groups of students, sending a message may be your preferred method. Be aware that you will not receive a copy of the message, so if you prefer to have a copy, you will want to email students from your SCC email instead.
| ||||||||||||

Syllabus - CopyingThis tutorial will walk you through how to make copy materials from one of your concourse syllabi to another. Begin the process by launching the link to your syllabus from Moodle.
| ||||||||||||||||||


Syllabus - EditingThis tutorial will walk you through how to make common edits in your concourse syllabus. Begin the process by launching the link to your syllabus from Moodle.
| ||||||||||||||||||


