
Using Moodle
This guide's is designed show you how to get around Moodle. Think of it like your personal cheat sheet for finding stuff and getting things done in your online classes.
Finding What You Need:
At the top of the page, you'll find ways to browse:
- Alphabetical: (A, B, C...): Click a letter to jump to terms starting with that letter.
- All: See every single term on one long page.
- Search Bar: This is your best friend! Just type in what you're looking for (like "Grades" or "Assignments") and hit Enter.
- Key Words: Every entry has a bolded word (like "MyCourses" or "Messages") and a clear explanation of what it is and what it does in Moodle.
- Helpful Links: You'll often see blue, underlined words inside the definitions. These are links to other terms in the glossary. Click 'em! It's a great way to see how different parts of Moodle connect.
Quick Tips for Making It Easier:
- Use that search bar! It's the fastest way to get answers.
Put it into practice. The more you actually do what the glossary says, the better you'll understand Moodle.
Come back to it. Moodle has a lot going on. If you ever forget how something works, just come back here to review
A | B | C | D | E | F | G | H | I | J | K | L | M | N | O | P | Q | R | S | T | U | V | W | X | Y | Z | ALL
A |
|---|
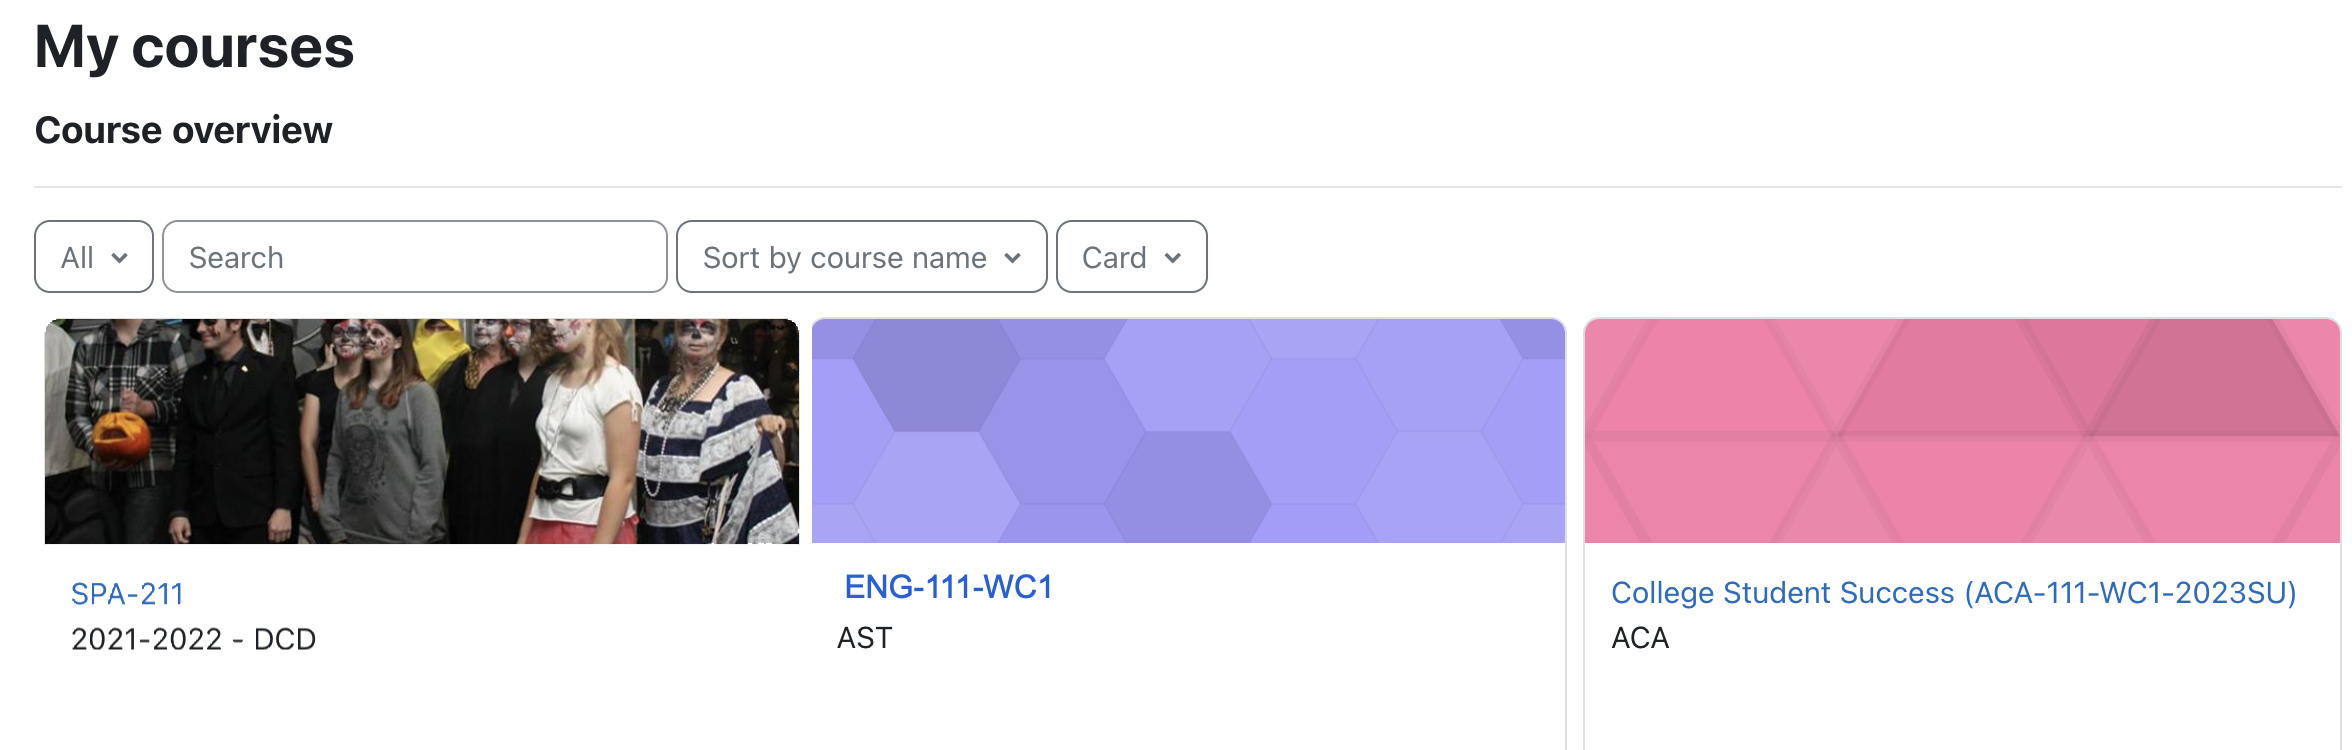
Accessing Your Courses | |||||||||||||||||
|---|---|---|---|---|---|---|---|---|---|---|---|---|---|---|---|---|---|
Accessing Your Moodle CourseIn this tutorial, you will learn the basics of getting around your Moodle courses. Click here for a video of this tutorial.
| |||||||||||||||||


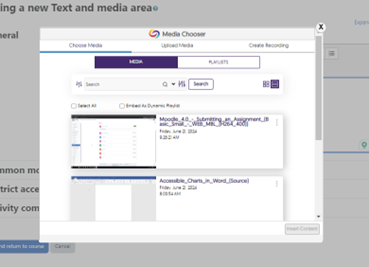
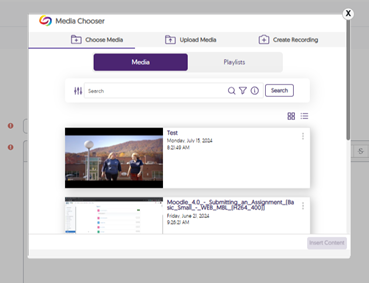
Assignment - Adding a Video File From Your Device to an Assignment | |||||||||||||||||||||||
|---|---|---|---|---|---|---|---|---|---|---|---|---|---|---|---|---|---|---|---|---|---|---|---|
This tutorial shows you how to add a video to an assignment submission. Please note: To do this, your instructor must set the submission settings on the assignment to allow for a video submission. Below you'll find links to the other video upload tutorials.
| |||||||||||||||||||||||


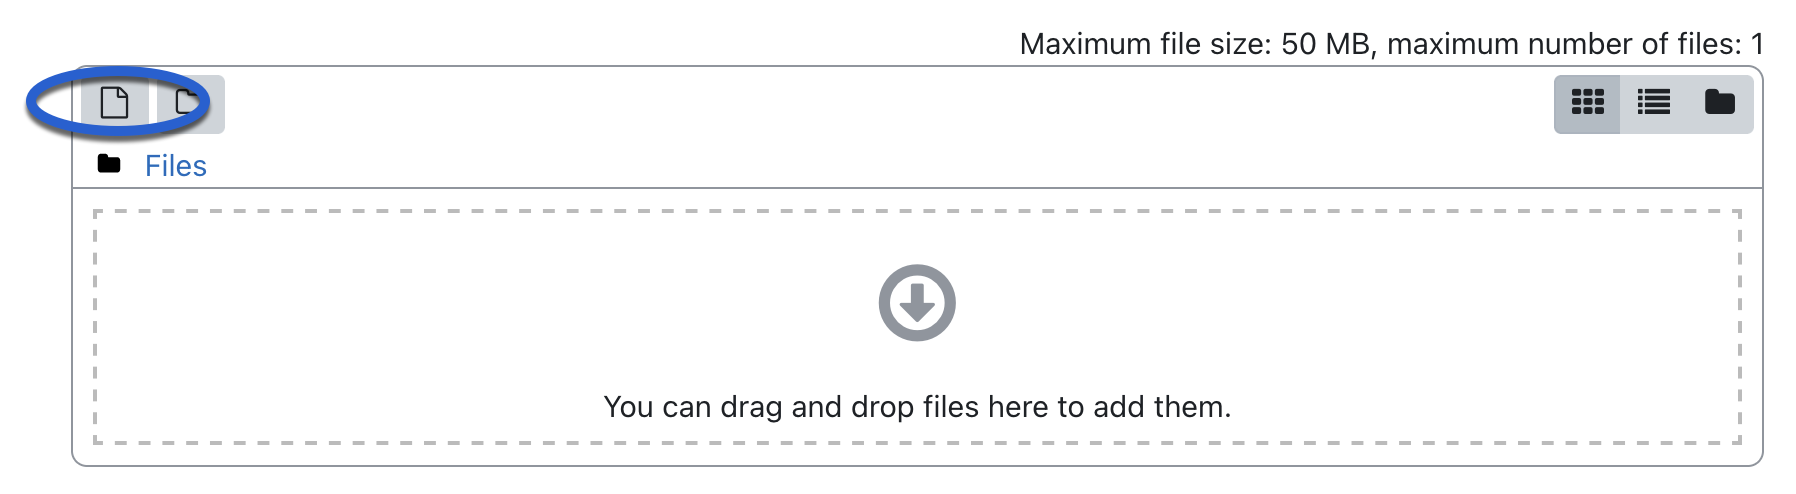
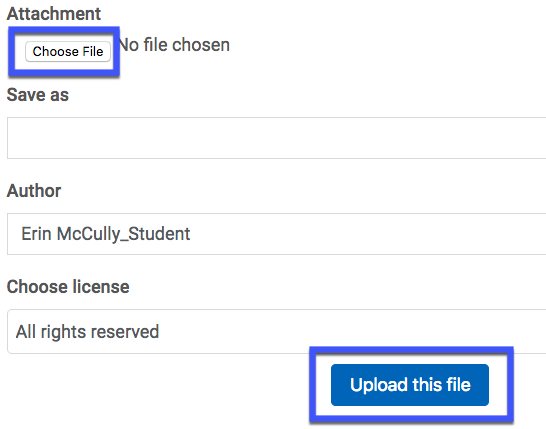
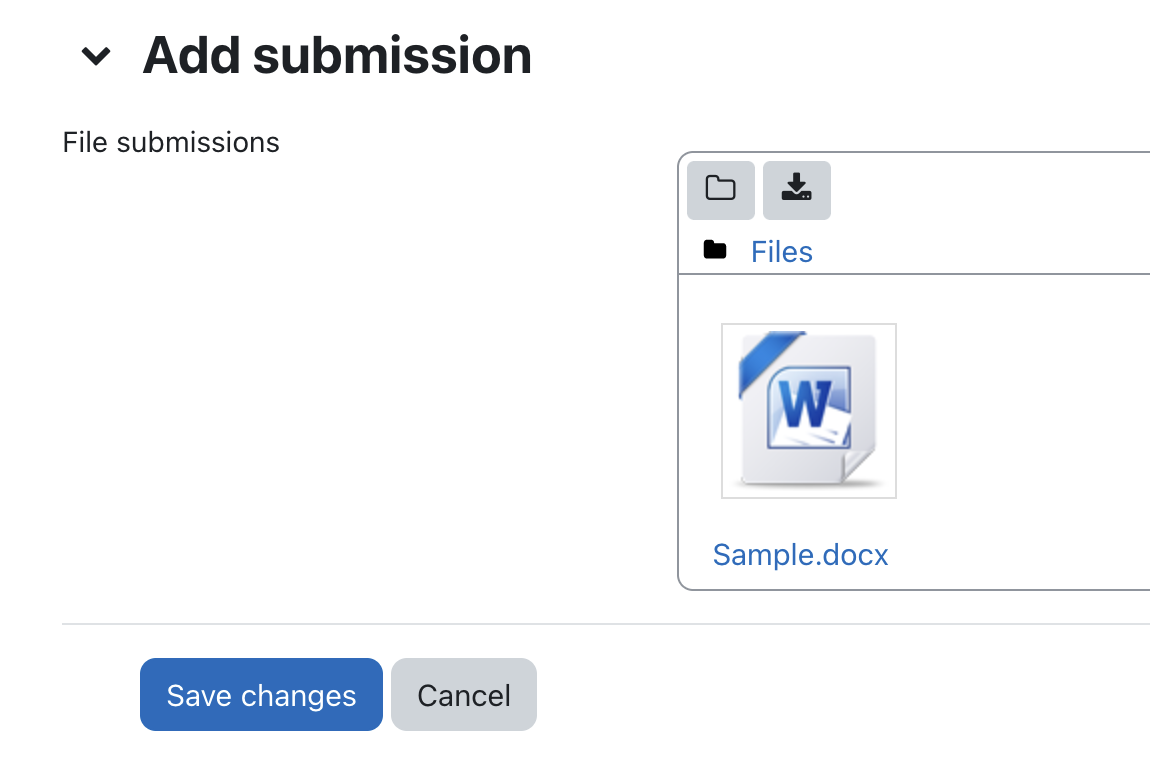
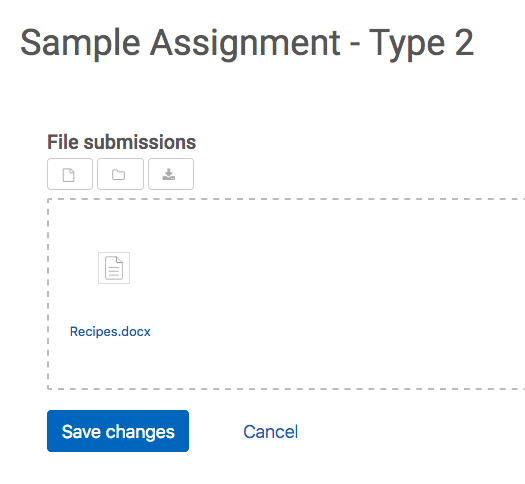
Assignment - Submitting an Assignment | |||||||||||||||||||||||
|---|---|---|---|---|---|---|---|---|---|---|---|---|---|---|---|---|---|---|---|---|---|---|---|
Submitting an Assignment This tutorial shows you how to submit an assignment in Moodle.
| |||||||||||||||||||||||


C |
|---|
Changing the Read&Write Toolbar Settings | |||||||||||||||||
|---|---|---|---|---|---|---|---|---|---|---|---|---|---|---|---|---|---|
Changing the Read&Write Toolbar SettingsIn this tutorial, you will learn how to change the read-aloud settings of the Read&Write Tool.
| |||||||||||||||||


F |
|---|
Forums - Adding a Video to a Discussion Forum Post | ||||||||||||||||||||
|---|---|---|---|---|---|---|---|---|---|---|---|---|---|---|---|---|---|---|---|---|
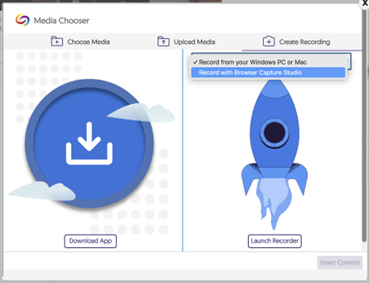
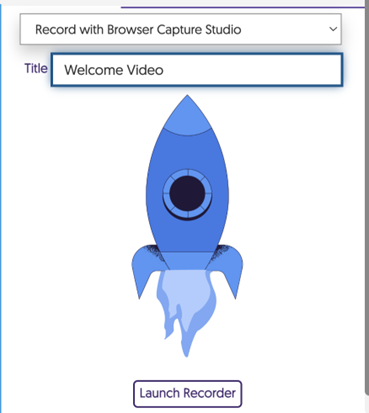
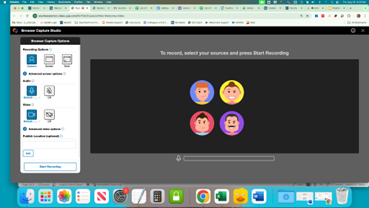
This tutorial shows you how to create a discussion forum post including a video. Click the Video Icon to either upload a video you have recorded or record a video using your computer's webcam and microphone. (If you do not have one of these devices they can be borrowed from the Holt Library).
| ||||||||||||||||||||


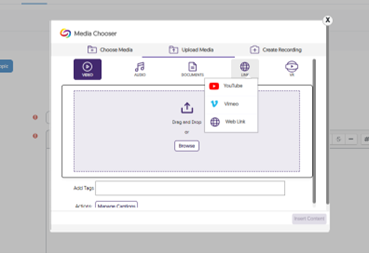
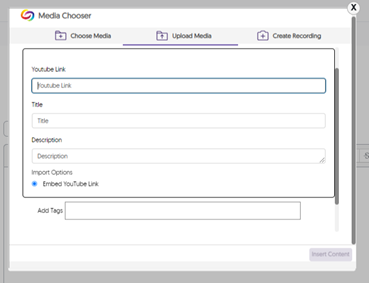
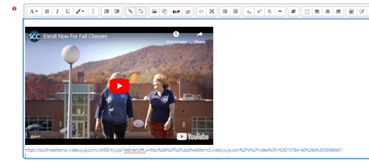
Forums - Adding a YouTube Video to a Forum discussion | ||||||||||||||||||||||||||
|---|---|---|---|---|---|---|---|---|---|---|---|---|---|---|---|---|---|---|---|---|---|---|---|---|---|---|
This tutorial shows you how to add a YouTube video to an assignment submission. Please note: To do this, your instructor must set the submission settings on the assignment to allow for a video submission.
| ||||||||||||||||||||||||||


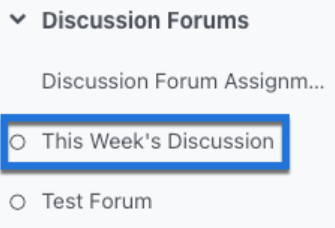
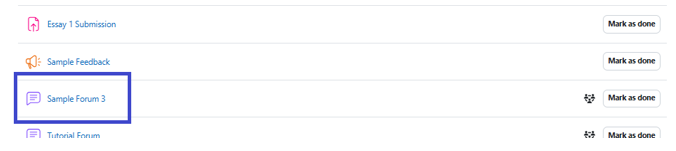
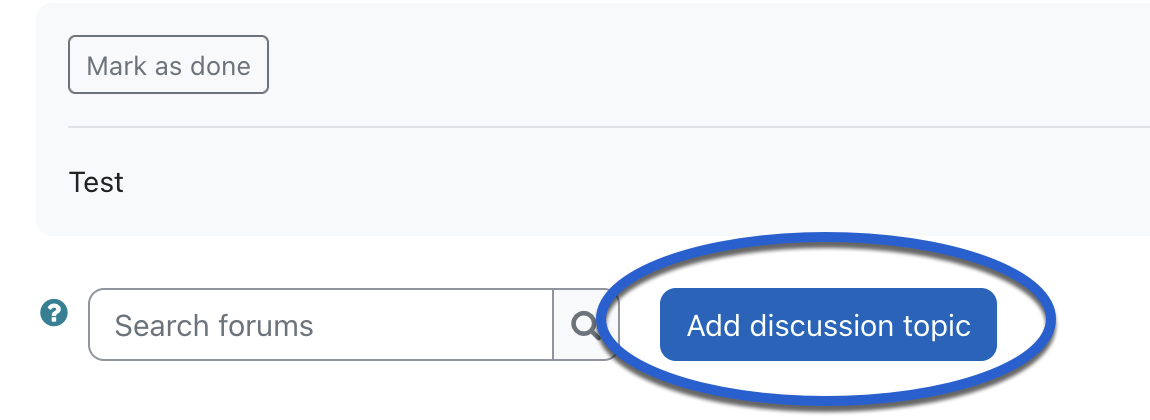
Forums - Creating a Discussion Forum Post | |||||||||||||||||
|---|---|---|---|---|---|---|---|---|---|---|---|---|---|---|---|---|---|
This tutorial shows you how to create a discussion forum post, including how to add images and attachments. Please also note that there is a 15-minute delay between when you submit your post before it displays on the forum page. You can edit your post during this delay if needed.
| |||||||||||||||||


Forums - Email Notification Preferences | |||||||||||
|---|---|---|---|---|---|---|---|---|---|---|---|
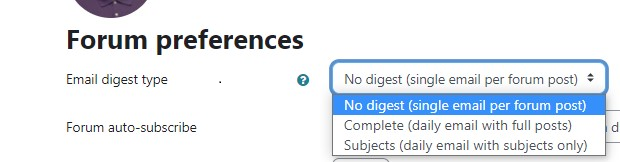
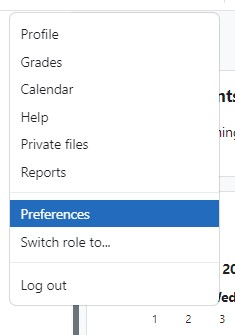
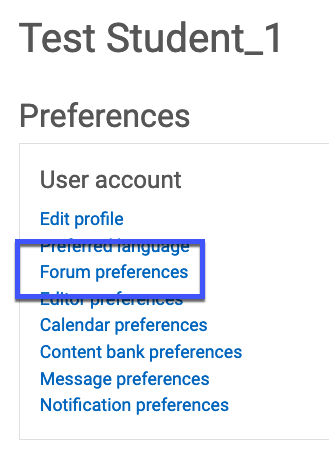
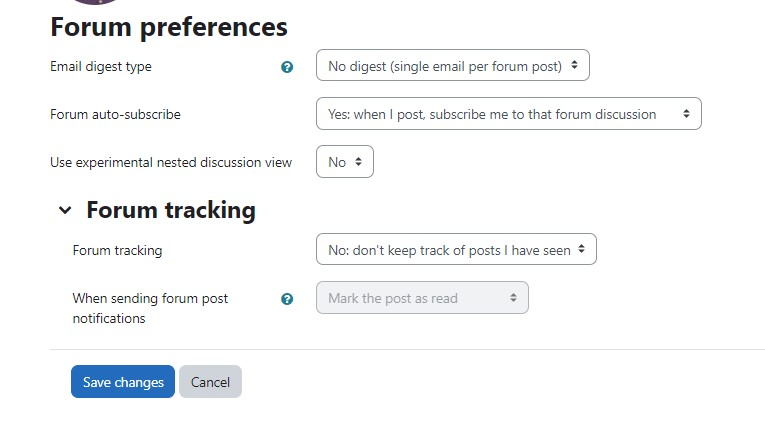
Forum Email Notification PreferencesThis tutorial shows you how to update your email notification preferences for forums you're subscribed to in a course. This tutorial shows you how to change from the default setting of receiving an email each time someone posts to a forum to which you are subscribed to a new setting of receiving an email digest (one email per day) of the posts. (If you are receiving digests and wish to receive individual posts, simply follow this tutorial but in Step 3, change your setting to "Default (No digest)".)
| |||||||||||

Forums - Subscribing or Unsubscribing from a Forum | ||||||||
|---|---|---|---|---|---|---|---|---|
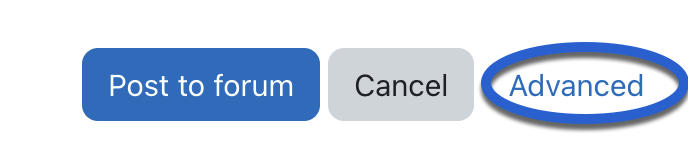
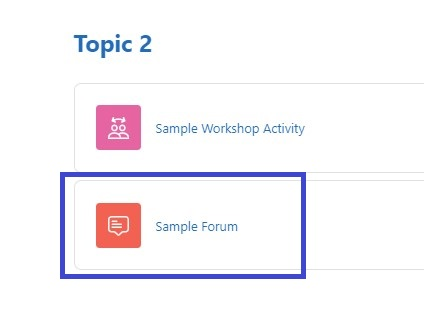
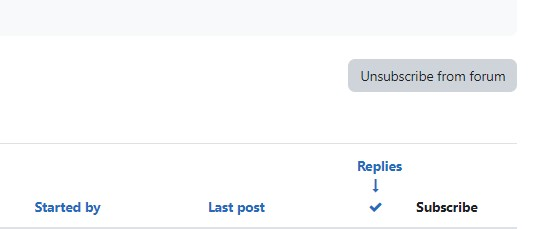
The forum activity allows students and teachers to exchange ideas by posting comments as part of a "thread." Faculty and students may receive emails when users post to the forum. If you wish to unsubscribe from these emails, please use this tutorial. Please note: If you unsubscribe from a forum but then post to it again, you will automatically be resubscribed to the forum. To avoid being resubscribed, you can click on the Use advanced editor and additional options link, then choose I don't want to be notified of new posts in this forum in the drop-down menu under Subscription before posting.
| ||||||||
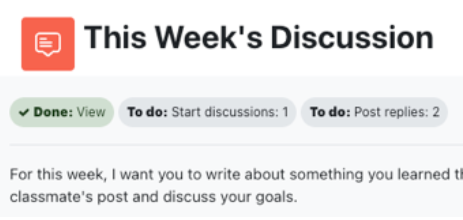
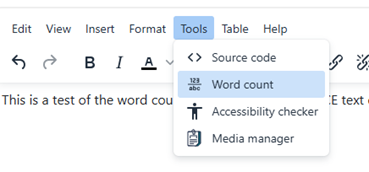
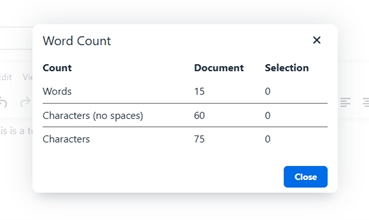
Forums - Viewing Word Counts in Forum Posts | |||||||||||
|---|---|---|---|---|---|---|---|---|---|---|---|
Your instructor may require a certain number of words in your discussion forums. Follow this tutorial to figure out how many words are in your post.
| |||||||||||
G |
|---|
Generating Alternative Formats for Accessibility (Using Panorama) | ||||||||||||||
|---|---|---|---|---|---|---|---|---|---|---|---|---|---|---|
Generating Alternative Formats for Accessibility (Using Panorama)In this tutorial, you will learn how to download files and course material in a different format to enhance your learning experience. Different options for download are available for different types of files. Should you encounter a file or course content that is not accessible to you with no appropriate option for download, contact Student Accessibility at accessibility@southwesterncc.edu or 828-339-4398. Available file types may include:
| ||||||||||||||


Getting Started Using Read&Write | ||||||||||||||||||||
|---|---|---|---|---|---|---|---|---|---|---|---|---|---|---|---|---|---|---|---|---|
Getting Started Using Read&WriteIn this tutorial, you will learn how to ensure that you can access the Read&Write extension and how to open the toolbar.
| ||||||||||||||||||||


Google - Downloading a Google Meet Recording | |||||||||||
|---|---|---|---|---|---|---|---|---|---|---|---|
Downloading a Google Meet Recording This tutorial shows you how to download a Google Meet recording of a class (if your instructor has recorded and allowed this).
| |||||||||||


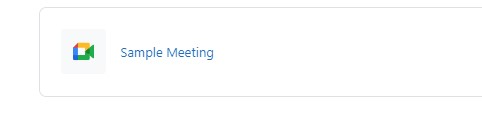
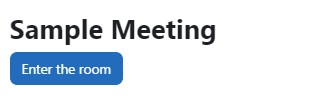
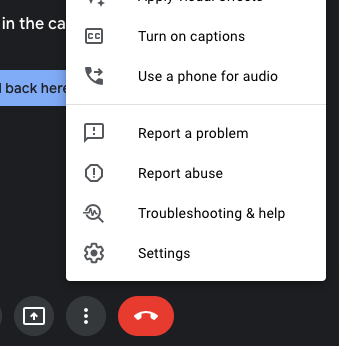
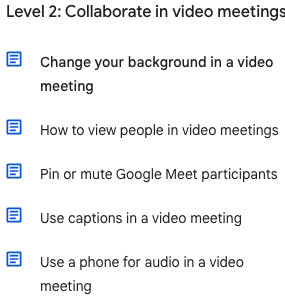
Google - Participating in a Live Virtual Class Using Google Meet | ||||||||||||||
|---|---|---|---|---|---|---|---|---|---|---|---|---|---|---|
Participating in a Live Virtual Class using Google Meet This tutorial shows you how to participate in a live virtual class using Google Meet. Please note: Google Meet works best in the Chrome browser.
| ||||||||||||||
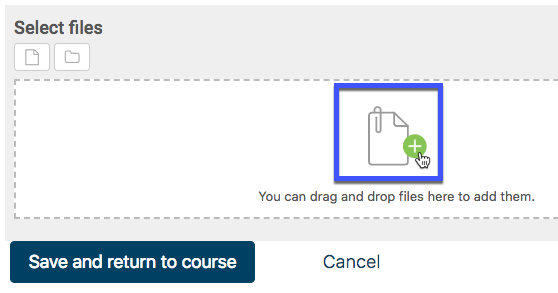
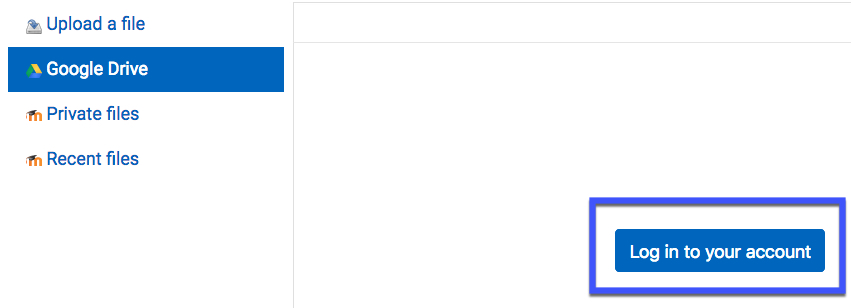
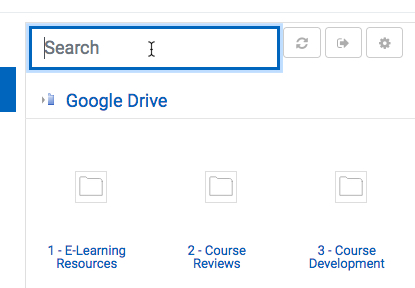
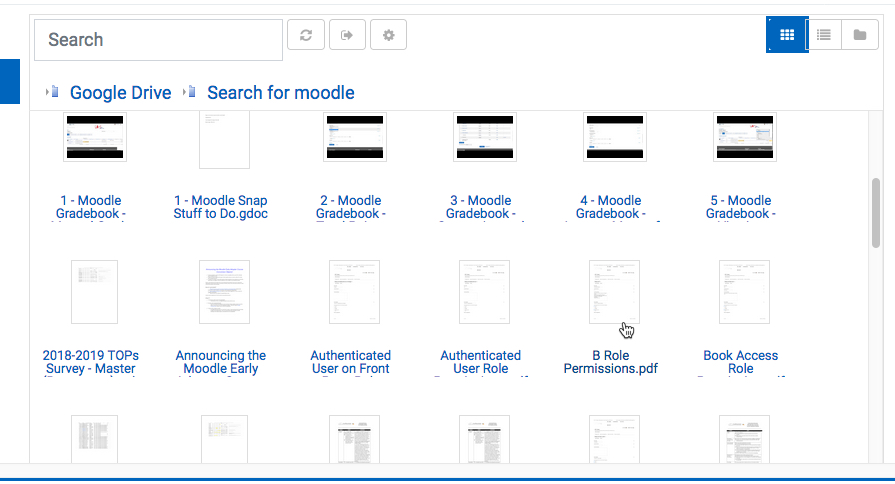
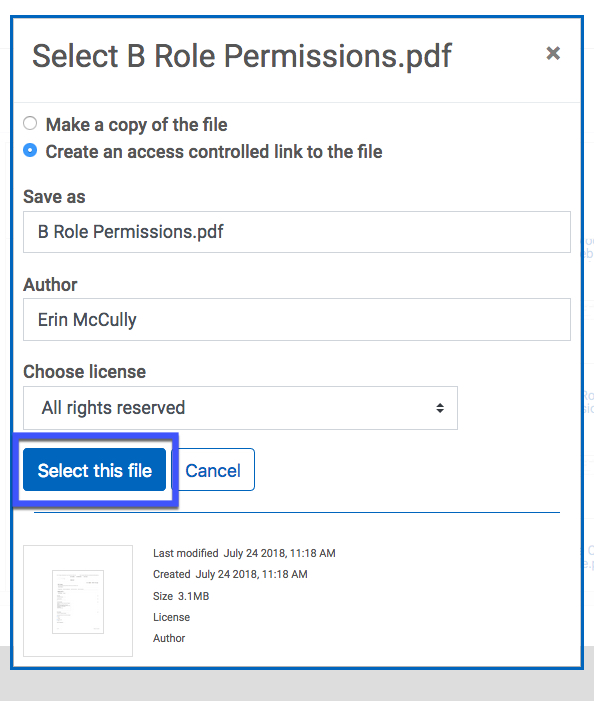
Google - Uploading a File from Google Drive into an Assignment | |||||||||||||||||||||||
|---|---|---|---|---|---|---|---|---|---|---|---|---|---|---|---|---|---|---|---|---|---|---|---|
Uploading a File using Google Drive into an Assignment Moodle provides an easy way to share files via Google Drive. When you insert a file from Google Drive into Moodle using the steps below, Moodle will automatically update the sharing settings so that your instructor may view the file.
| |||||||||||||||||||||||

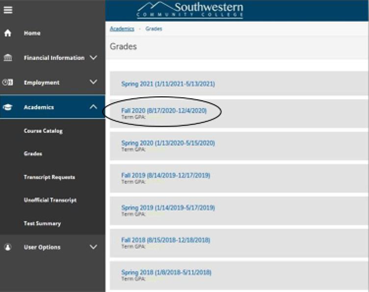
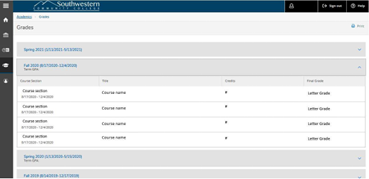
Grades - Finding Your Grades From Previous Semesters | |||||||||||
|---|---|---|---|---|---|---|---|---|---|---|---|
| |||||||||||
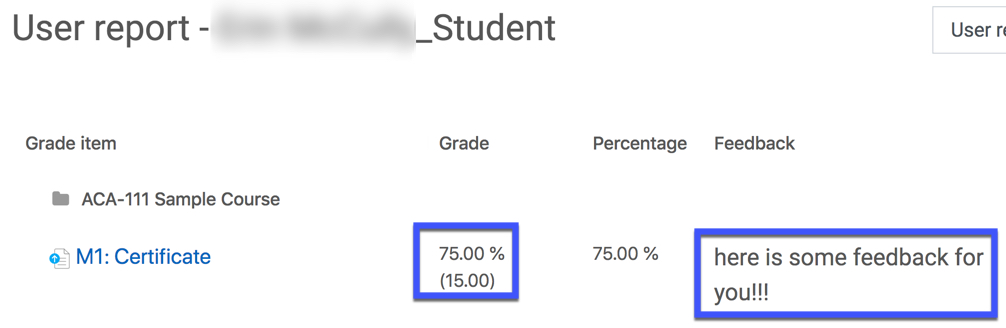
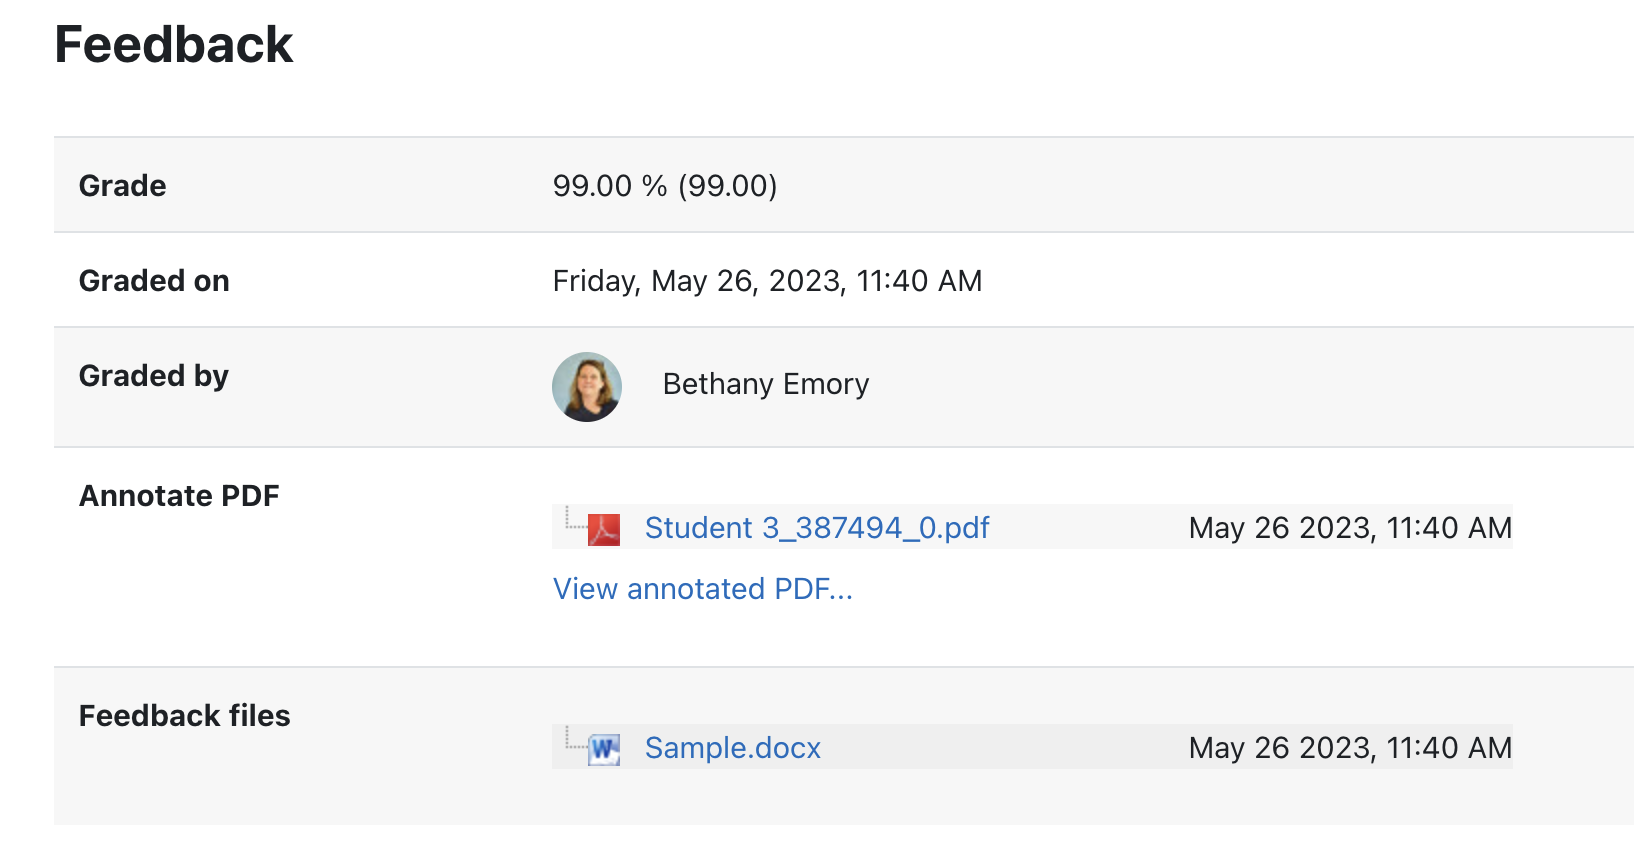
Grades - Viewing Grades and Feedback for Assignments | ||||||||||||||
|---|---|---|---|---|---|---|---|---|---|---|---|---|---|---|
This tutorial shows you how to view your grades and feedback from your instructor for quizzes, tests, assignments, and other graded activities.
| ||||||||||||||

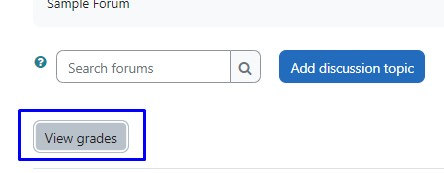
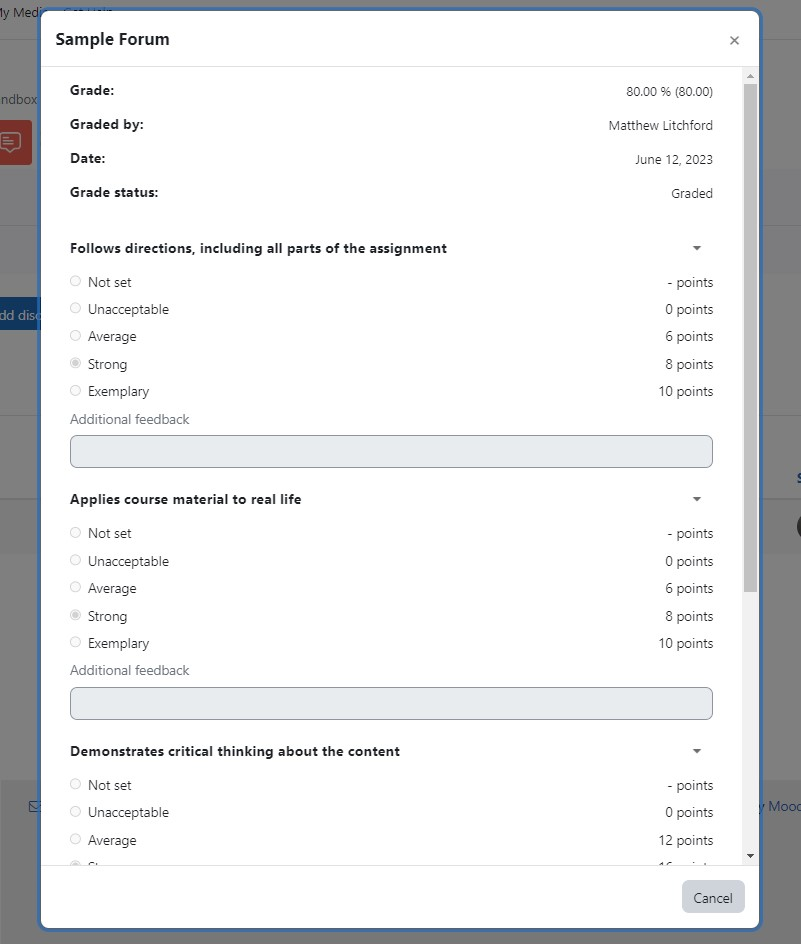
Grades - Viewing Grades and Feedback for Forums | ||||||||
|---|---|---|---|---|---|---|---|---|
This tutorial shows you how to view your grades and feedback from your instructor for quizzes, tests, assignments, and other graded activities.
| ||||||||


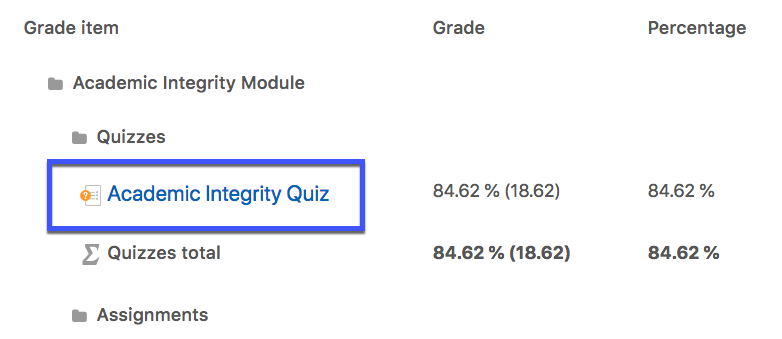
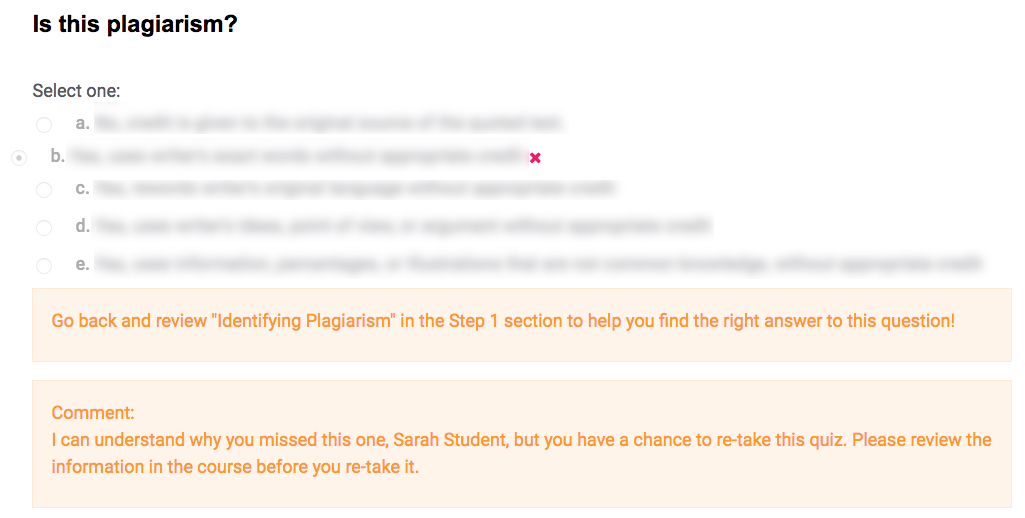
Grades - Viewing Grades and Feedback for Quizzes | |||||||||||||||||
|---|---|---|---|---|---|---|---|---|---|---|---|---|---|---|---|---|---|
This tutorial shows you how to view your grades and feedback from your instructor for quizzes.
| |||||||||||||||||


Grades - Viewing Rubric Feedback | |||||||||||
|---|---|---|---|---|---|---|---|---|---|---|---|
A rubric is an assessment tool that tells you what you need to do to get the grade you want. Rubrics also help instructors grade all submissions fairly and consistently. Instructors can add rubrics to assignments and Open forums. This tutorial shows you how to view the feedback you have received via a rubric.
| |||||||||||

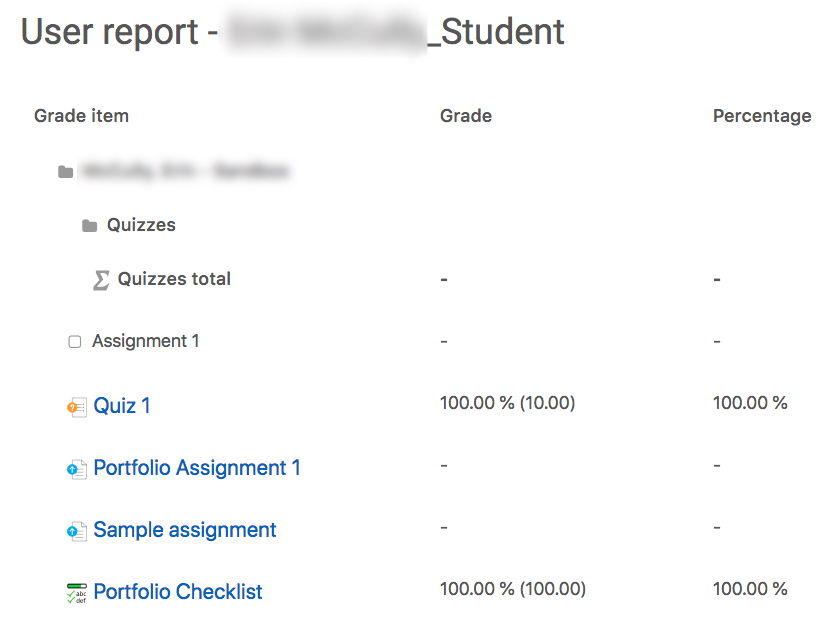
Grades - Viewing Your Course Grades | ||||||||
|---|---|---|---|---|---|---|---|---|
This tutorial shows you how to view your grades for a course.
| ||||||||
I |
|---|
Incomplete - You Received an Incomplete - Now What? | ||||||||
|---|---|---|---|---|---|---|---|---|
If you have received an Incomplete for a course, you will be able to continue to access the course in Moodle until the grade is changed. To find the course, follow the steps below.
| ||||||||

M |
|---|
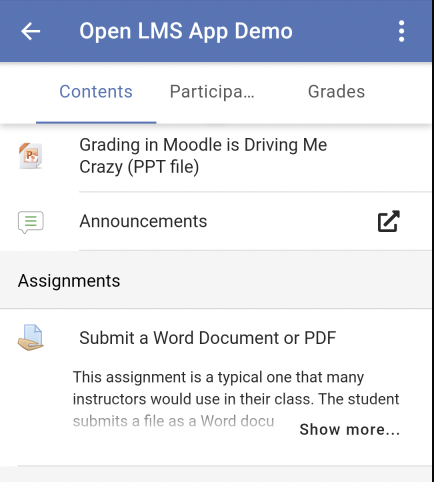
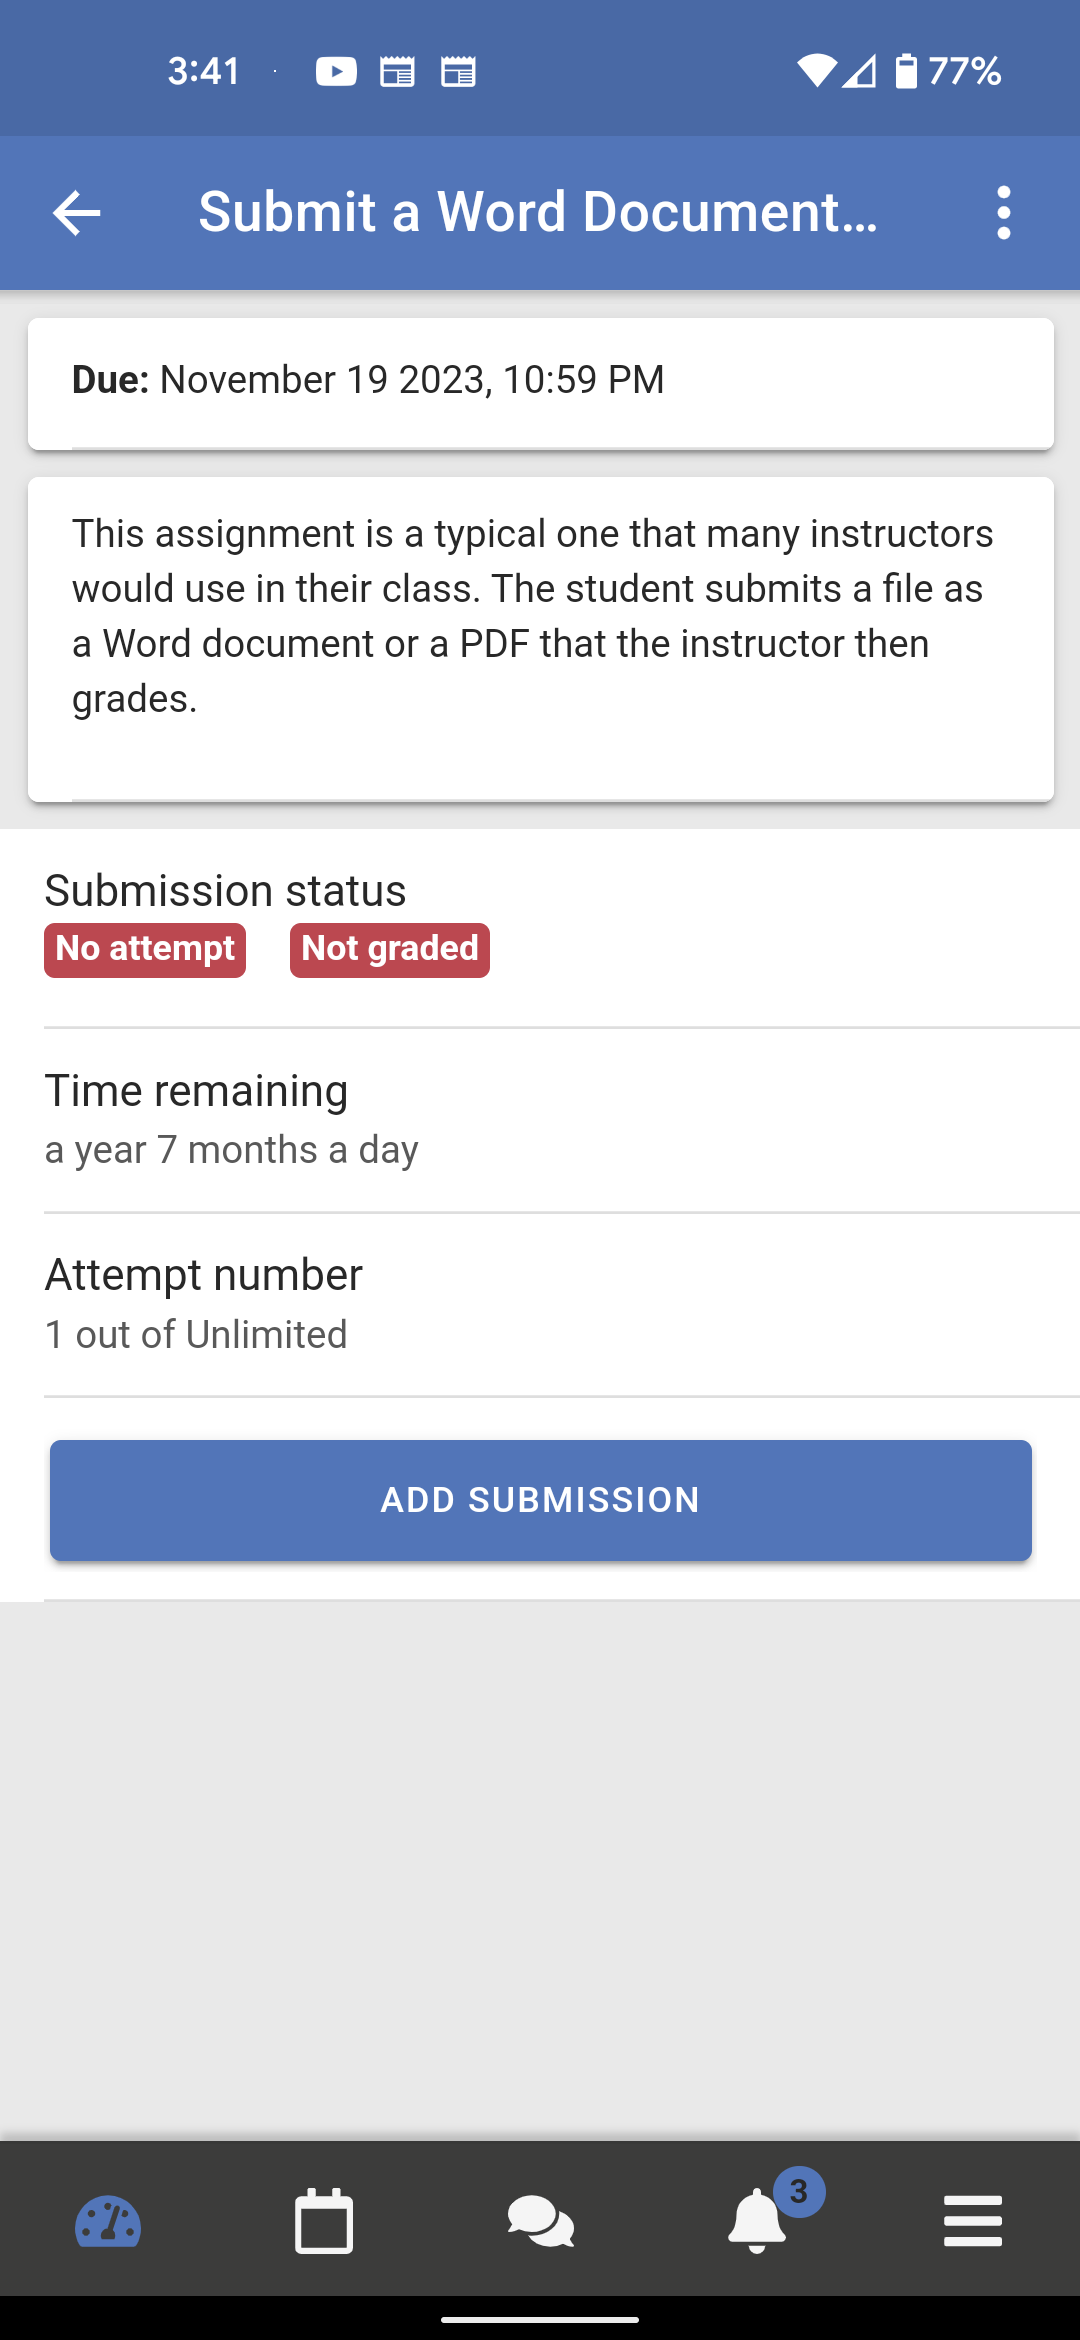
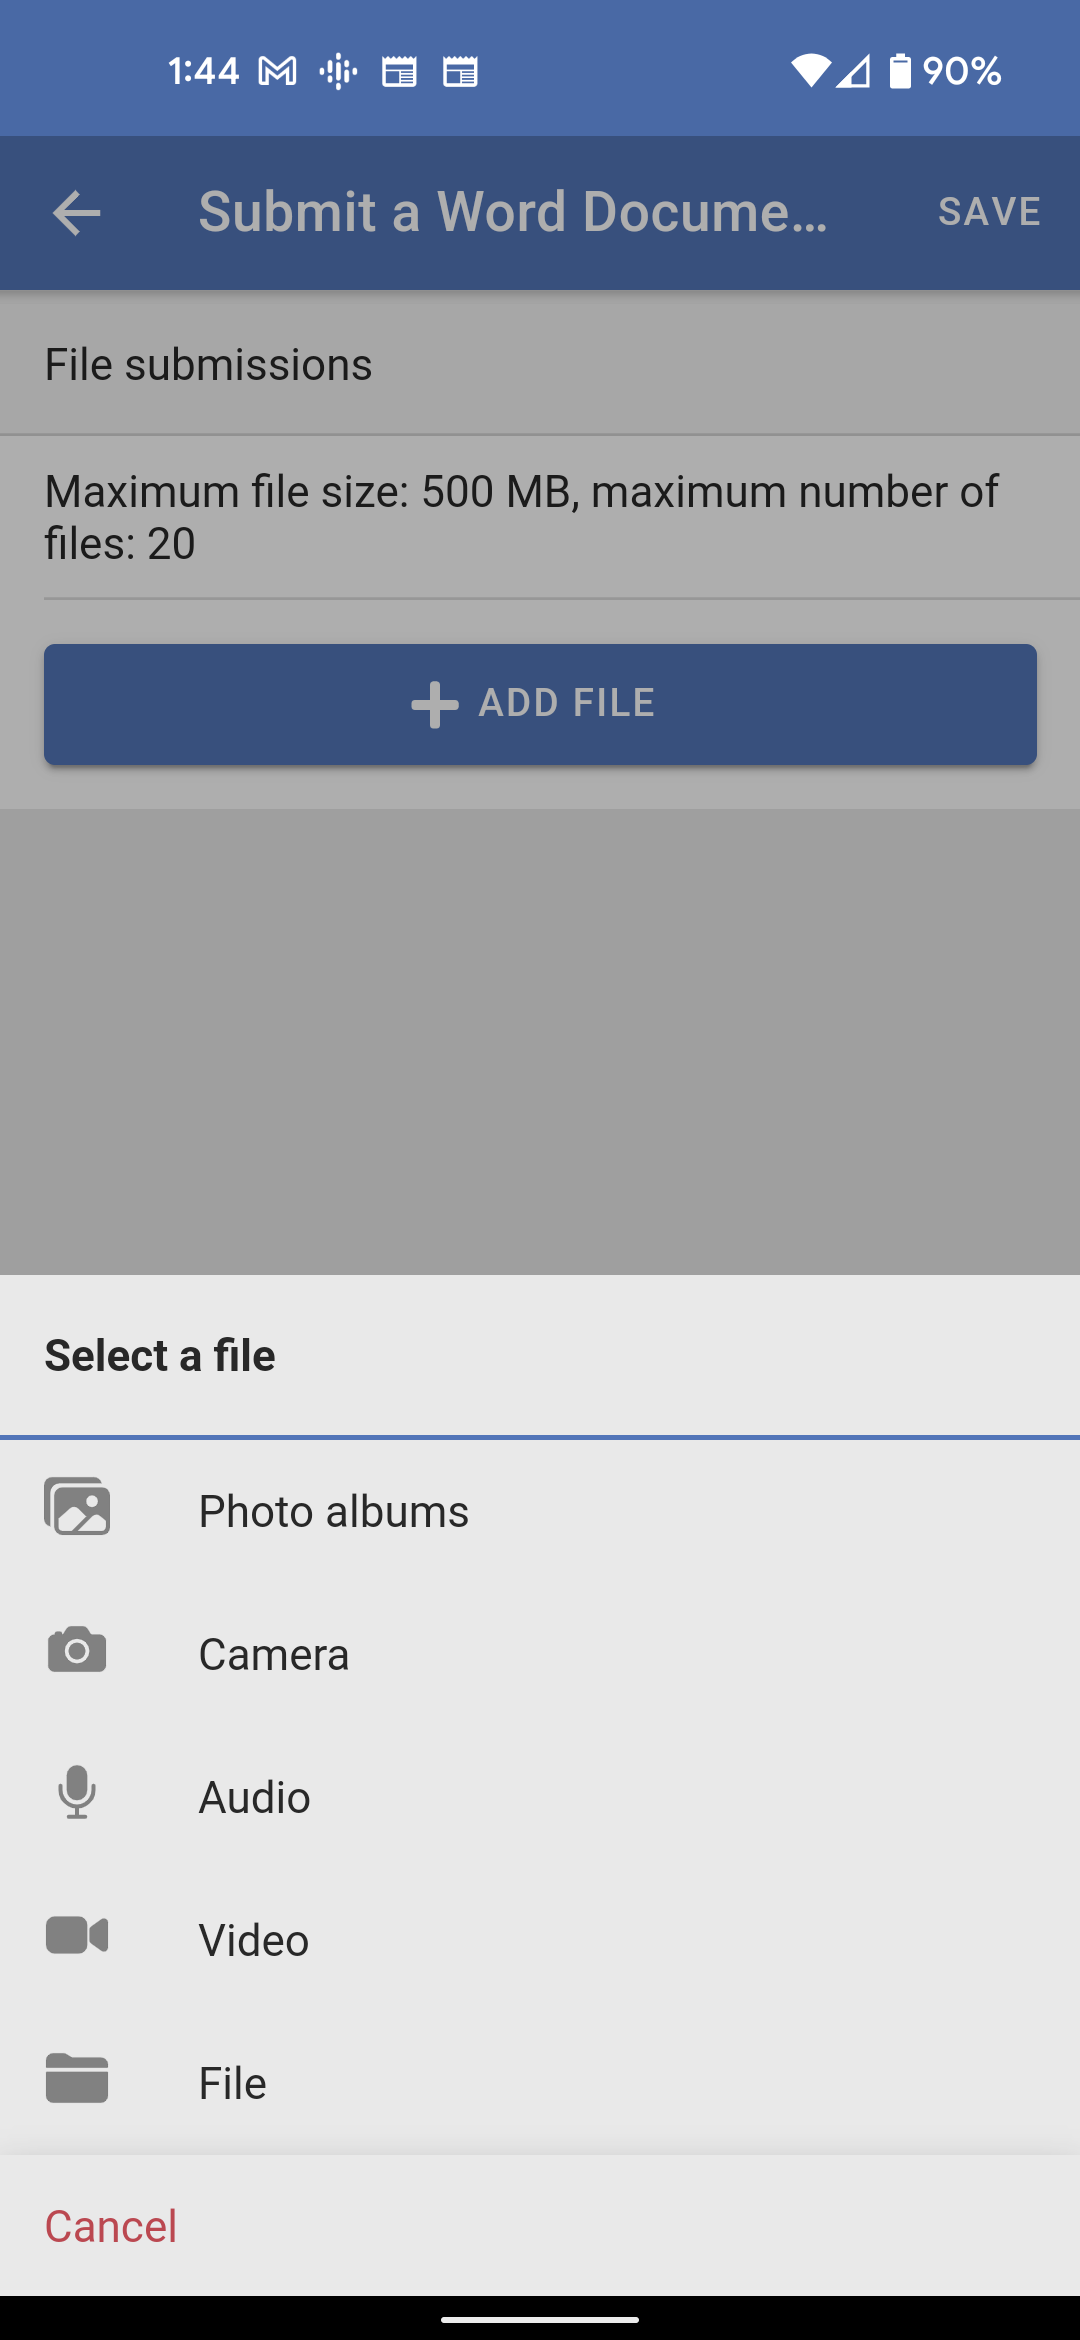
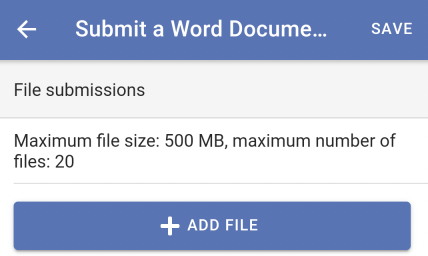
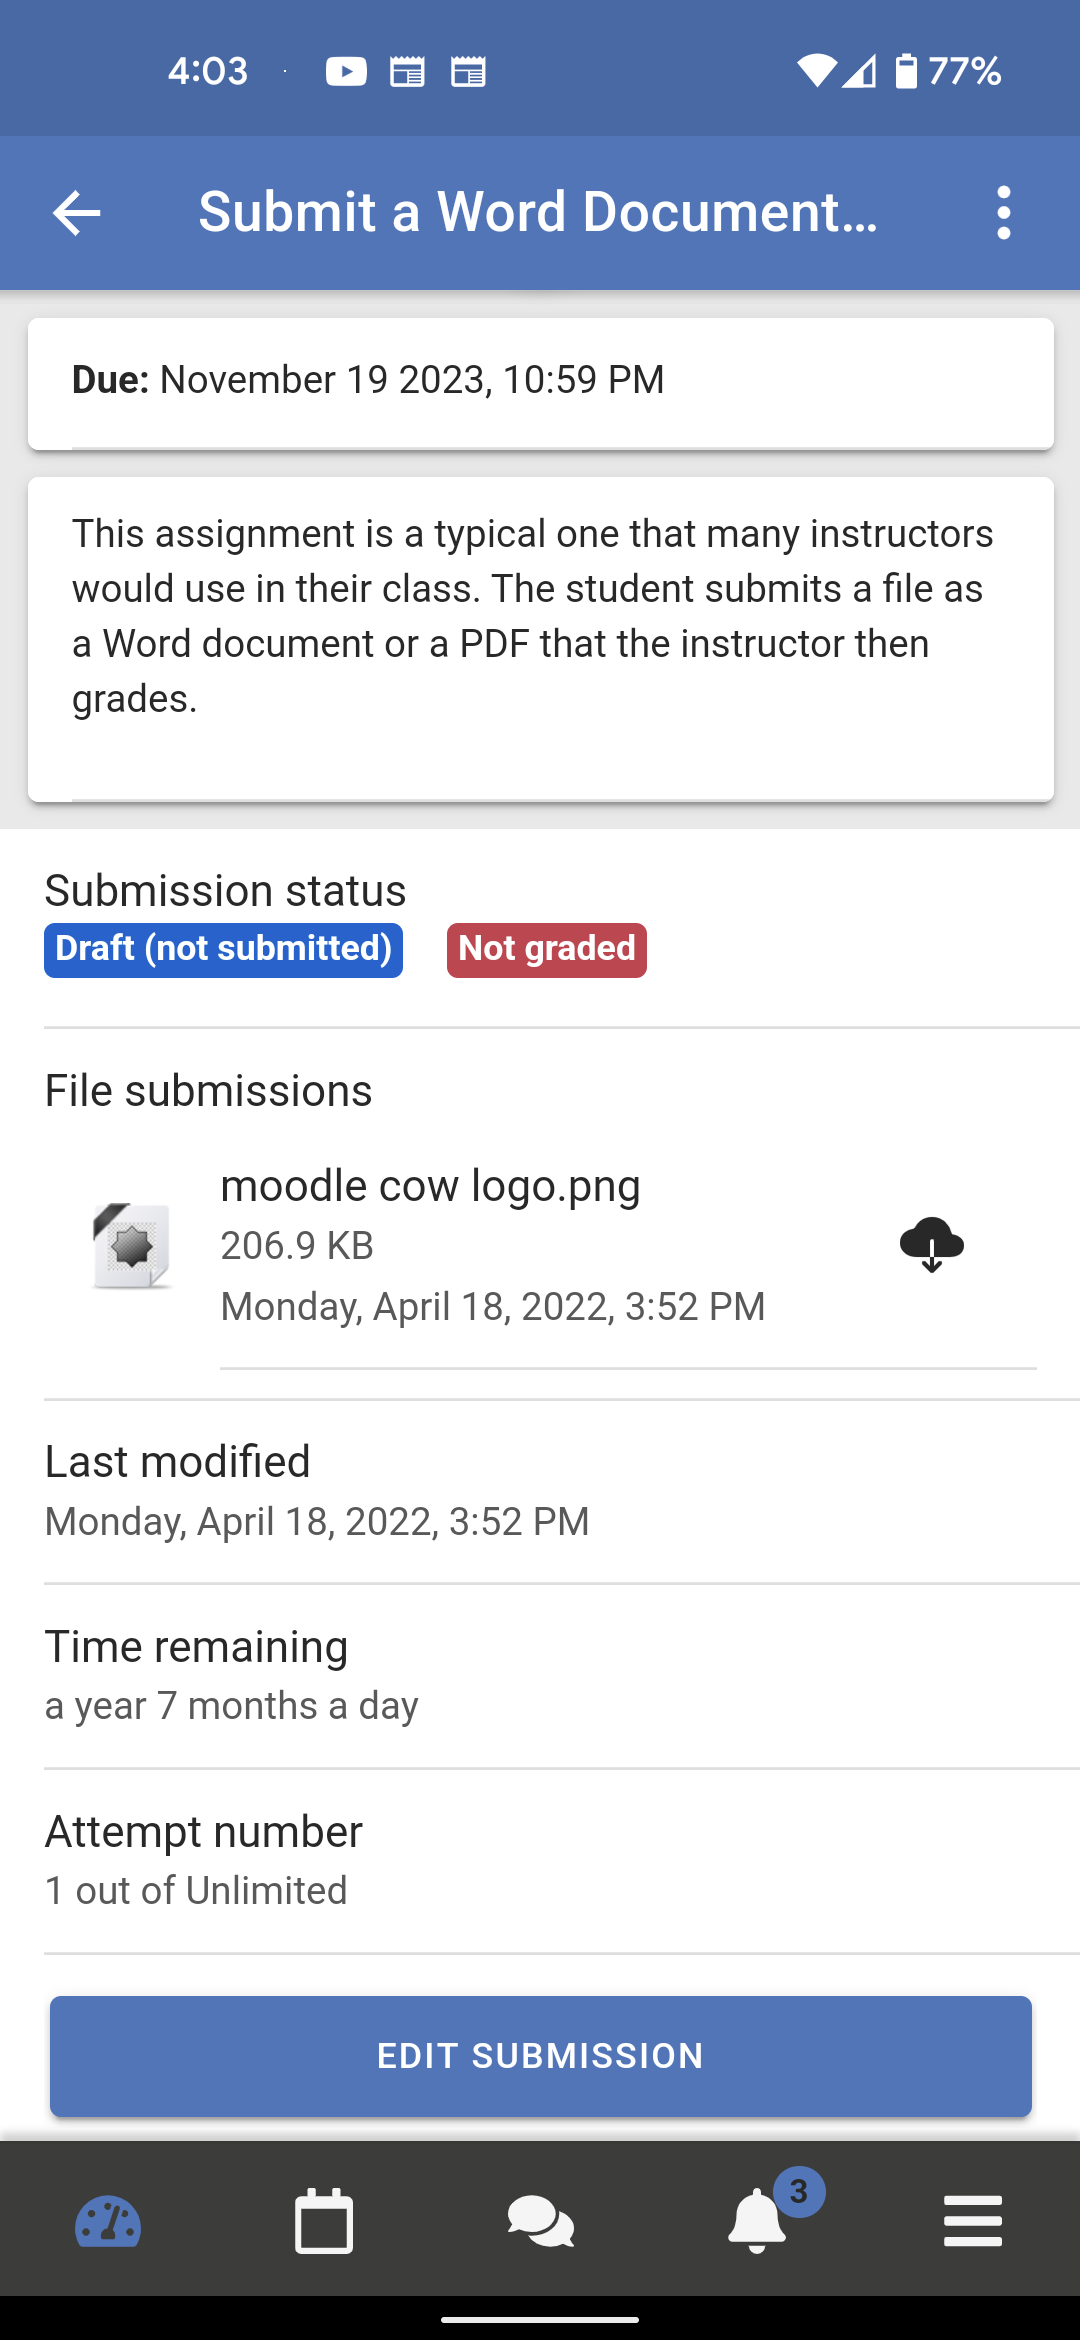
Mobile - Submitting Assignments Using the Open LMS App | |||||||||||||||||
|---|---|---|---|---|---|---|---|---|---|---|---|---|---|---|---|---|---|
If you need to install the Open LMS App, go to this tutorial..
| |||||||||||||||||
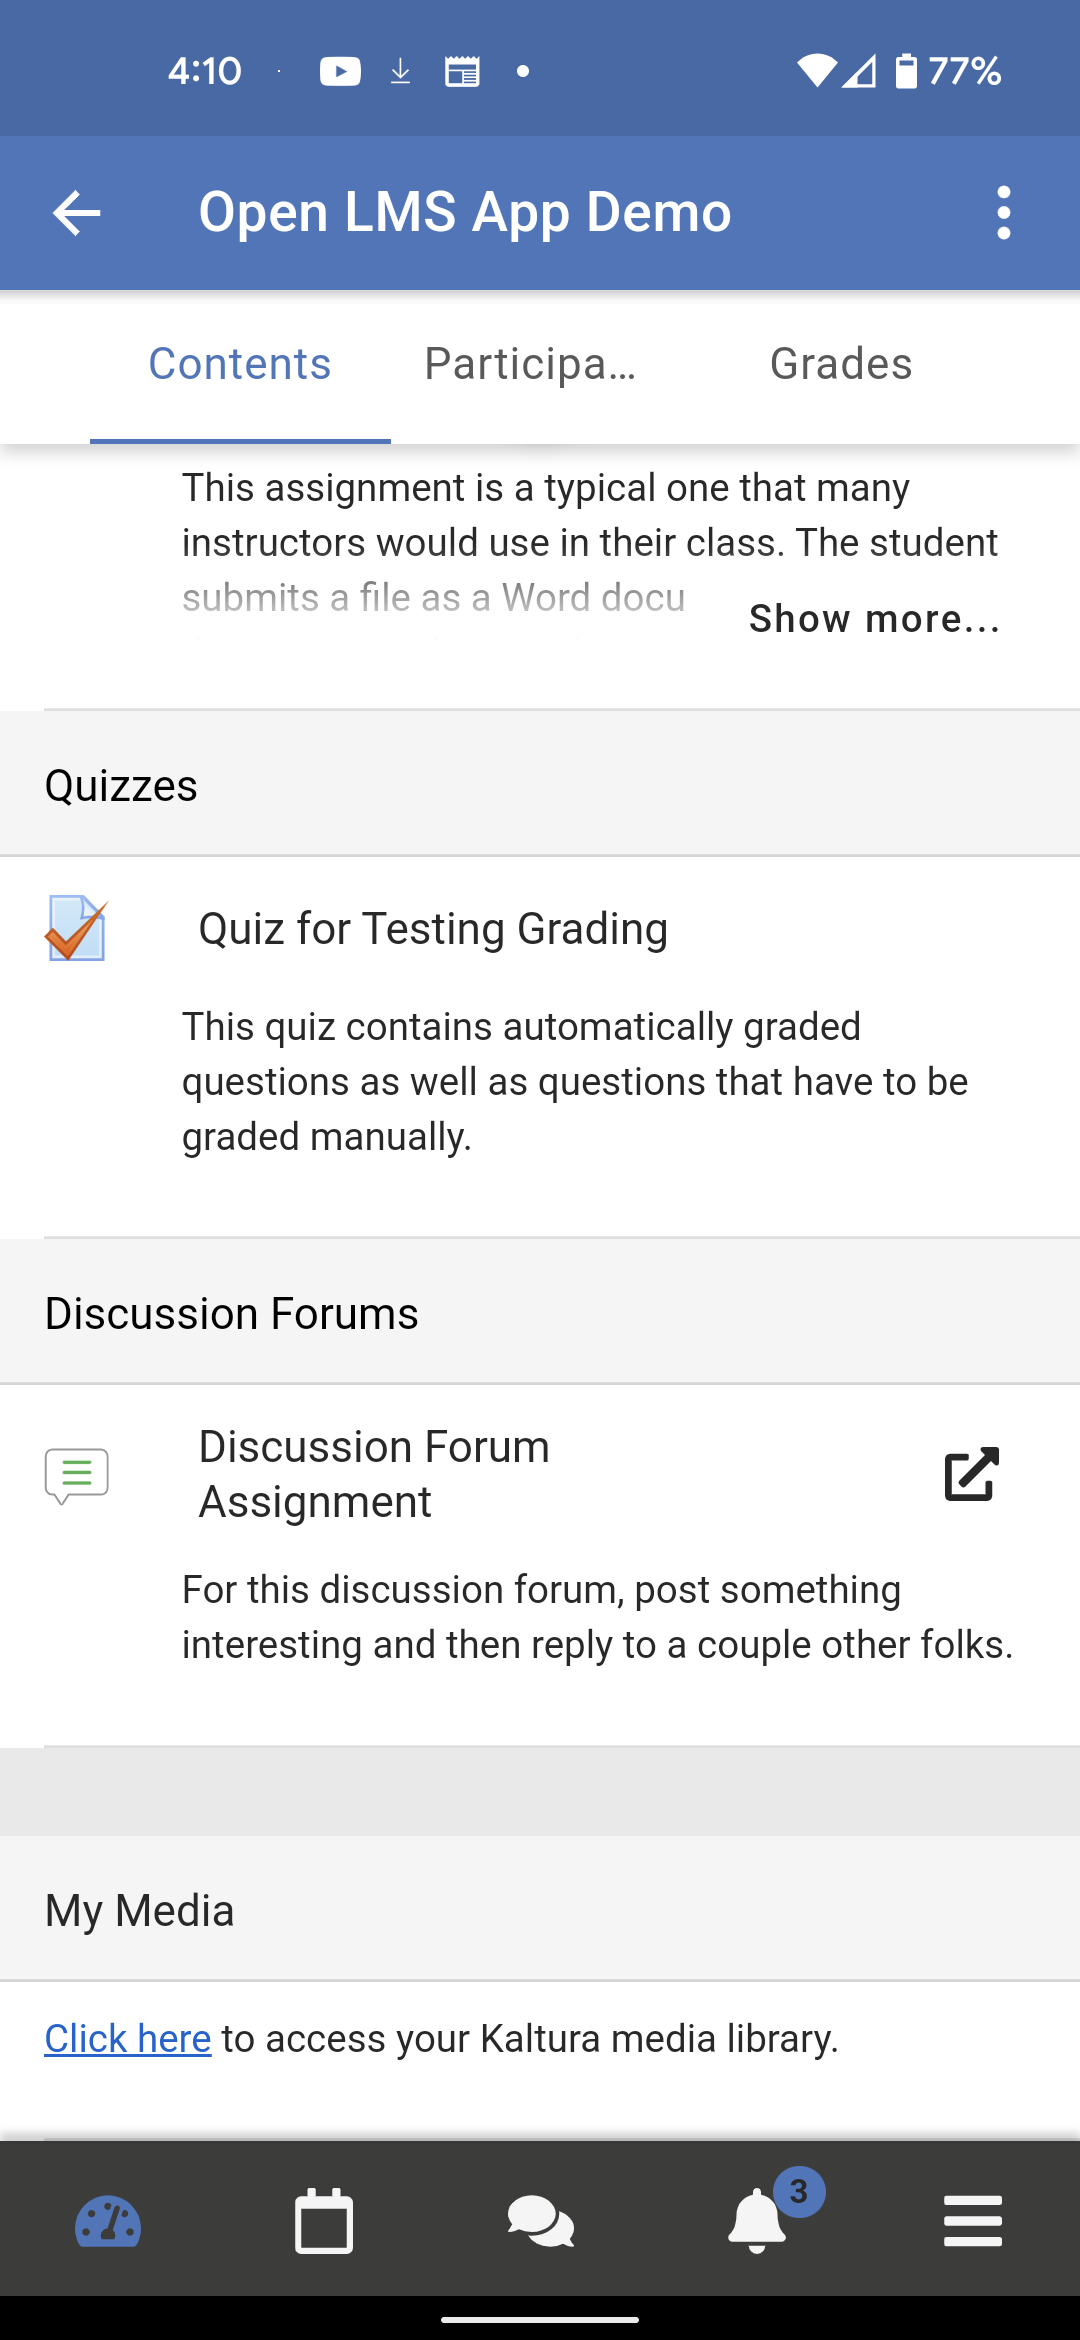
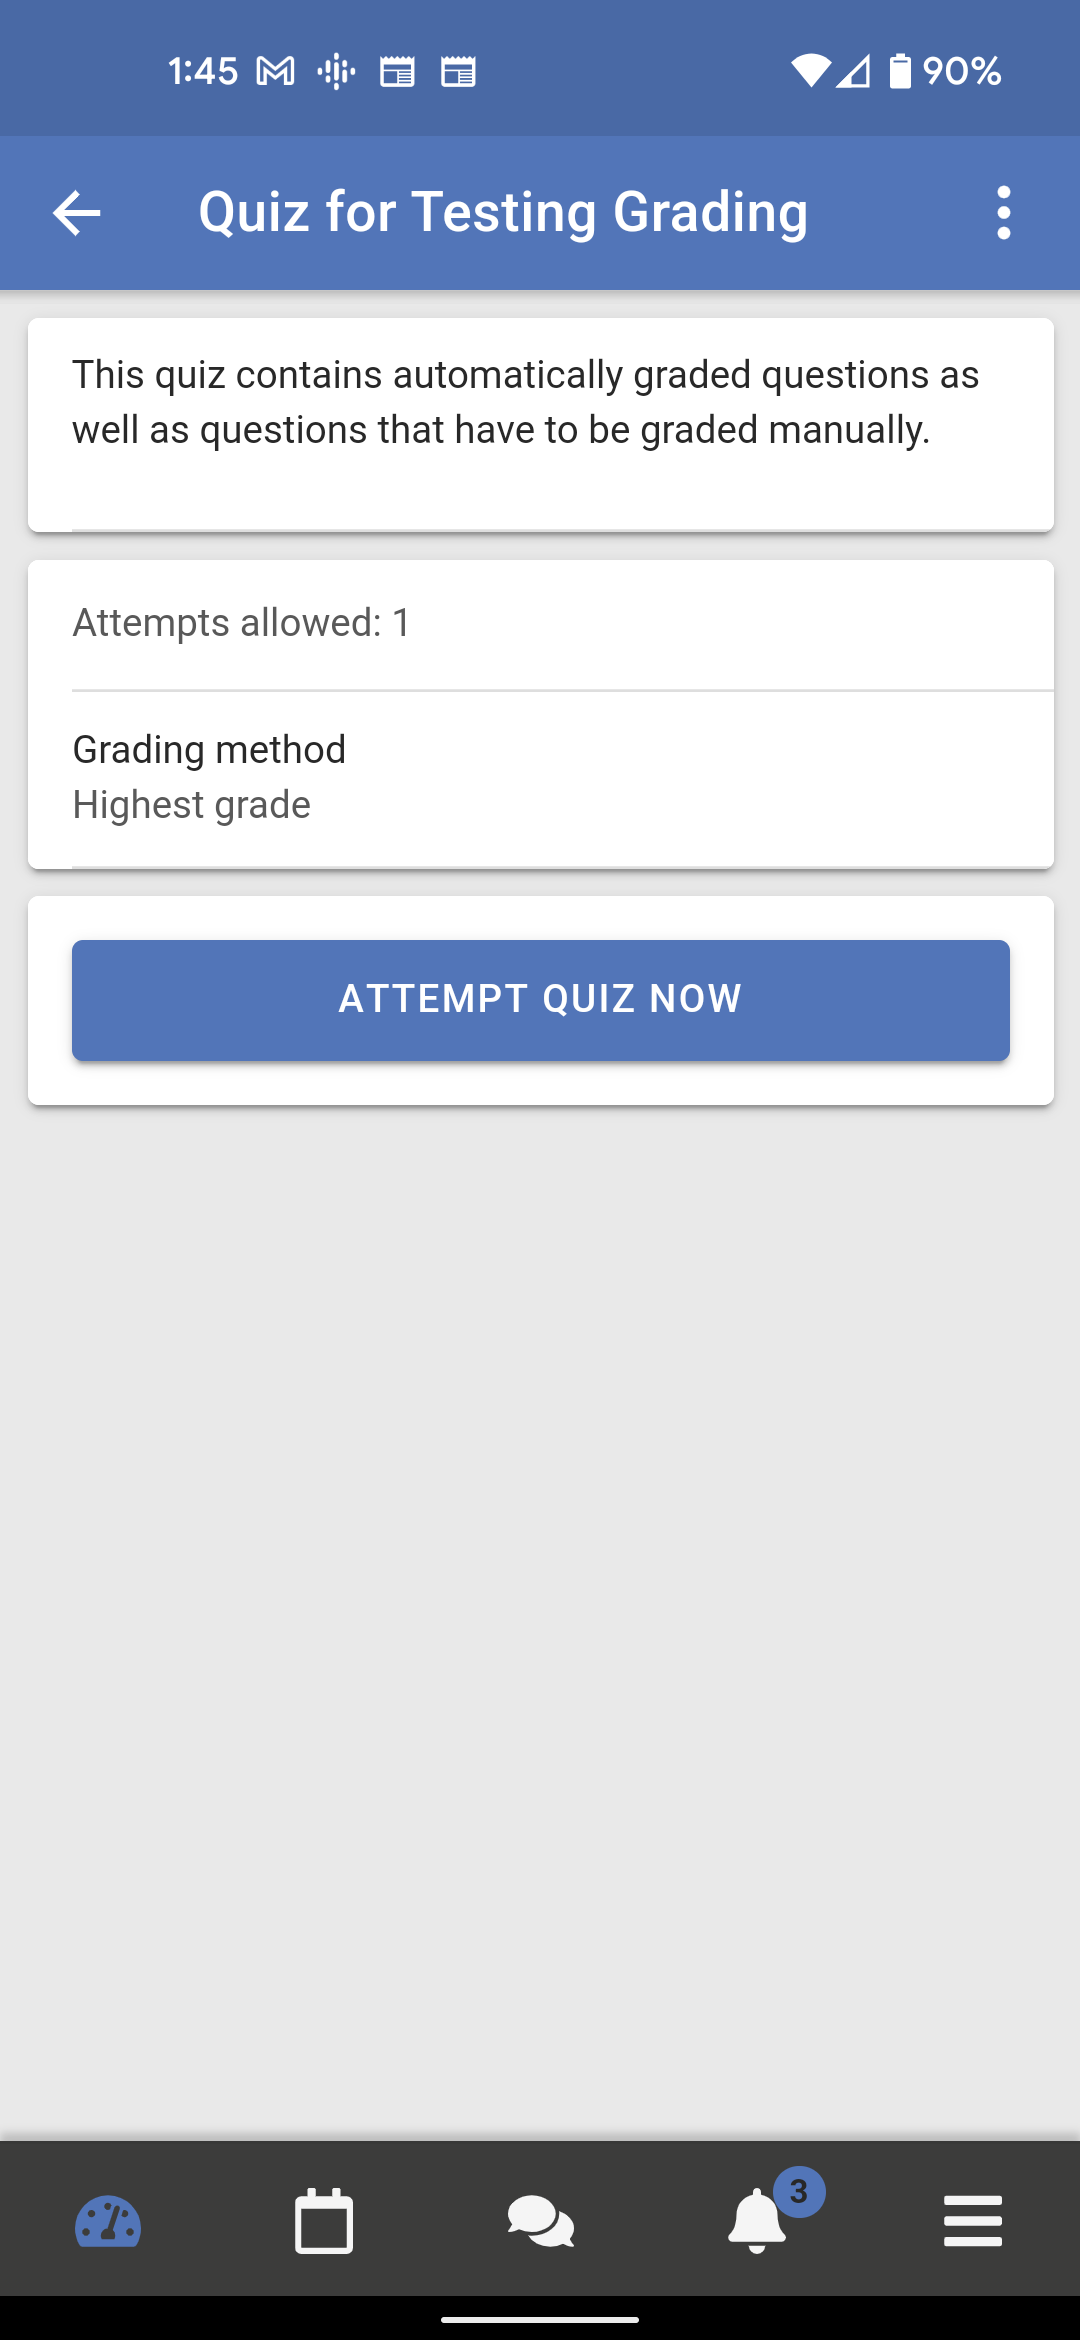
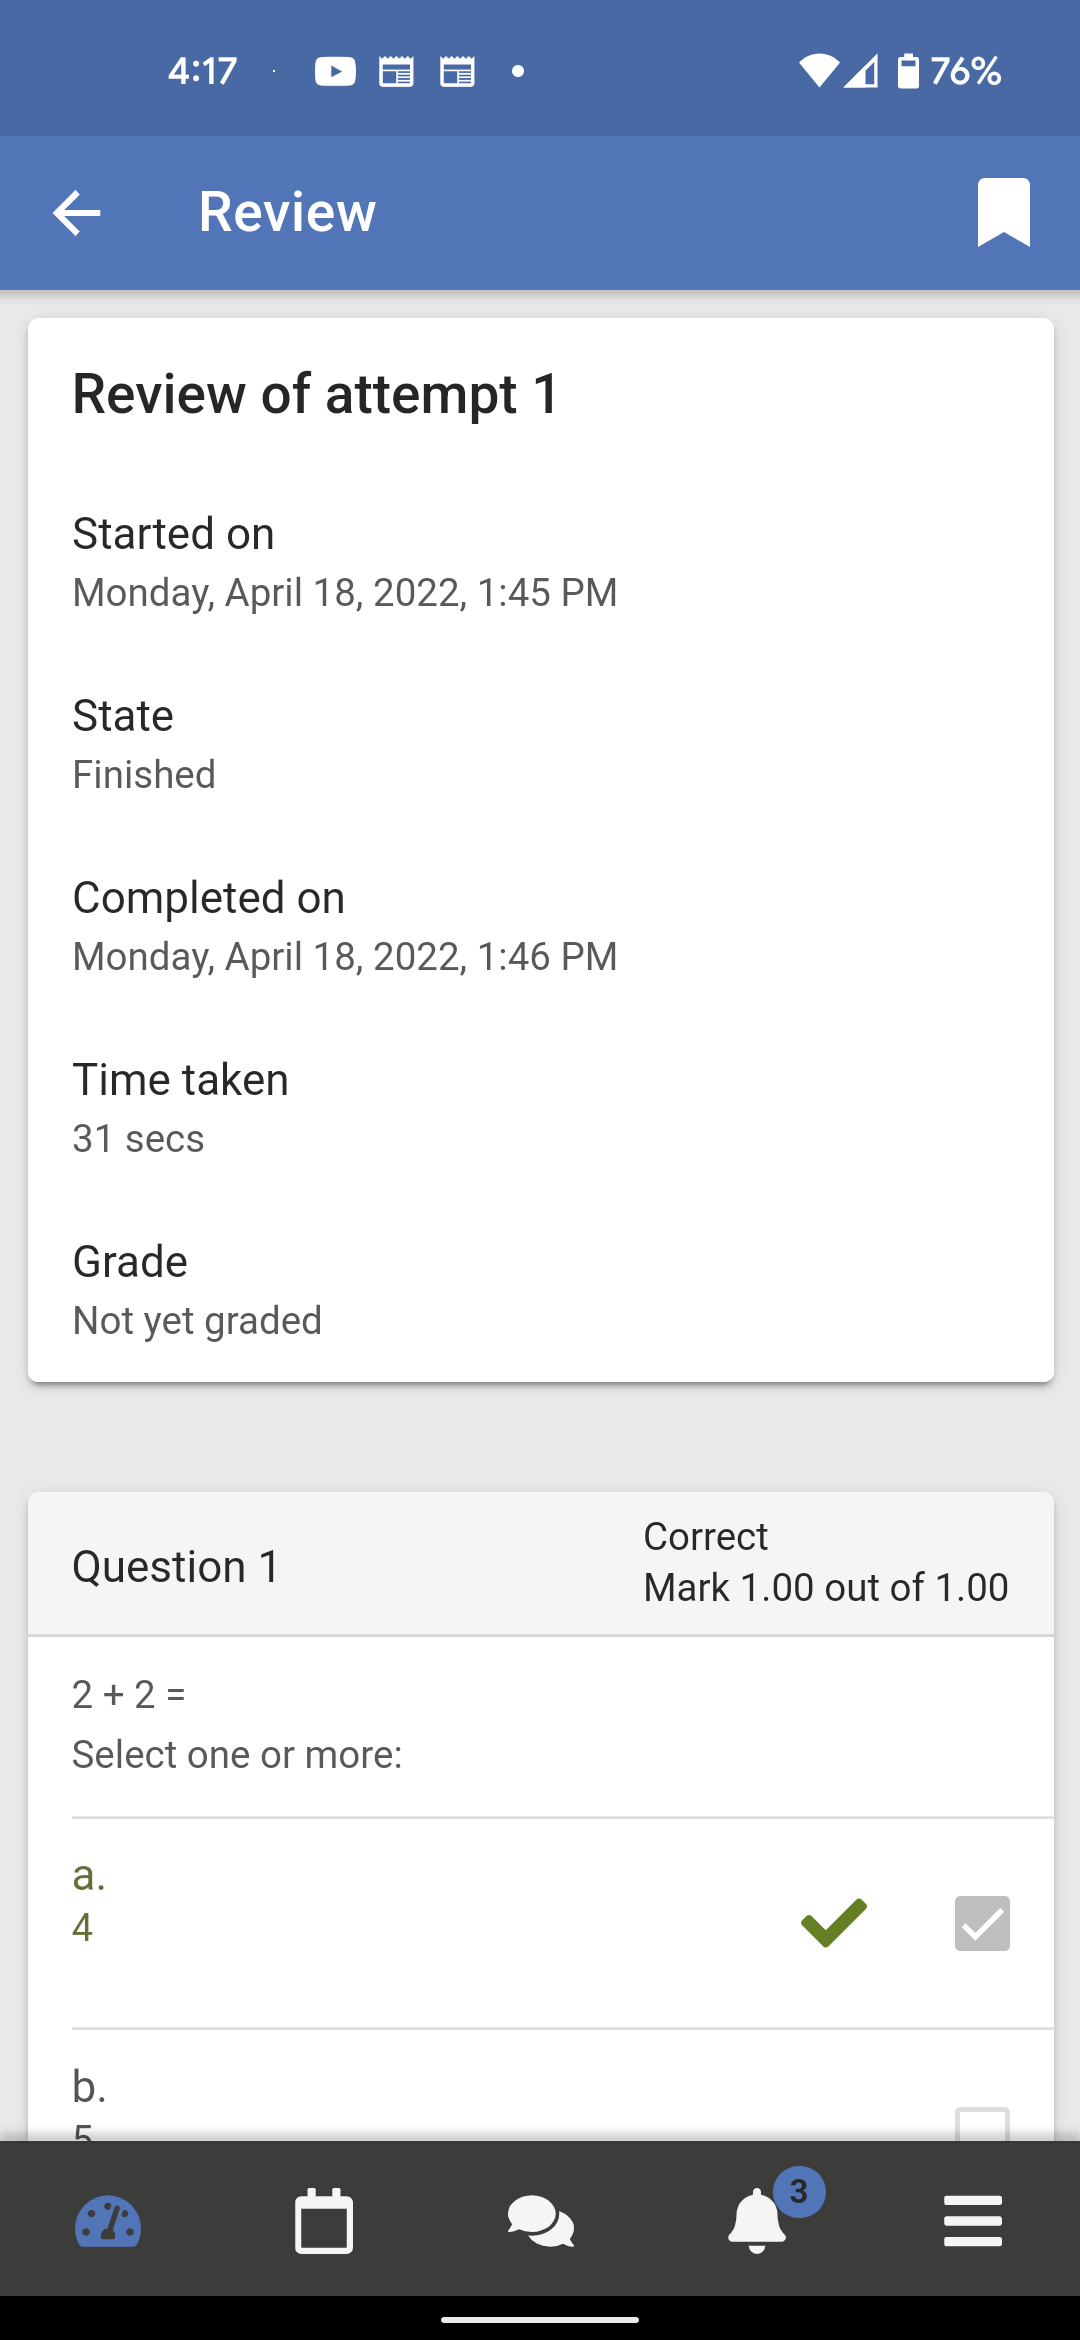
Mobile - Taking Quizzes with the Open LMS App | |||||||||||
|---|---|---|---|---|---|---|---|---|---|---|---|
If you need to install the Open LMS App, go to this tutorial.
| |||||||||||
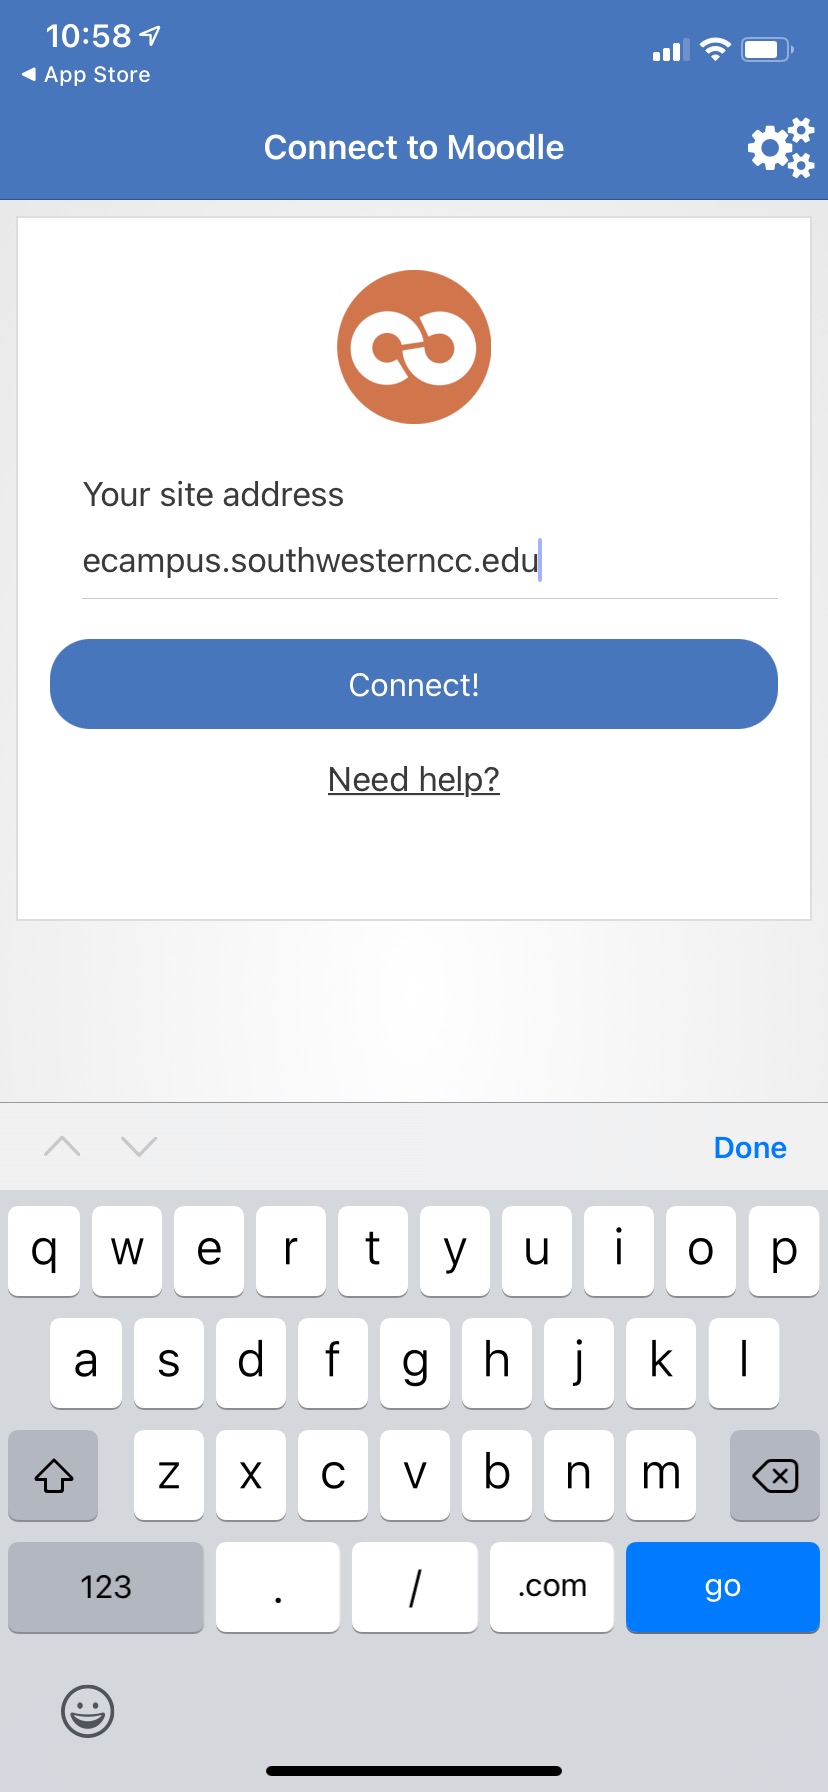
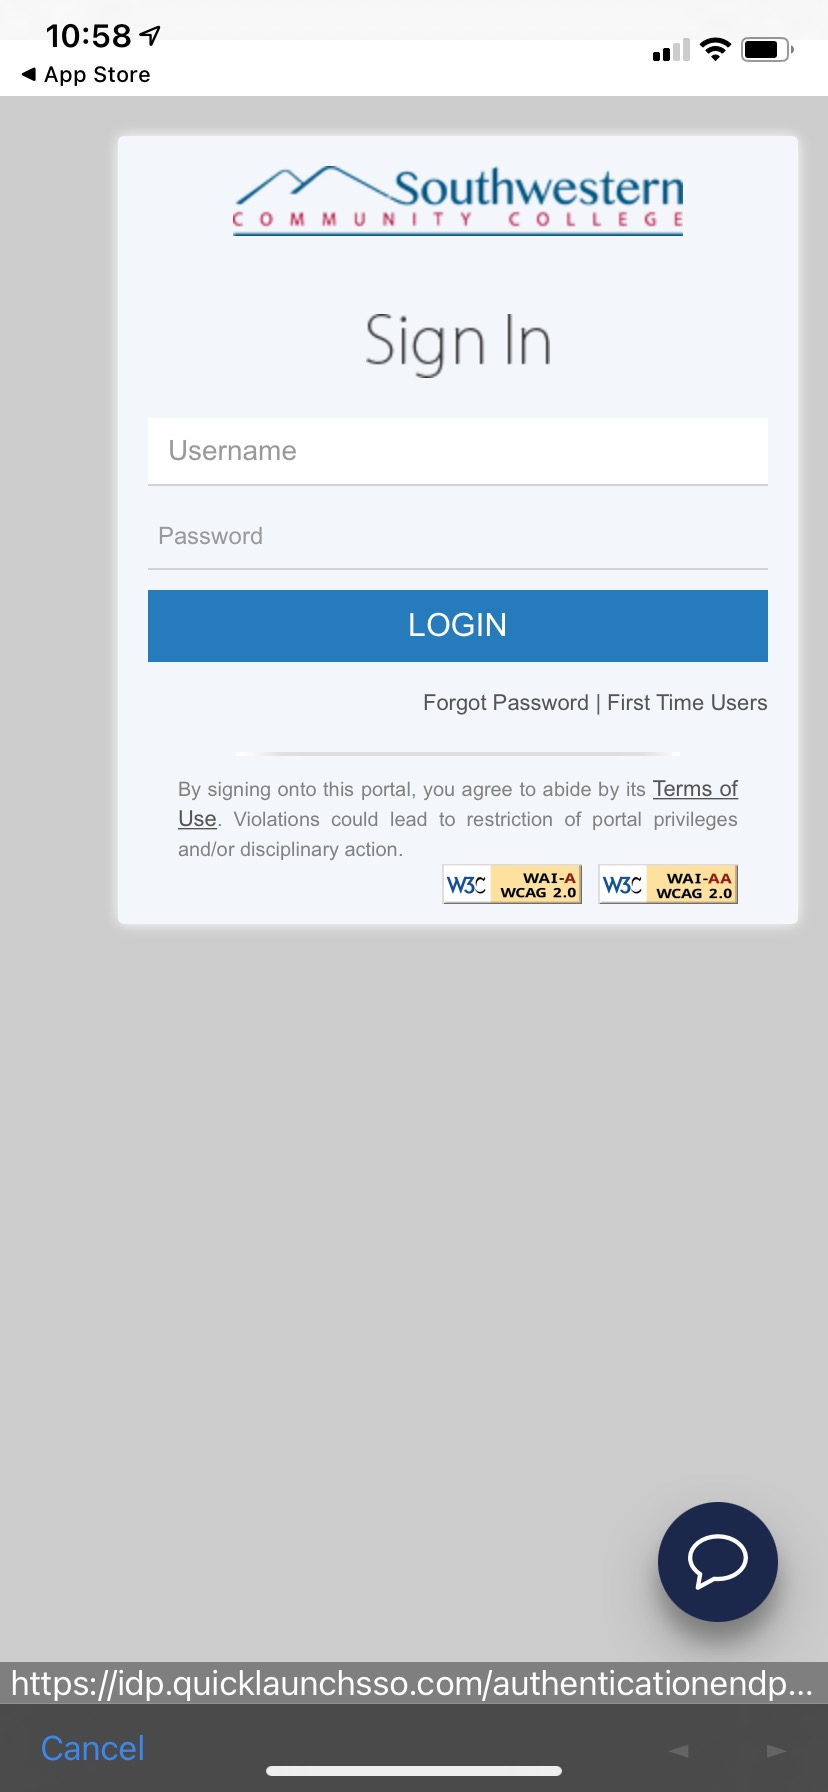
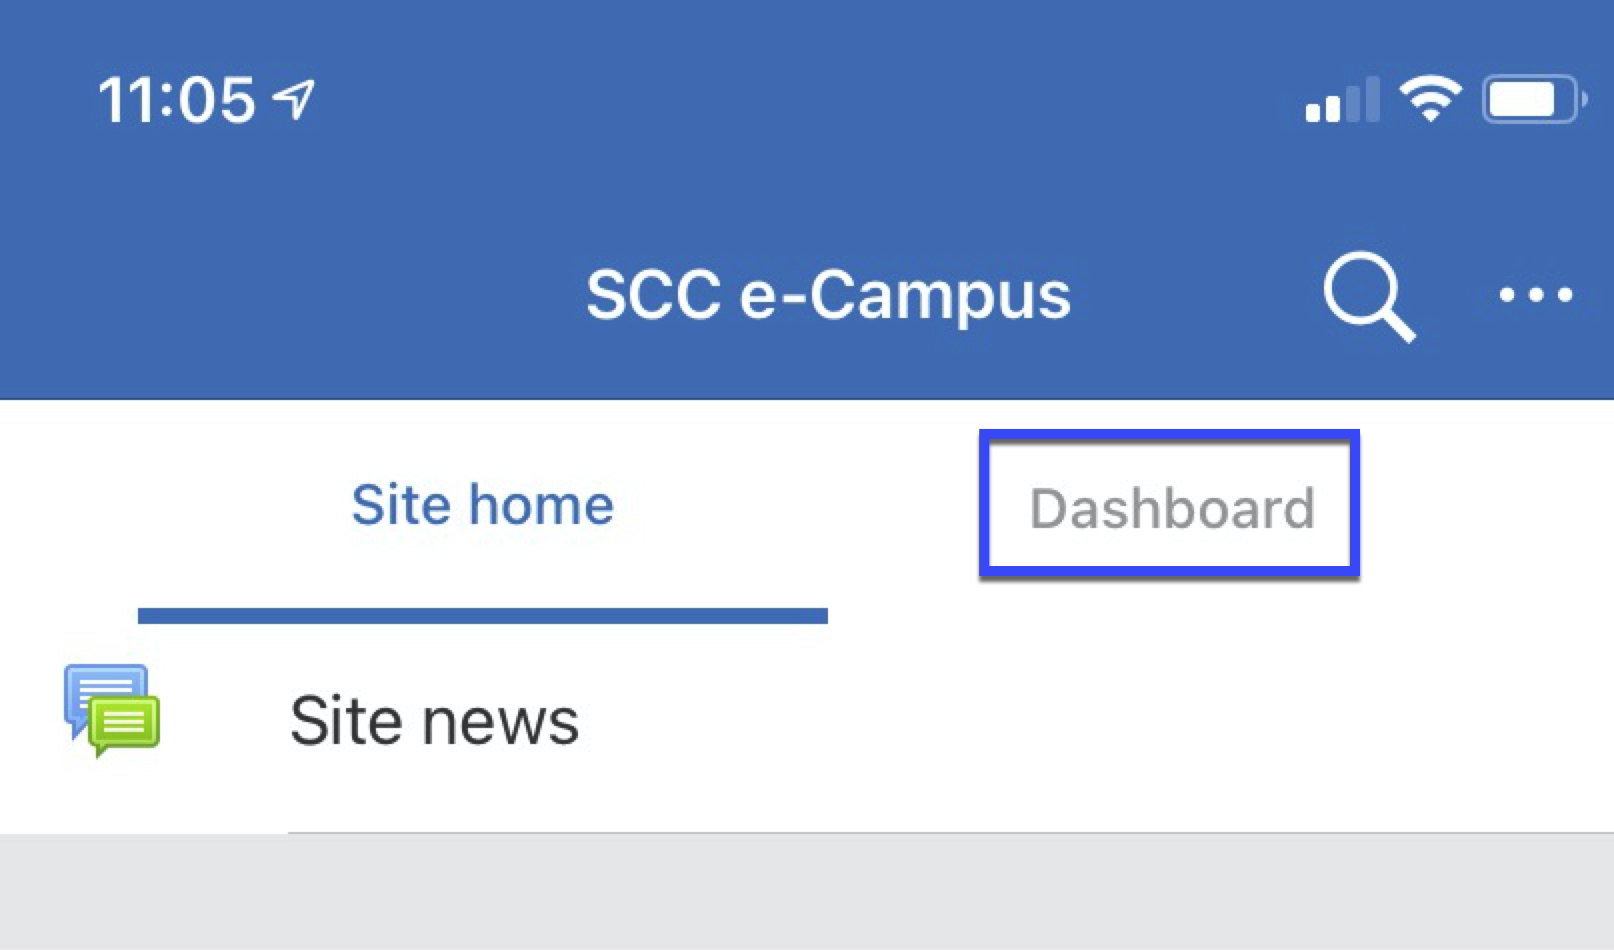
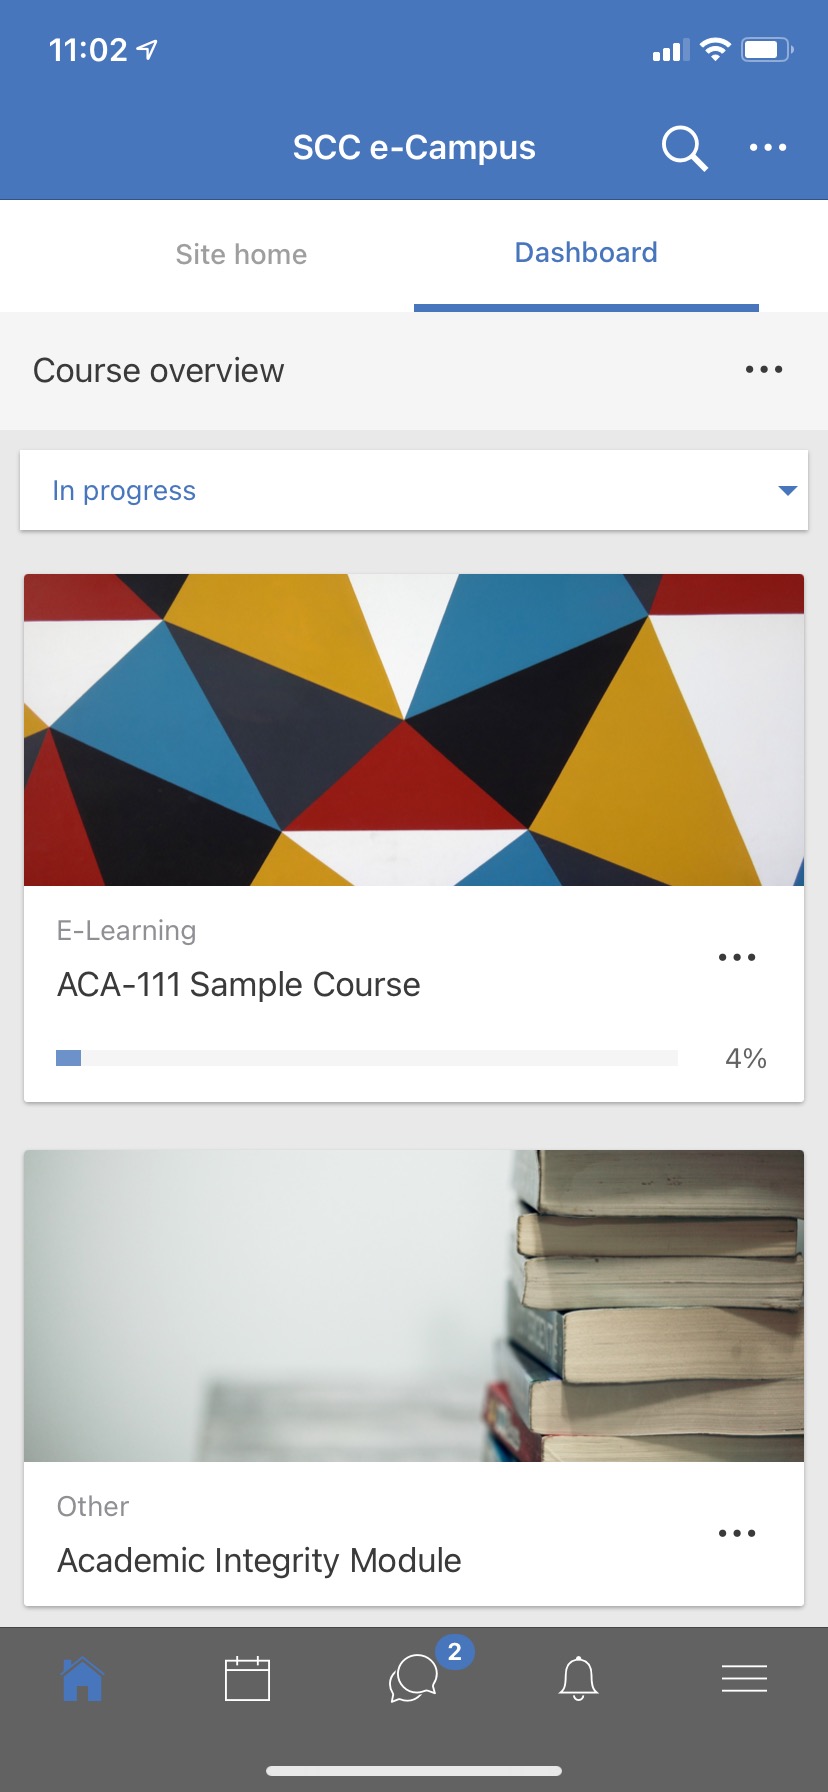
Mobile - Using the Open LMS Moodle Mobile App | |||||||||||||||||
|---|---|---|---|---|---|---|---|---|---|---|---|---|---|---|---|---|---|
Using the Open LMS Moodle Mobile App The Open LMS Moodle Mobile App is available to download here (iOS) or here (Android). Depending on your internet speed and reliability, with the Open LMS Mobile App, you can: If you are not an app user, you can also use Moodle via your phone or mobile device's internet browser (i.e. Safari or Chrome, etc.). Please note: SCC recommends that students complete assignments, discussion forum posts, quizzes, and other important activities from a computer, not a mobile device, for improved reliability.
| |||||||||||||||||

Moodle - Activity Completion | |||||||||||
|---|---|---|---|---|---|---|---|---|---|---|---|
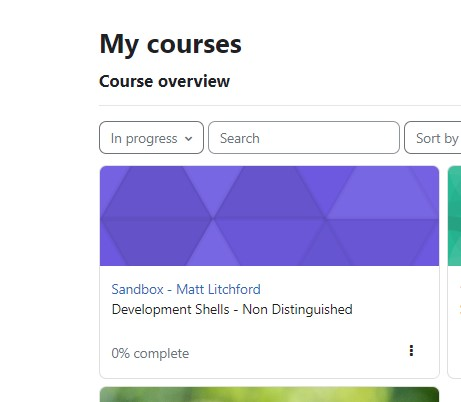
Some courses use "activity completion" which shows you clearly what resources you must review and what activities you must do to "complete" a module/topic in a course. If your course is using Activity Completion, you'll also see a percentage complete on the course card on your My Courses page. For an example of Activity Completion in action, you can look at the Moodle Orientation for Students course. (You may need to click the button to self-enroll.)
Questions? Please email e-learning@southwesterncc.edu. | |||||||||||


Moodle - Changing Forum Email Notification Preferences | |||||||||||
|---|---|---|---|---|---|---|---|---|---|---|---|
This tutorial shows you how to change from the default setting of receiving an email each time someone posts to a forum to which you are subscribed to a new setting of receiving an email digest (one email per day) of the posts. (If you are receiving digests and wish to receive individual posts, simply follow this tutorial but in Step 3, change your setting to "Default (No digest)".)
| |||||||||||


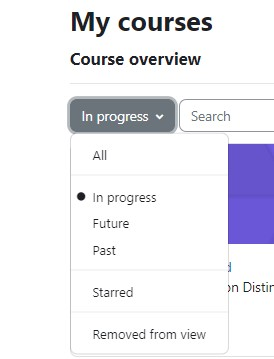
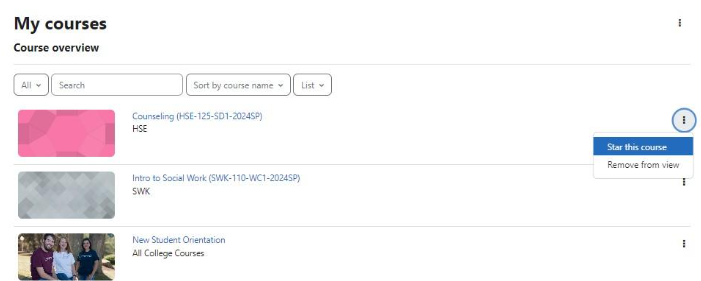
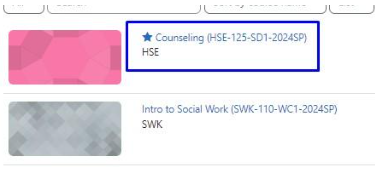
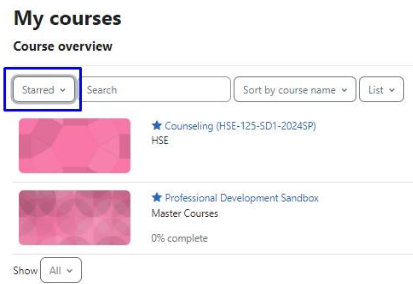
Moodle - Highlighting Courses in the My Courses Area | ||||||||||||||
|---|---|---|---|---|---|---|---|---|---|---|---|---|---|---|
Highlighting courses allows for those courses to be "favorited" so they appear first in your "My Courses" area. If you do not use highlighting, courses are listed in alphabetical order.
| ||||||||||||||

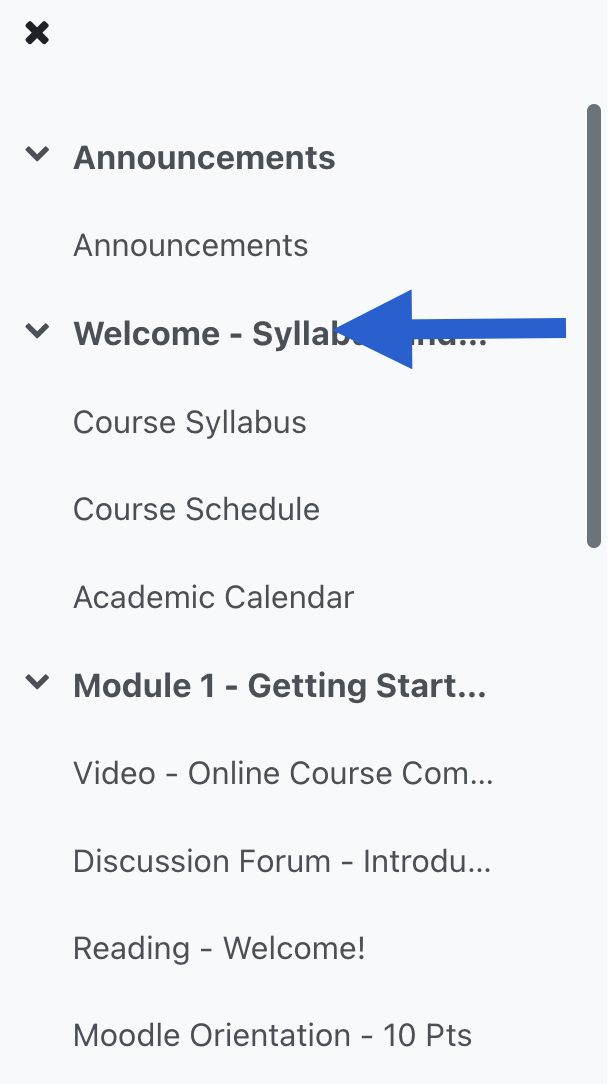
Moodle - Navigating Moodle | |||||||||||||||||
|---|---|---|---|---|---|---|---|---|---|---|---|---|---|---|---|---|---|
In this tutorial, you will learn the basics of getting around your Moodle courses.
| |||||||||||||||||


Moodle - Sending a Message | |||||||||||||||||
|---|---|---|---|---|---|---|---|---|---|---|---|---|---|---|---|---|---|
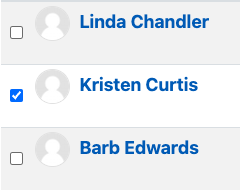
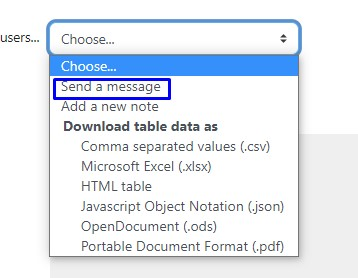
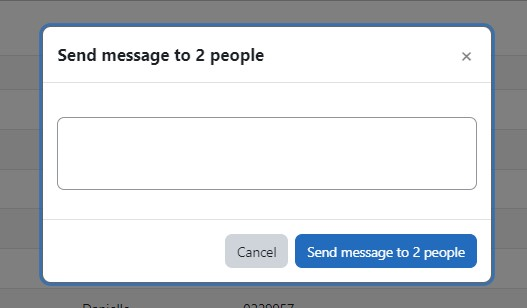
The messaging feature in Moodle allows you to send a message to another user within Moodle. You can send messages to other students or to your instructor. The recipient will receive a notification in Moodle as well as an email with your message.
| |||||||||||||||||

Moodle - Updating Your Forum Preferences: Unsubscribing from Forums by Default | |||||||||||||||||
|---|---|---|---|---|---|---|---|---|---|---|---|---|---|---|---|---|---|
When you post to a forum, in most cases you will be automatically subscribed to the forum, even after previously unsubscribing. (By default, most forums will automatically re-subscribe you.) If you wish to avoid this and not receive emails from forums even after you have posted, follow this tutorial. Note: You will not be unsubscribed from any forums that your instructor has set to be "forced subscription," including Announcements forums.
| |||||||||||||||||

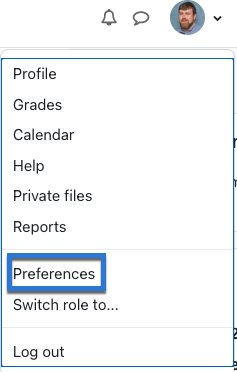
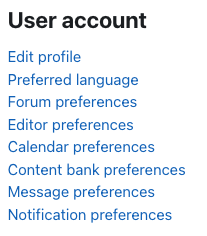
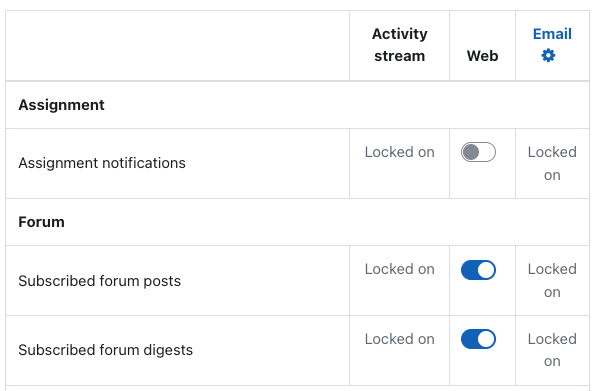
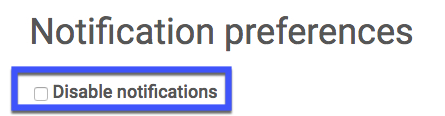
Moodle - Updating Your Notification Preferences | |||||||||||||||||
|---|---|---|---|---|---|---|---|---|---|---|---|---|---|---|---|---|---|
Instructors and students have the option to set up email confirmation notifications for doing such things as submitting assignments and quizzes, as well as receiving emails of forum digests when subscribed to discussion forums. A video Tutorial is available here.
Questions? Please submit a Help Ticket to SCC E-Learning (under "Select Type of Help," choose "Moodle Assistance") | |||||||||||||||||

Q |
|---|
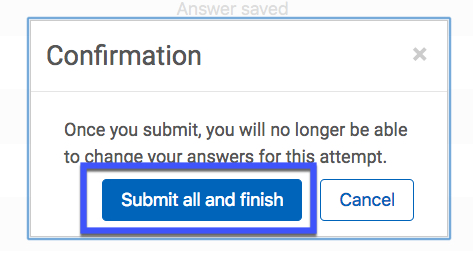
Quiz - Submitting a Quiz | |||||||||||||||||
|---|---|---|---|---|---|---|---|---|---|---|---|---|---|---|---|---|---|
| |||||||||||||||||
Quiz - Taking a Quiz/Exam with Online Proctoring (using Respondus LockDown Browser) | ||||||||
|---|---|---|---|---|---|---|---|---|
Taking a Quiz/Exam with Online Proctoring (using Respondus LockDown Browser) Respondus LockDown Browser is a custom browser that locks down the testing environment within a learning management system. For details on what the LockDown Browser does, click here: Respondus.com To download the Respondus LockDown Browser before taking an exam, please click here: Respondus LockDown Browser
| ||||||||

S |
|---|
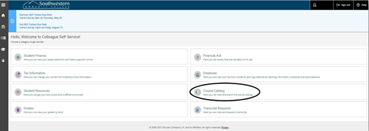
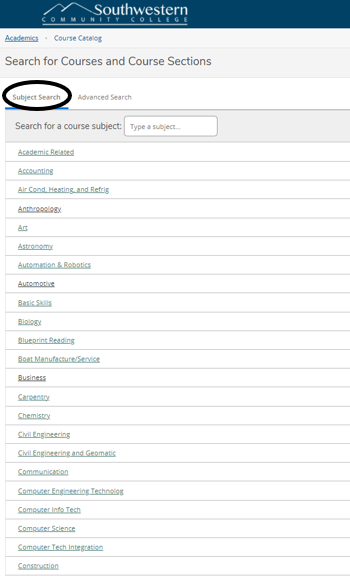
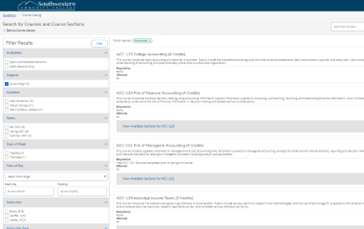
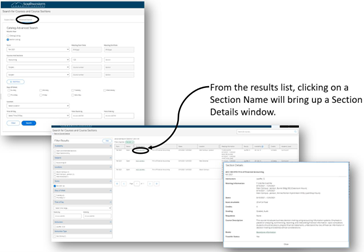
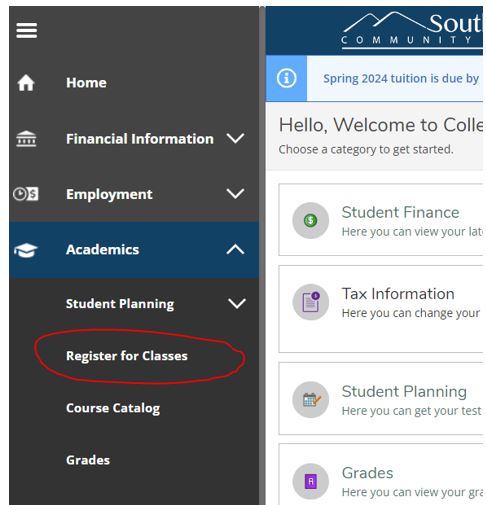
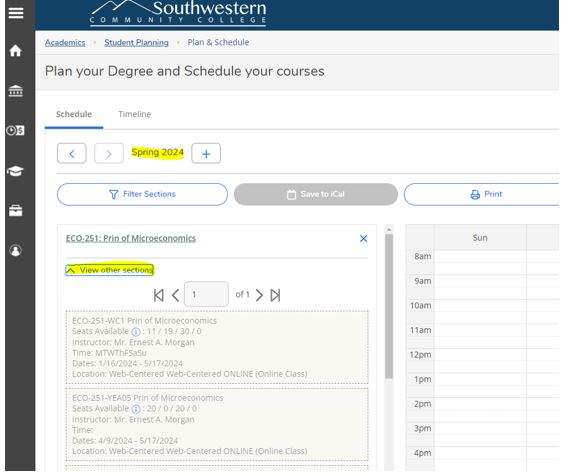
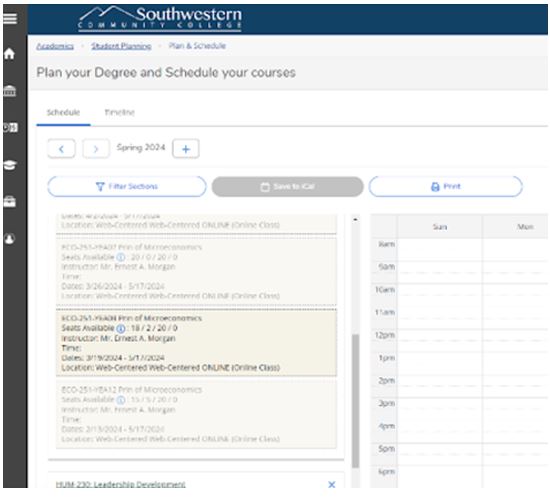
Self Service - How to Search for Available Courses | |||||||||||||||||
|---|---|---|---|---|---|---|---|---|---|---|---|---|---|---|---|---|---|
| |||||||||||||||||
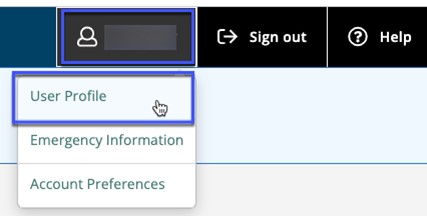
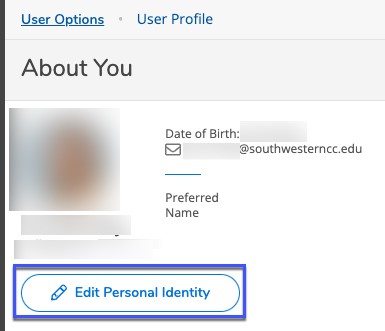
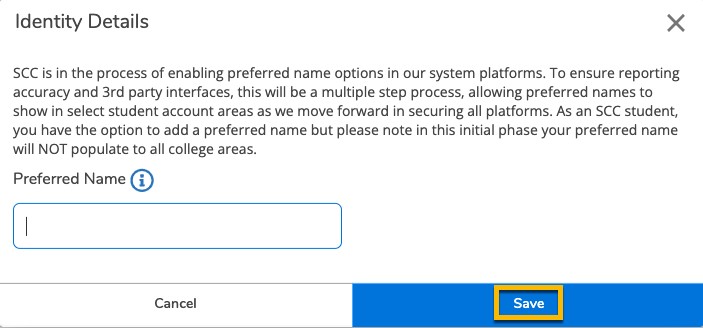
Self-Service - Adding a Preferred Name | ||||||||||||||
|---|---|---|---|---|---|---|---|---|---|---|---|---|---|---|
Messages in Watermark / Aviso can be sent as emails or text messages.
| ||||||||||||||

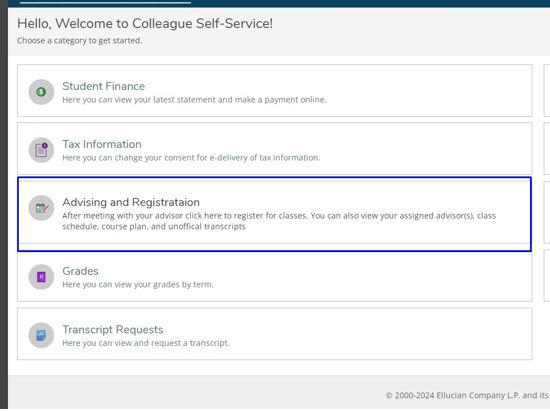
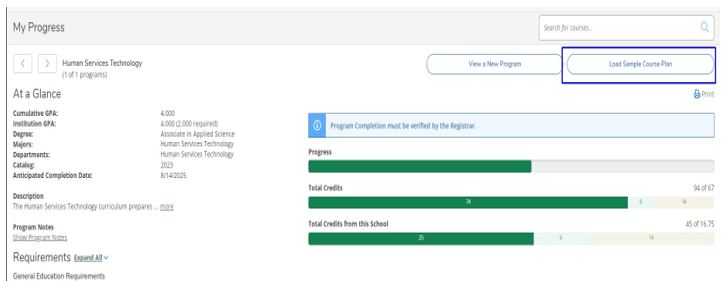
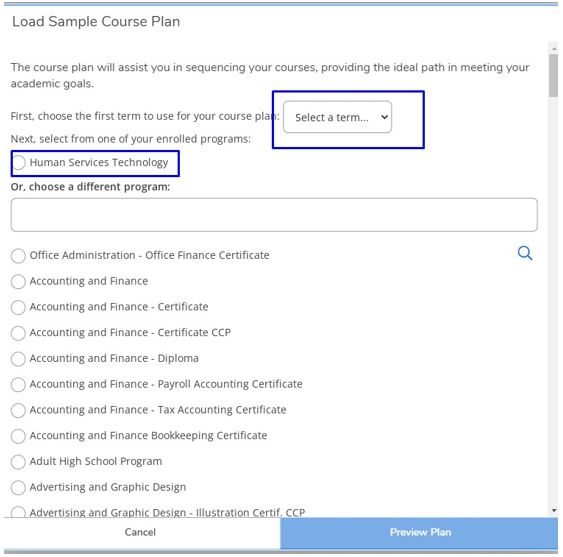
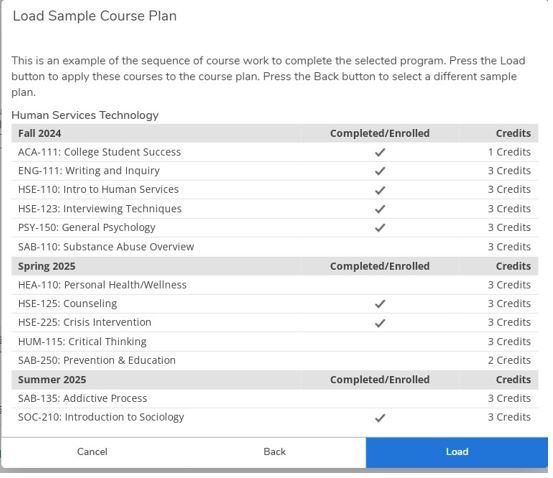
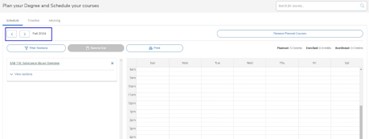
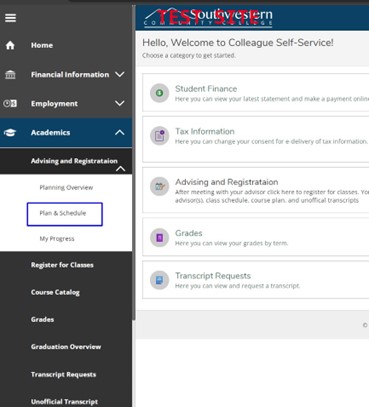
Self-Service - Creating an Academic Plan | |||||||||||||||||||||||
|---|---|---|---|---|---|---|---|---|---|---|---|---|---|---|---|---|---|---|---|---|---|---|---|
| |||||||||||||||||||||||


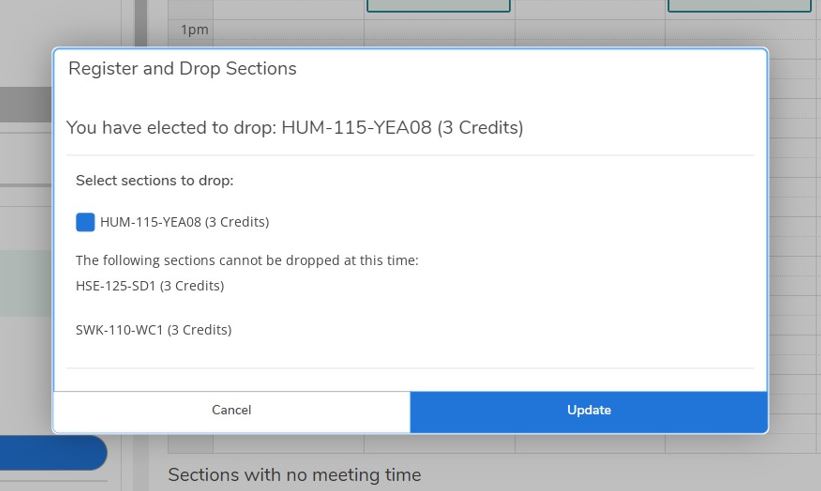
Self-Service - Deleting a Registered Class | |||||||||||||||||||||||
|---|---|---|---|---|---|---|---|---|---|---|---|---|---|---|---|---|---|---|---|---|---|---|---|
| |||||||||||||||||||||||


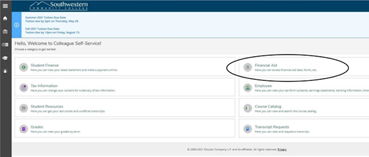
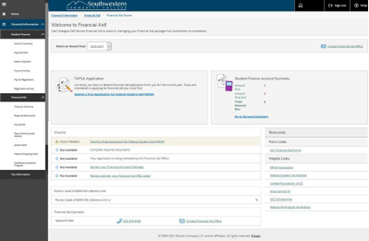
Self-Service - How to Find Your Financial Aid Page | |||||||||||
|---|---|---|---|---|---|---|---|---|---|---|---|
| |||||||||||

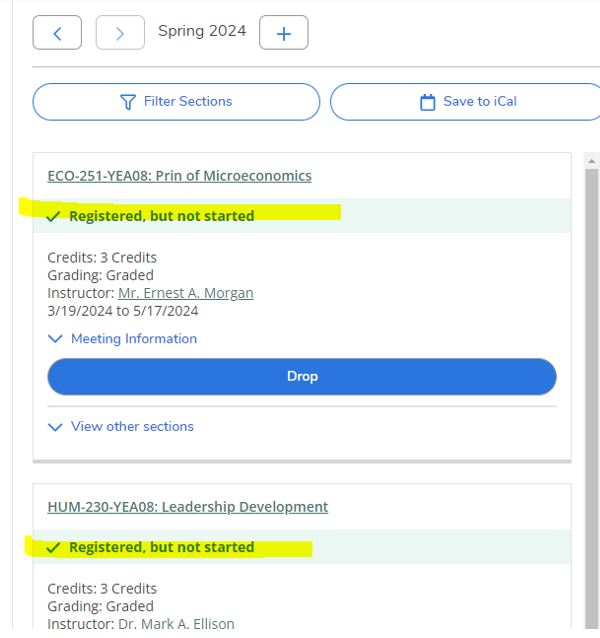
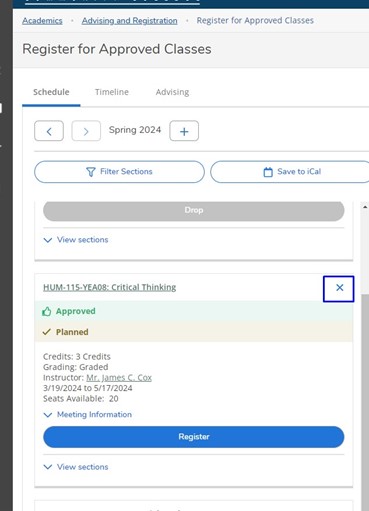
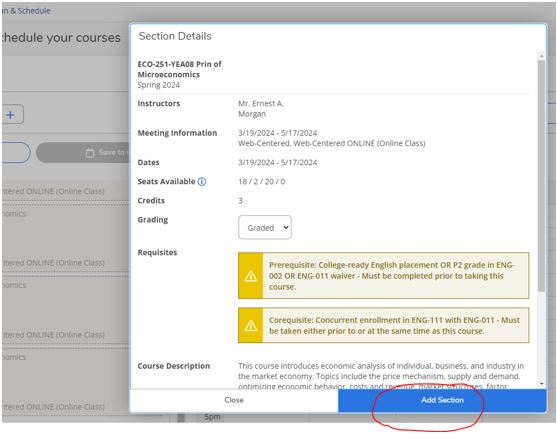
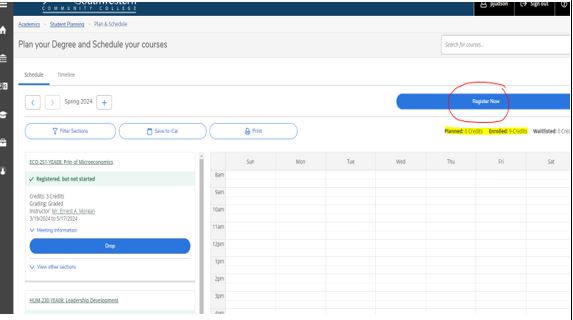
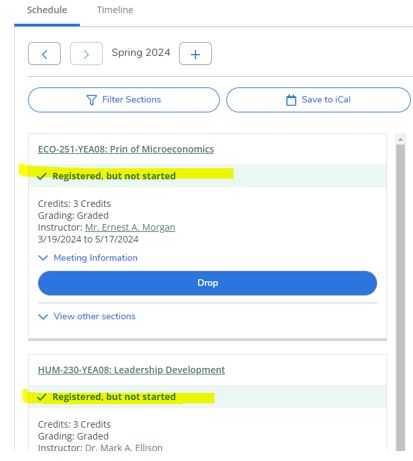
Self-Service - Registering for your SCC Courses using Self-Service | ||||||||||||||||||||||||||
|---|---|---|---|---|---|---|---|---|---|---|---|---|---|---|---|---|---|---|---|---|---|---|---|---|---|---|
Reminder: You must FIRST complete the advising process with your academic advisor.
| ||||||||||||||||||||||||||

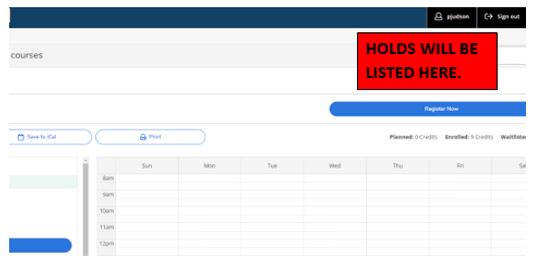
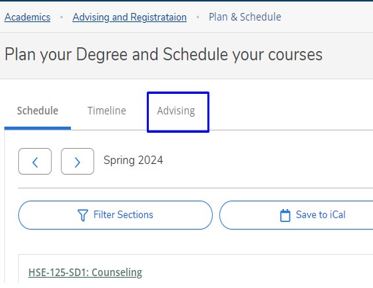
Self-Service - Requesting a Review of an Academic Plan | ||||||||||||||
|---|---|---|---|---|---|---|---|---|---|---|---|---|---|---|
| ||||||||||||||


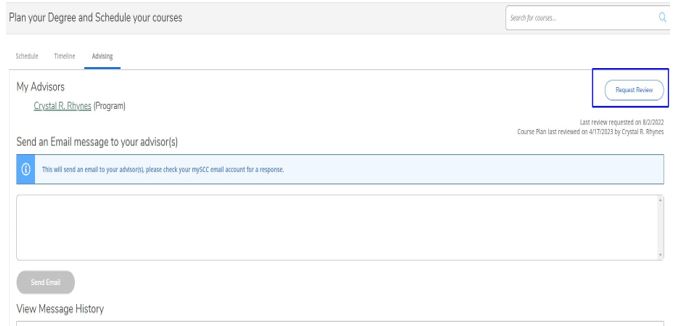
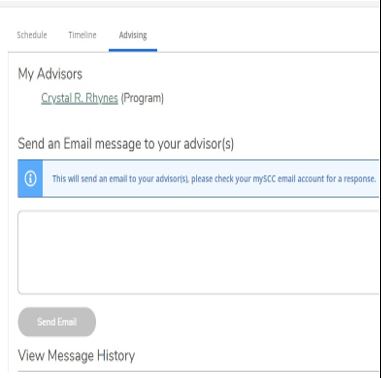
Self-Service - Sending a Message to Your Advisor | ||||||||||||||
|---|---|---|---|---|---|---|---|---|---|---|---|---|---|---|
| ||||||||||||||


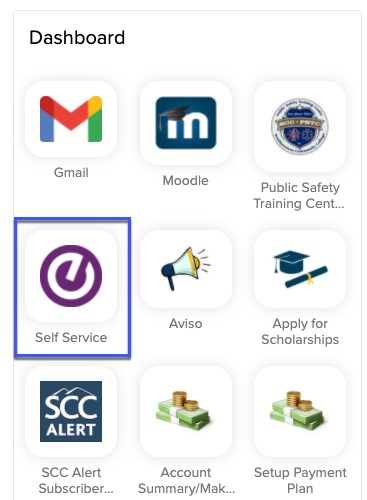
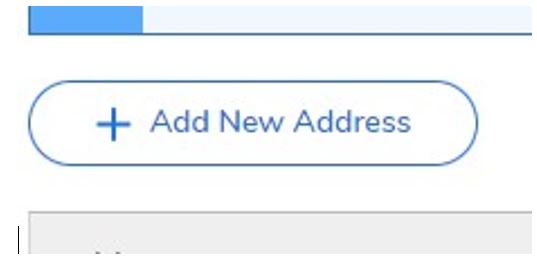
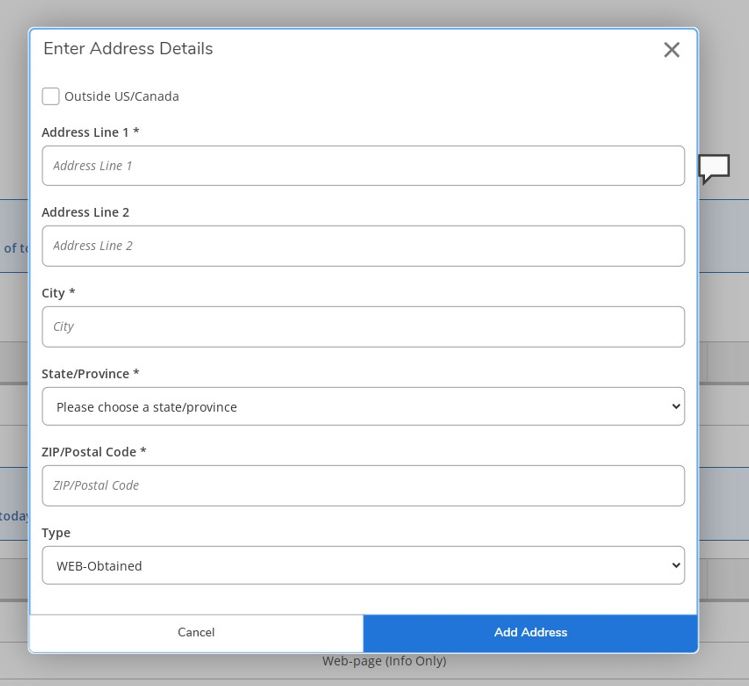
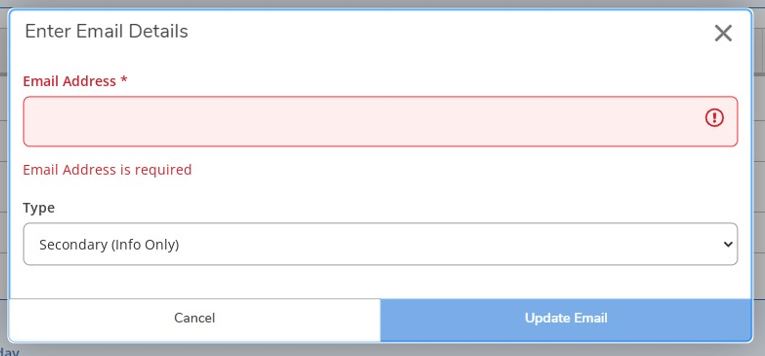
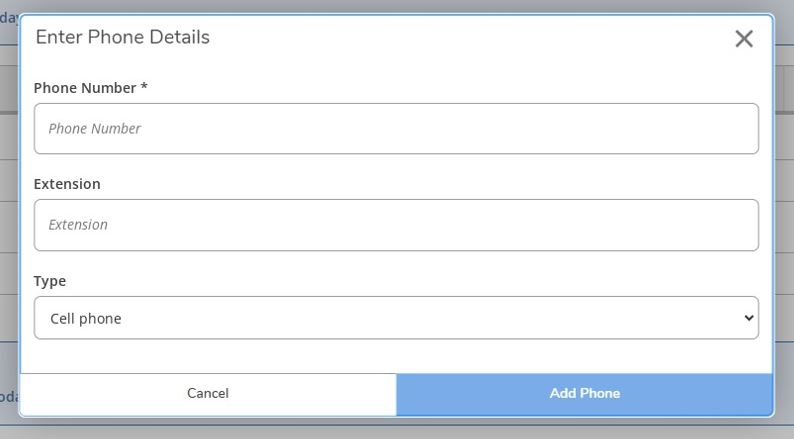
Self-Service - Updating Contact Information | ||||||||||||||||||||||||||
|---|---|---|---|---|---|---|---|---|---|---|---|---|---|---|---|---|---|---|---|---|---|---|---|---|---|---|
| ||||||||||||||||||||||||||

U |
|---|
Using Read&Write for Text-to-Speech | ||||||||||||||
|---|---|---|---|---|---|---|---|---|---|---|---|---|---|---|
Using Read&Write for Text-to-SpeechIn this tutorial, you will learn how to use Read&Write for text-to-speech.
| ||||||||||||||


Using Read&Write to Simplify Text | ||||||||||||||
|---|---|---|---|---|---|---|---|---|---|---|---|---|---|---|
Using Read&Write to Simplify TextIn this tutorial, you will learn how to use Read&Write to make text on websites easier to understand, by finding complex or difficult words and replacing them with simpler words.
| ||||||||||||||


Using Read&Write to Simplify Websites | |||||||||||
|---|---|---|---|---|---|---|---|---|---|---|---|
Using Read&Write to Simplify WebsitesWebsites can often be complex and difficult to read, especially if you have to rely on a screen reader. A web page may also have distractions such as photos, advertisements, and many links to other places. Read&Write’s Simplify Page feature makes reading a web page easier by stripping out unnecessary formatting and other distractions. When viewing the simplified version of a web page, you can change text color, font, and line spacing, as well as using all of Read&Write’s standard features.
| |||||||||||


Using Read&Write's Highlighters | |||||||||||
|---|---|---|---|---|---|---|---|---|---|---|---|
Using Read&Write's HighlightersIn this tutorial, you will learn how to use Read&Write's highlighter options. The Read&Write toolbar contains a set of highlighter buttons that you can use to highlight important information: You can use these buttons to mark important information in a web page or Google Docs, and follow the steps below to collect the highlighted information into a new document.
| |||||||||||


Using Read&Write's Screen Masking Tool | ||||||||||||||
|---|---|---|---|---|---|---|---|---|---|---|---|---|---|---|
Using Read&Write's Screen Masking ToolIn this tutorial, you will learn how to use Read&Write to make it easier for you to read online text.
| ||||||||||||||


Using Read&Write's Translator | |||||||||||
|---|---|---|---|---|---|---|---|---|---|---|---|
Using Read&Write's TranslatorIn this tutorial, you will learn how to use Read&Write to translate text into a second language.
| |||||||||||


Using the Read&Write Dictionaries | ||||||||
|---|---|---|---|---|---|---|---|---|
Using the Read&Write DictionariesIn this tutorial, you will learn how to use the talking and picture dictionaries in the Read&Write toolbar.
| ||||||||


Y |
|---|
YouTube - Adding a YouTube Video to an Assignment | ||||||||||||||||||||||||||
|---|---|---|---|---|---|---|---|---|---|---|---|---|---|---|---|---|---|---|---|---|---|---|---|---|---|---|
| ||||||||||||||||||||||||||


Background Colour
Font Face
Font Kerning
Font Size
Image Visibility
Letter Spacing
Line Height
Link Highlight
Text Colour