
Moodle Help
Navigating the Glossary
At the top of the page, you’ll see several ways to browse:
-
Search Bar: A quick way to find specific terms. Enter a keyword (such as “Grades” or “Assignments”) and press Enter. This is often the quickest way to locate the information you need.
-
Categories: Select a category to see all tutorials surrounding a particular topic.
-
Alphabetical (A, B, C…): Click a letter to jump to entries beginning with that letter.
-
All: View the entire glossary on a single page.
Key Features
-
Bolded Keywords: Each glossary entry begins with a bolded term (like “MyCourses” or “Messages”), followed by a clear explanation of its function within Moodle.
-
Linked Terms: Many entries include links to related terms, allowing you to explore how different parts of Moodle connect.
A | B | C | D | E | F | G | H | I | J | K | L | M | N | O | P | Q | R | S | T | U | V | W | X | Y | Z | ALL
G |
|---|
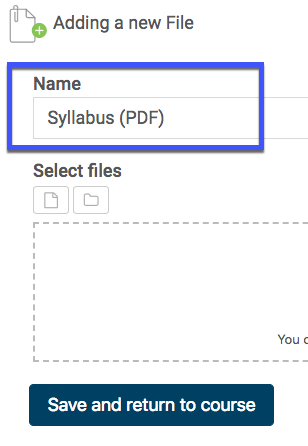
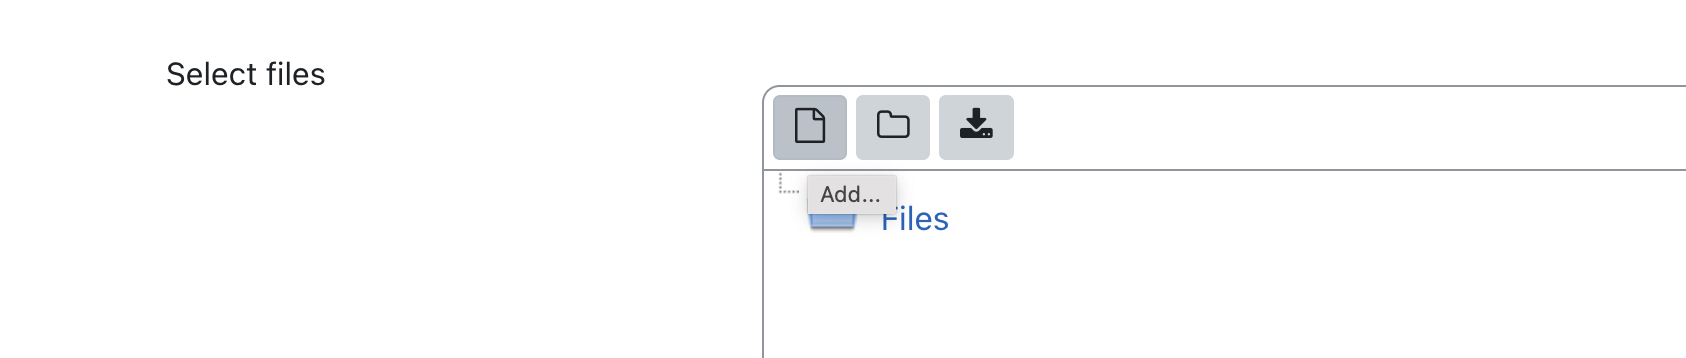
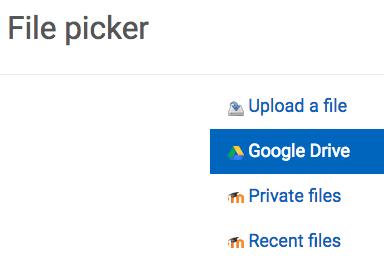
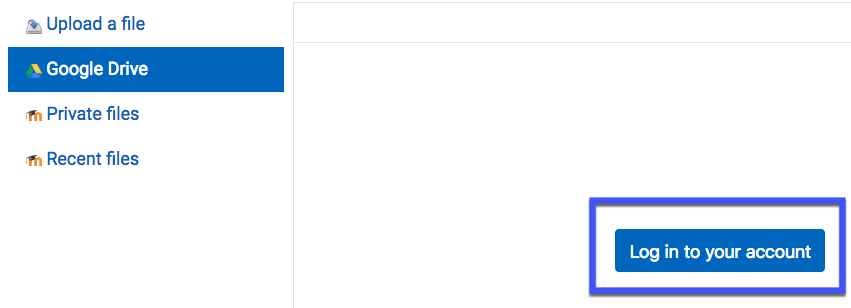
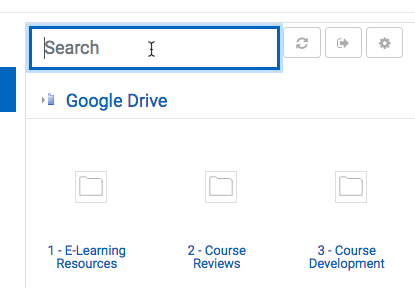
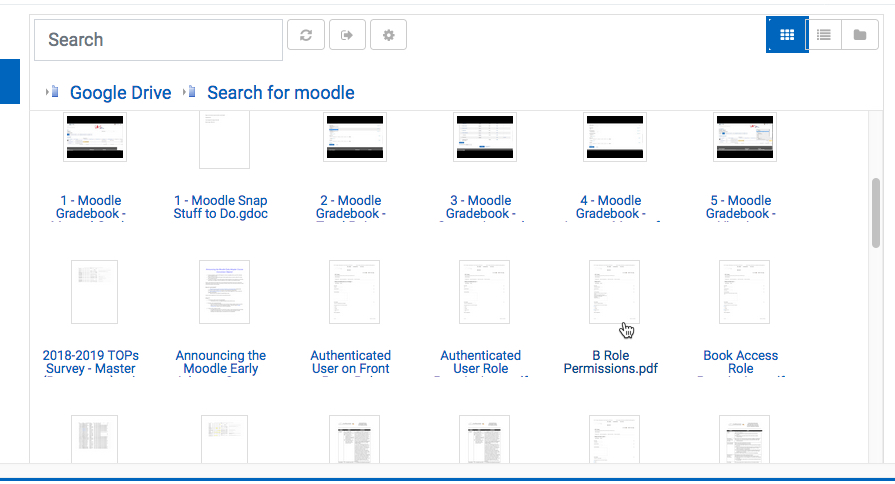
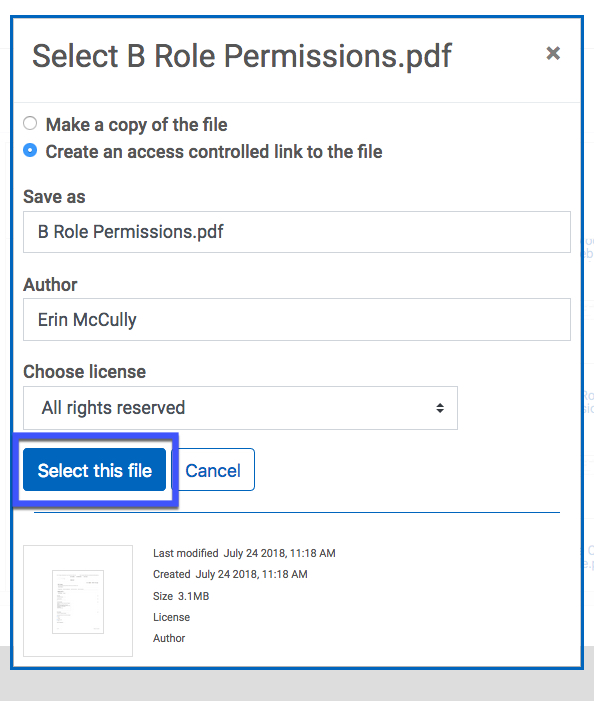
Google File (Resources)Adding Files from Google DriveMoodle provides an easy way to share files with students via Google Drive. When you insert a file from Google Drive into Moodle using the steps below, Moodle will automatically update the sharing settings so that students may view and download the files.
| ||||||||||||||||||||||||||||||||||||


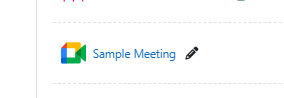
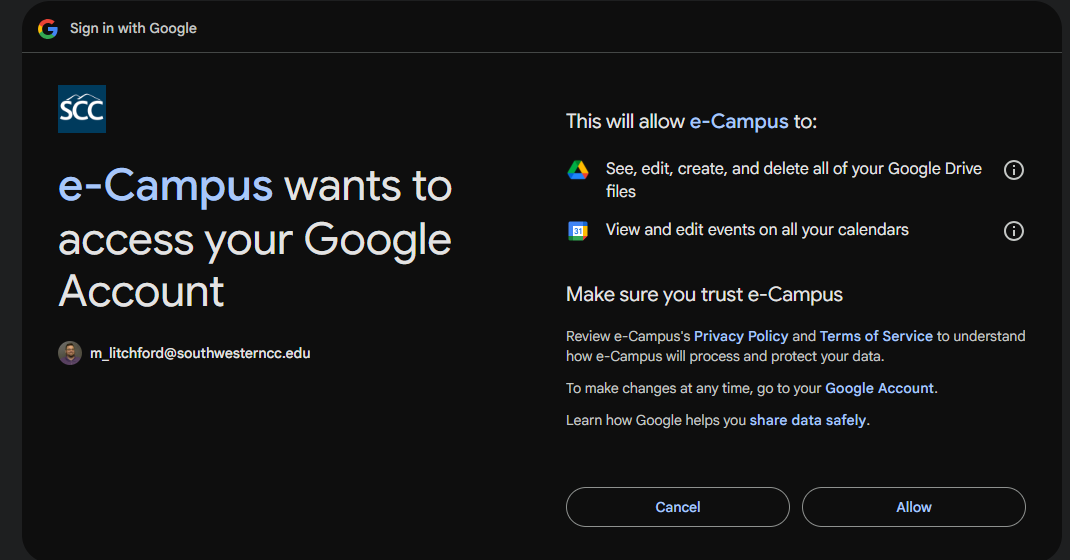
Google MeetCreating a Live Virtual Class using Google Meet Google Meet for Moodle allows instructors to create a live virtual class meeting. Please note: Google Meet works best in the Chrome browser.
| |||||||||||||||||||||


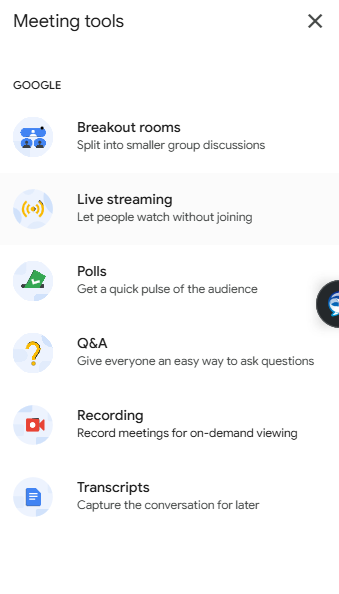
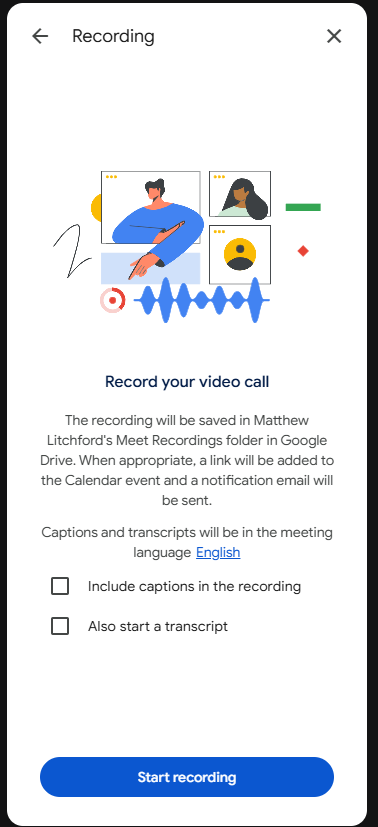
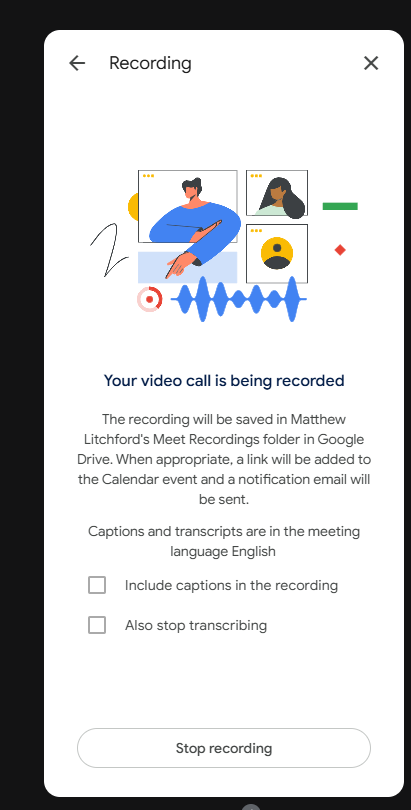
Google Meet - RecordingFollow the steps below to record a Google Meet session. You can only record from a computer. The mobile apps for Google Meet do not have a record function.
| |||||||||||||||


Google Meet - SharingSharing a Google Meet Session with Students
| ||||||


Google Meet - Using CaptionsUsing Captions while in Google MeetGoogle has made Closed Captioning available while using their Google Meet function. It's not perfect, but it's an excellent automated tool to increase accessibility during an online meeting.
| ||||||


Gradebook - Editing CategoriesEditing Gradebook CategoriesEditing Gradebook Categories
| ||||||||||||

Gradebook - Calculating an Average (Mean of Grades)If you set your Gradebook to calculate the mean of grades, the course grade will be the sum of all grades divided by the total number of grades.
| ||||||||||||
Gradebook - Calculating Points (Natural)The default setting for a Moodle gradebook is "natural" (also known as "sum of points"). An entry with a maximum grade of 100 points is significantly more "weighty" than one with a maximum grade of only 10 points.
| ||||||||||||

Gradebook - Calculating Weighted Average (Weighted Mean of Grades)A weighted average allows you to assign weight to activities while not adjusting each activities' point value. If you use weights or weighted totals to determine the students' overall grades in your course, you may need to use categories when organizing the gradebook. For a tutorial on creating categories click here.
| |||||||||||||||

Background Colour
Font Face
Font Kerning
Font Size
Image Visibility
Letter Spacing
Line Height
Link Highlight
Text Colour