
Moodle Help
Navigating the Glossary
At the top of the page, you’ll see several ways to browse:
-
Search Bar: A quick way to find specific terms. Enter a keyword (such as “Grades” or “Assignments”) and press Enter. This is often the quickest way to locate the information you need.
-
Categories: Select a category to see all tutorials surrounding a particular topic.
-
Alphabetical (A, B, C…): Click a letter to jump to entries beginning with that letter.
-
All: View the entire glossary on a single page.
Key Features
-
Bolded Keywords: Each glossary entry begins with a bolded term (like “MyCourses” or “Messages”), followed by a clear explanation of its function within Moodle.
-
Linked Terms: Many entries include links to related terms, allowing you to explore how different parts of Moodle connect.
A | B | C | D | E | F | G | H | I | J | K | L | M | N | O | P | Q | R | S | T | U | V | W | X | Y | Z | ALL
A |
|---|
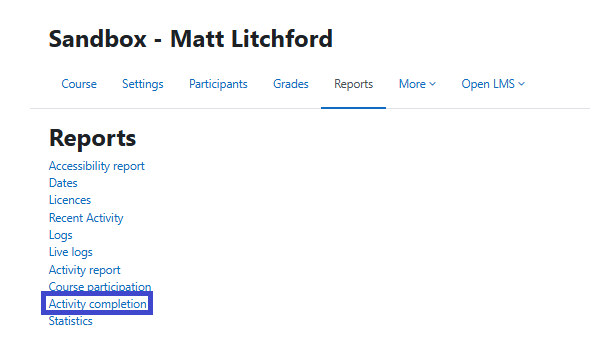
Activities - Activity CompletionActivity completion lets students know when they have a certain number of assignments to complete or items to view; this information is displayed underneath each section in the form of "Progress" information. You must turn tracking on for your course to use activity completion. (For information on how to turn on course Completion Tracking, see this tutorial: Turning On Completion Tracking)
| |||||||||||||||||||||


Activities - UngradedCreating an Ungraded ActivityThis tutorial will help you set up an ungraded activity that shows in your gradebook. (Forums can be set to "ungraded" and Quizzes can be set to have 0 points, but this means that neither of these activities will show up in your Gradebook.)
| |||||||||||||||||||||


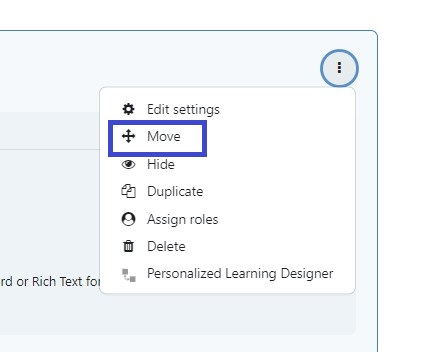
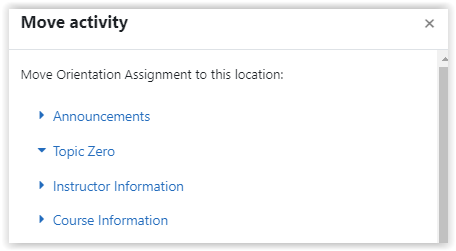
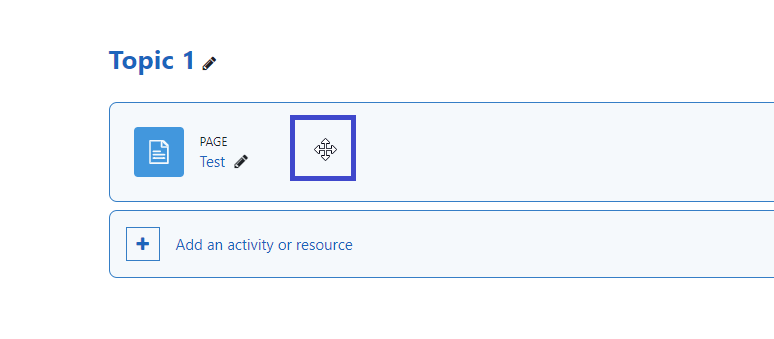
Activities or Resources - MovingYou may move items, assignments, activities, and resources within sections/topics or into different sections/topics. There are two ways to do this. A video tutorial can be found here: Moving Activities and Resources in Your Course
Questions? Please submit a Help Ticket to SCC E-Learning (under "Select Type of Help," choose "Moodle Assistance") | ||||||||||||||||||


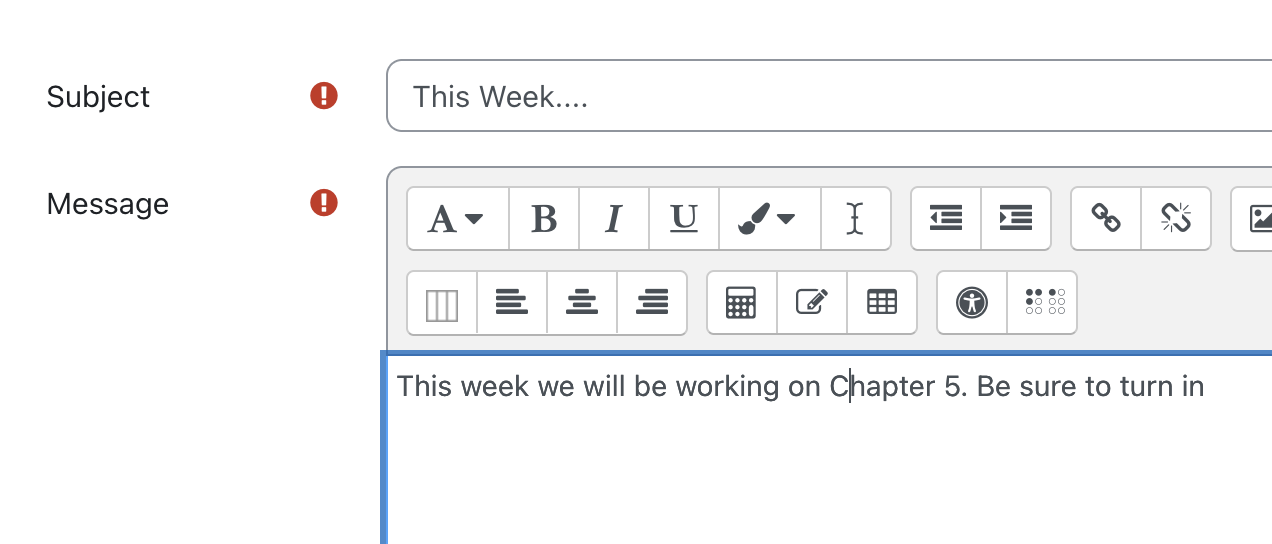
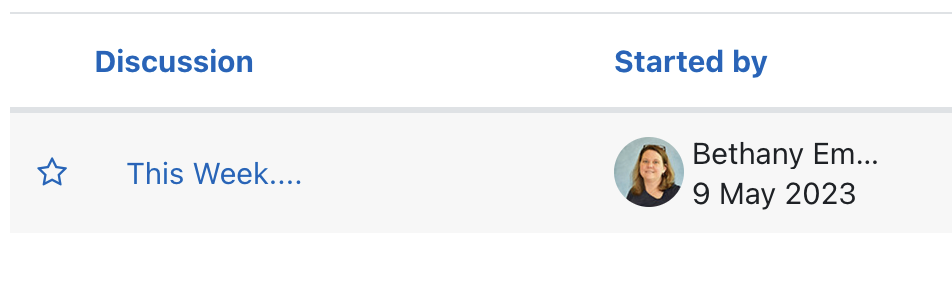
AnnouncementsThe Announcements forum is a special forum for general news and announcements. This forum is automatically created in a new course. By default, it is placed in the top section of the course. As this section is displayed at the top of all course materials, it is a best practice to limit the content in this area to only the Announcements forum. The Announcements forum, includes only posts made by the instructor, and students cannot post in it. The forum has forced subscription set by default, which means that students will receive emails every time an announcement is posted. For a video tutorial, click here.
Questions? Please submit a Help Ticket to SCC E-Learning (under "Select Type of Help," choose "Moodle Assistance") | |||||||||||||||


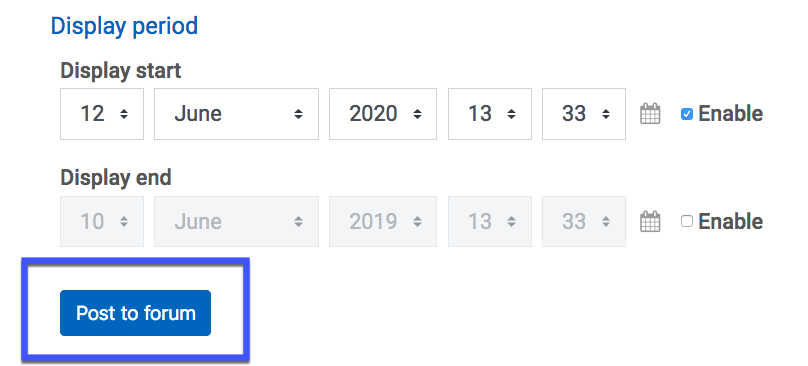
Announcements - SchedulingUse this tutorial to learn how to set your forum posts to be delayed and appear to students (and be emailed to them) later on.
| |||||||||||||||


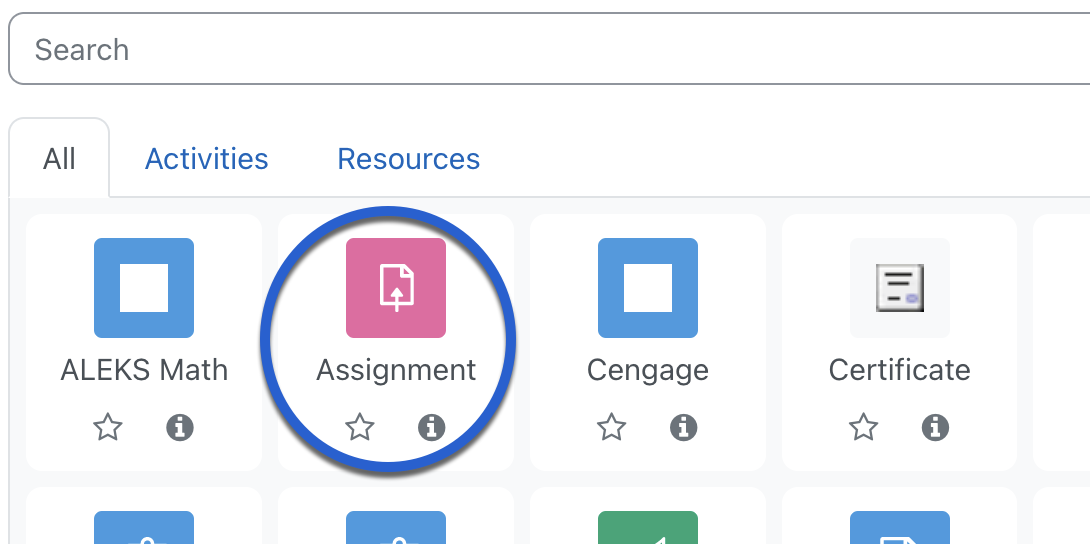
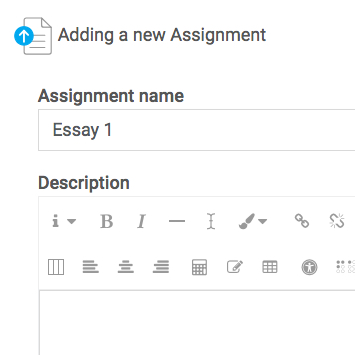
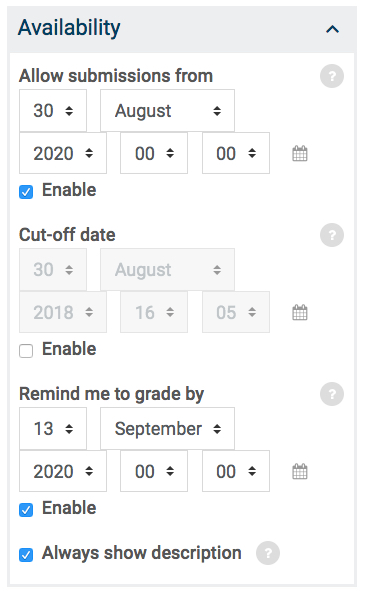
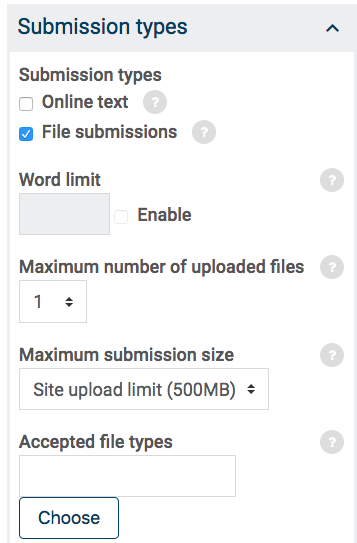
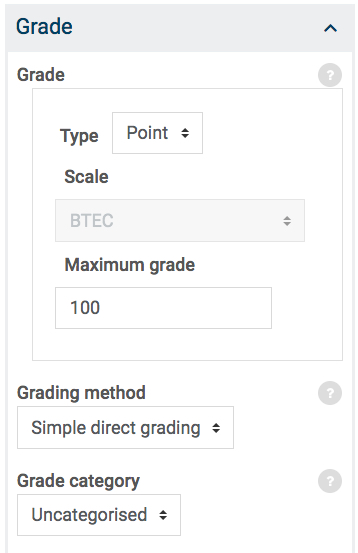
AssignmentsAssignments allow students to submit work to their teacher for grading. The work may be text typed online or uploaded files of any type the teacher’s device can read. When you create an assignment, you have the ability set it up to check for possible plagiarism using CopyLeaks. For a video tutorial, click here.
| |||||||||||||||||||||

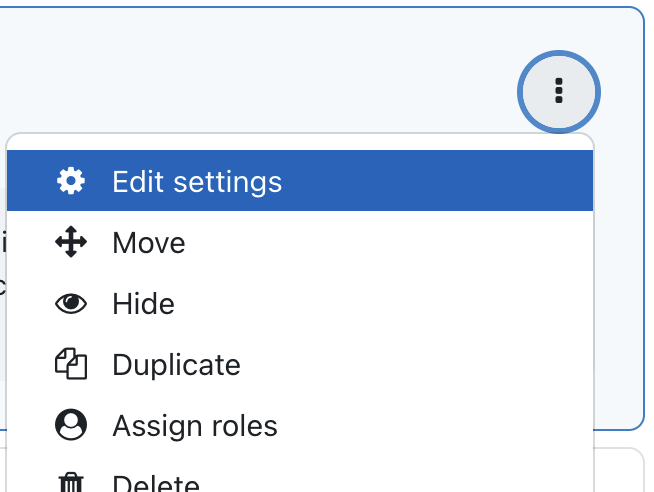
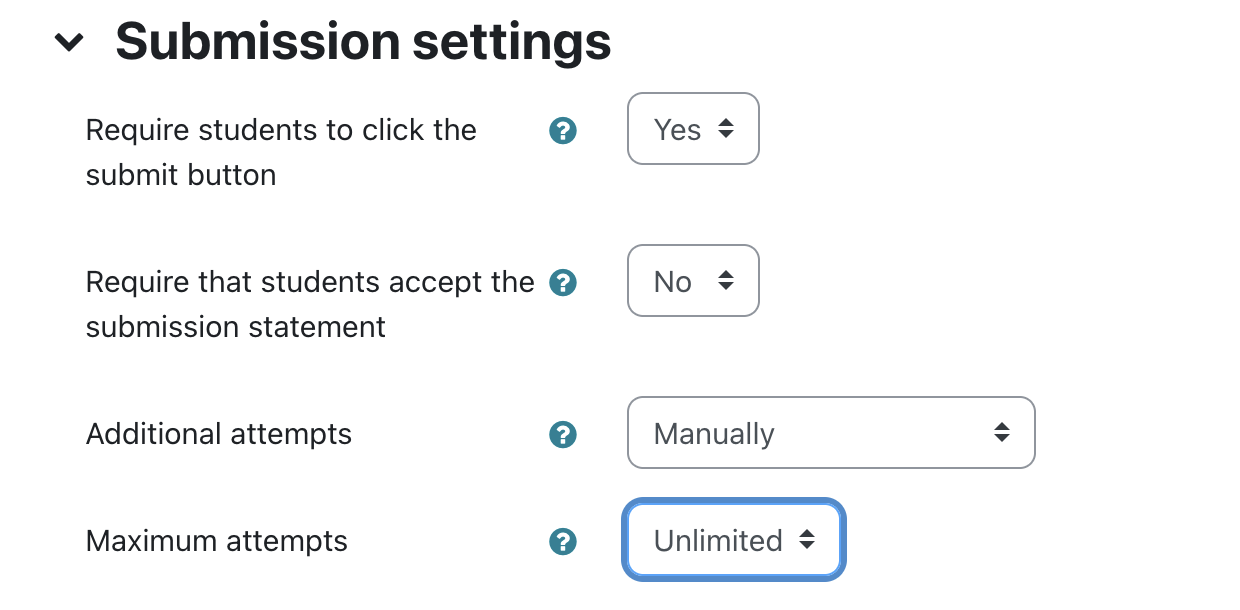
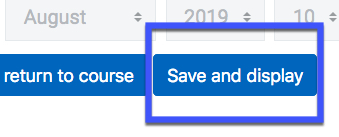
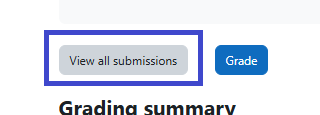
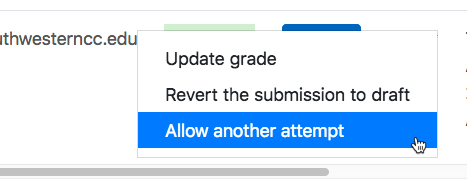
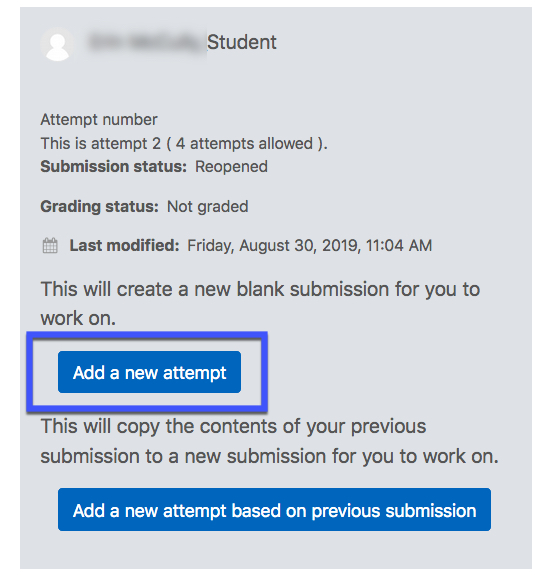
Assignments - Additional AttemptsYou may wish to allow another attempt on an assignment for a student. Follow this tutorial for steps to do so. A video tutorial can be found here: Allowing Another Attempt on an Assignment
| ||||||||||||||||||||||||


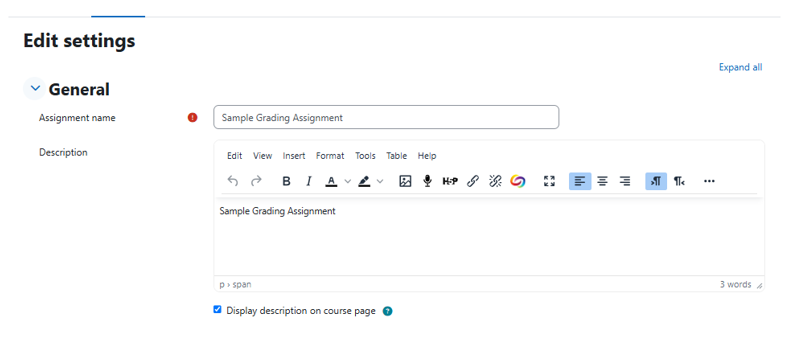
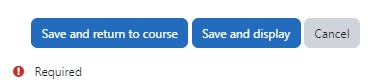
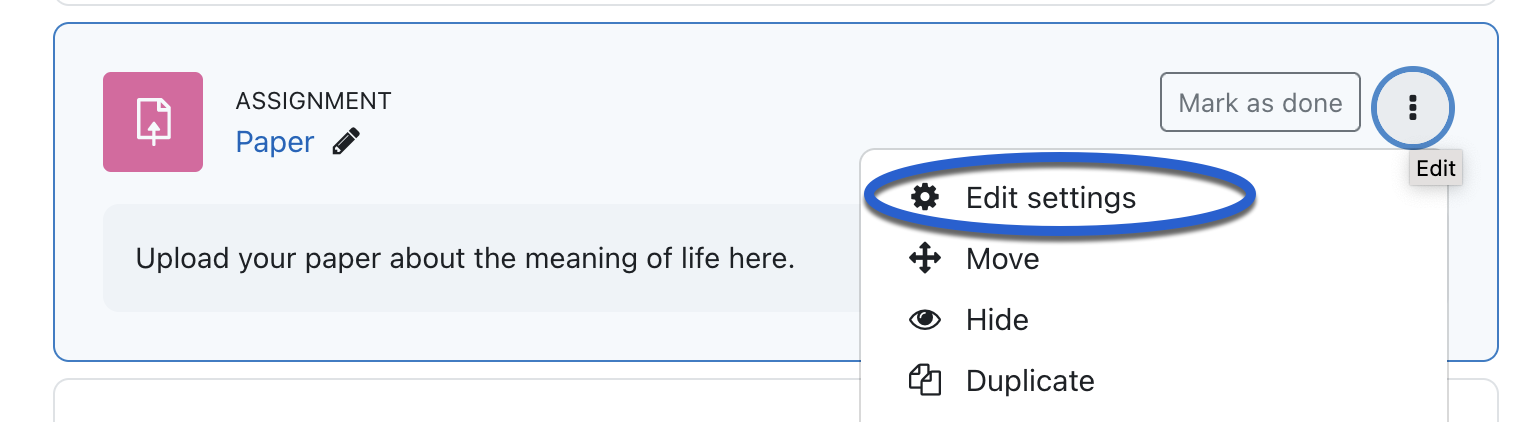
Assignments - EditingThis tutorial will walk you through editing an existing assignment. 1 This tutorial will walk you through editing an existing quiz.
| ||||||||||||


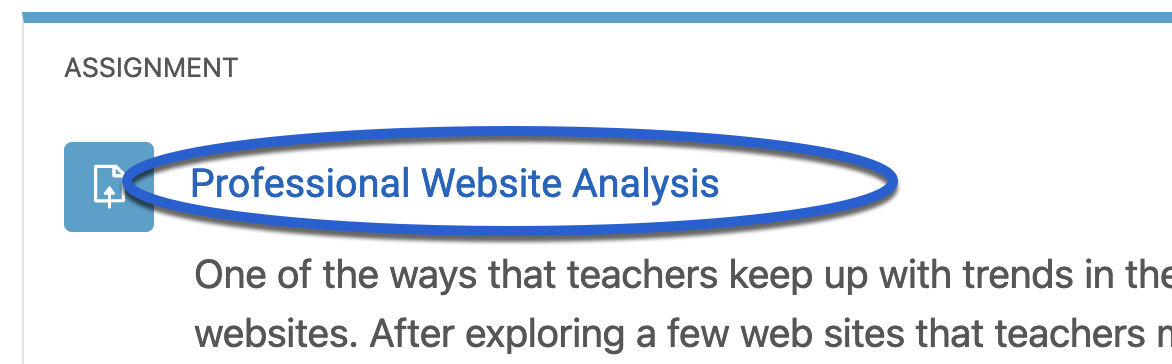
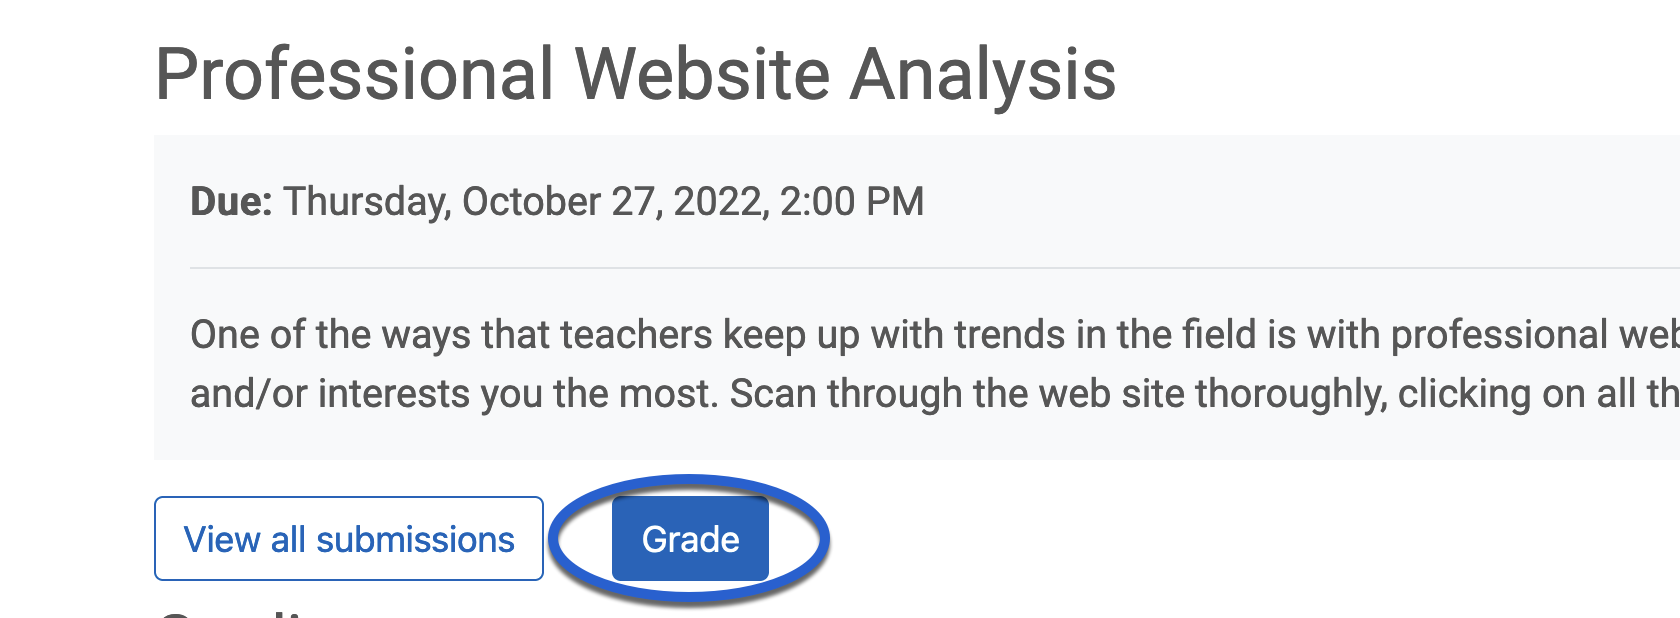
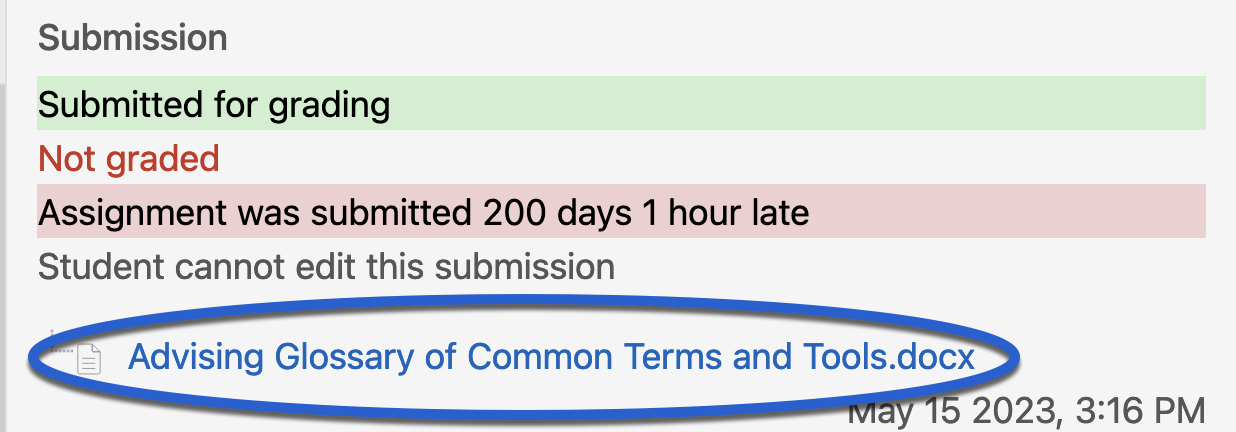
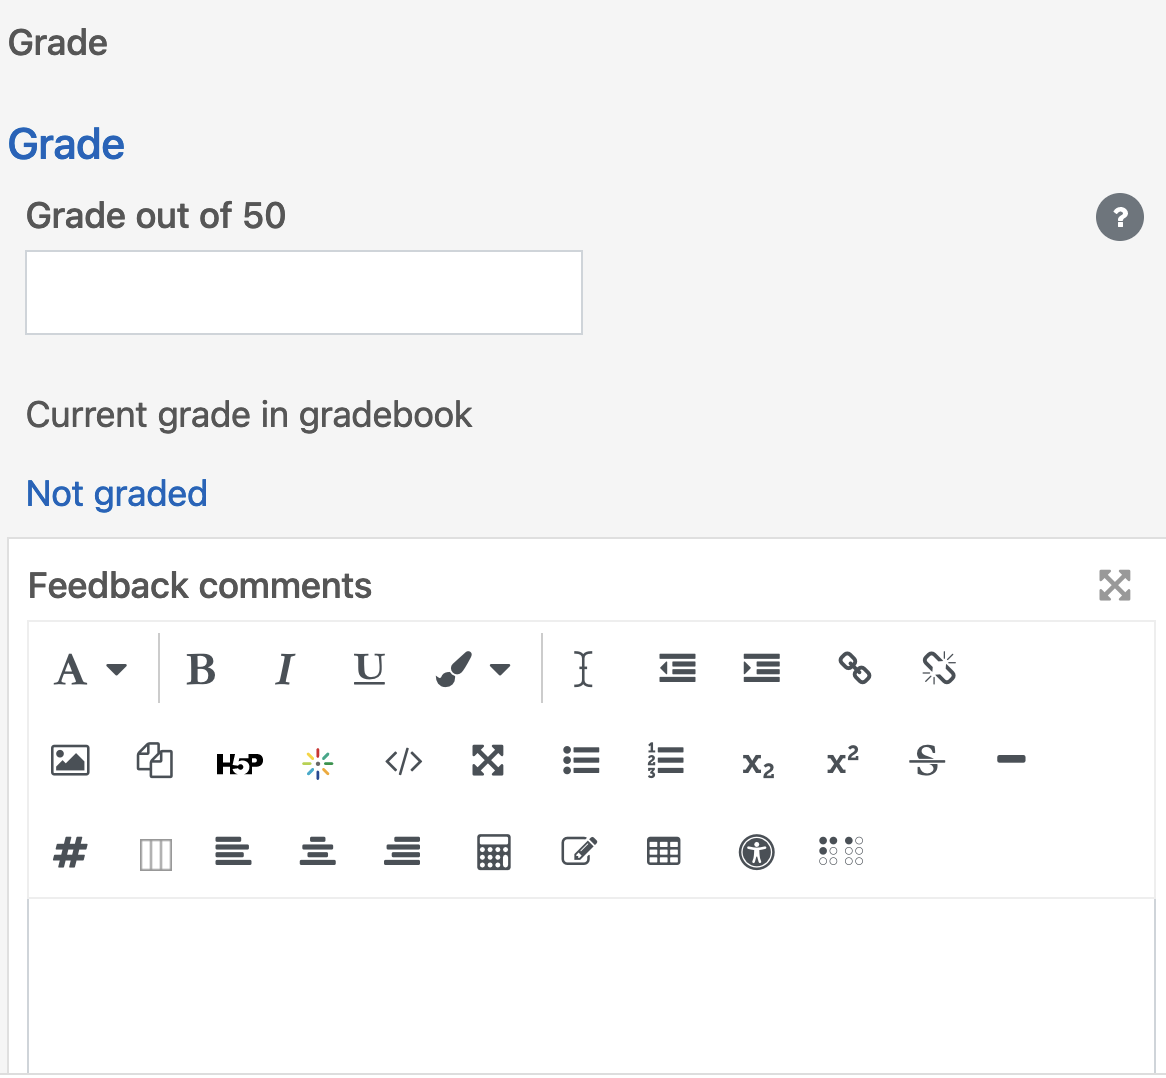
Assignments - GradingA video tutorial can be found here: Grading Assignments
| |||||||||||||||||||||


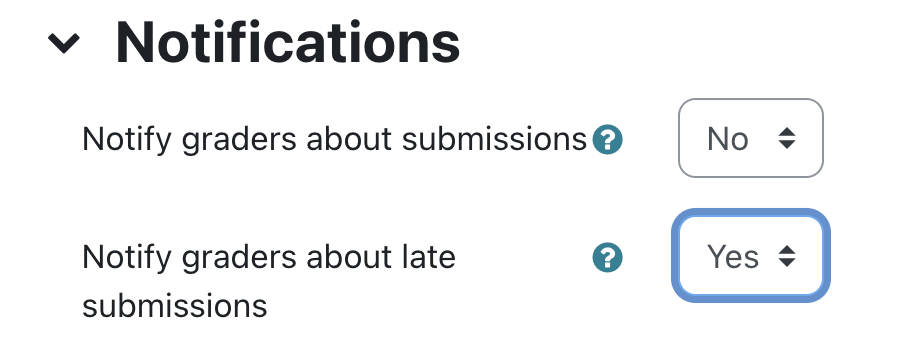
Assignments - Late Submission NotificationWhen students have submitted assignments after the due date set on an assignment, instructors can receive an email notifying them of this.
| |||||||||

Background Colour
Font Face
Font Kerning
Font Size
Image Visibility
Letter Spacing
Line Height
Link Highlight
Text Colour