
Moodle Help
Navigating the Glossary
At the top of the page, you’ll see several ways to browse:
-
Search Bar: A quick way to find specific terms. Enter a keyword (such as “Grades” or “Assignments”) and press Enter. This is often the quickest way to locate the information you need.
-
Categories: Select a category to see all tutorials surrounding a particular topic.
-
Alphabetical (A, B, C…): Click a letter to jump to entries beginning with that letter.
-
All: View the entire glossary on a single page.
Key Features
-
Bolded Keywords: Each glossary entry begins with a bolded term (like “MyCourses” or “Messages”), followed by a clear explanation of its function within Moodle.
-
Linked Terms: Many entries include links to related terms, allowing you to explore how different parts of Moodle connect.
A | B | C | D | E | F | G | H | I | J | K | L | M | N | O | P | Q | R | S | T | U | V | W | X | Y | Z | ALL
F |
|---|
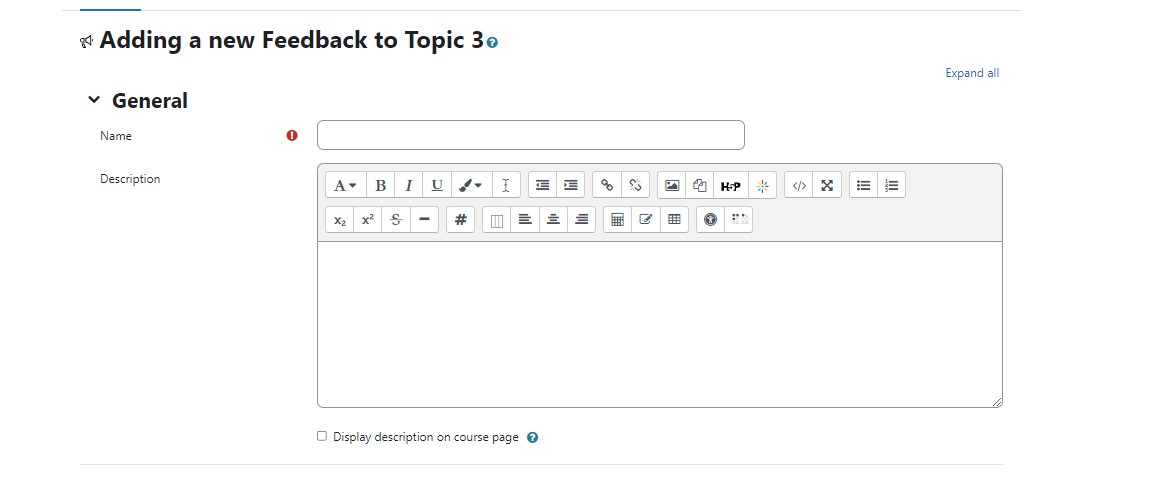
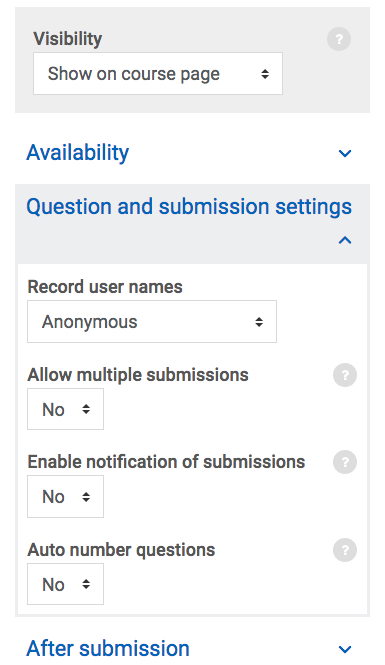
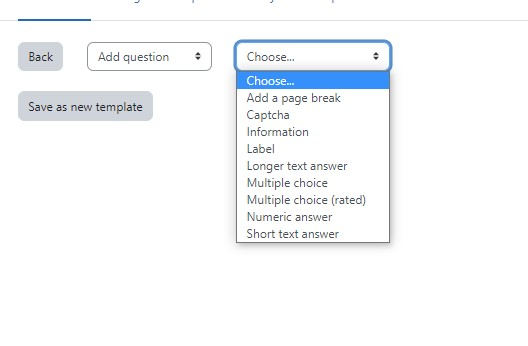
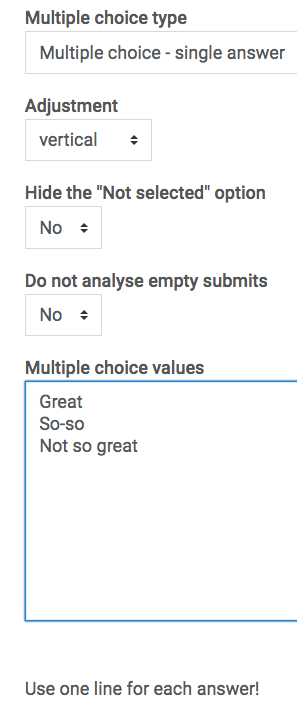
FeedbackFeedback The feedback activity enables instructors to create a custom survey for collecting feedback from students using a variety of question types, including multiple choice, yes/no or text input. A video tutorial can be found here: Feedback
| |||||||||||||||||||||

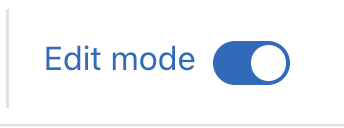
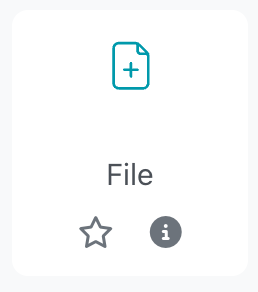
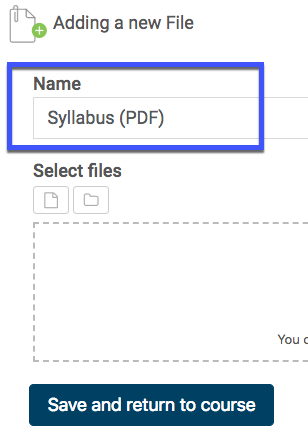
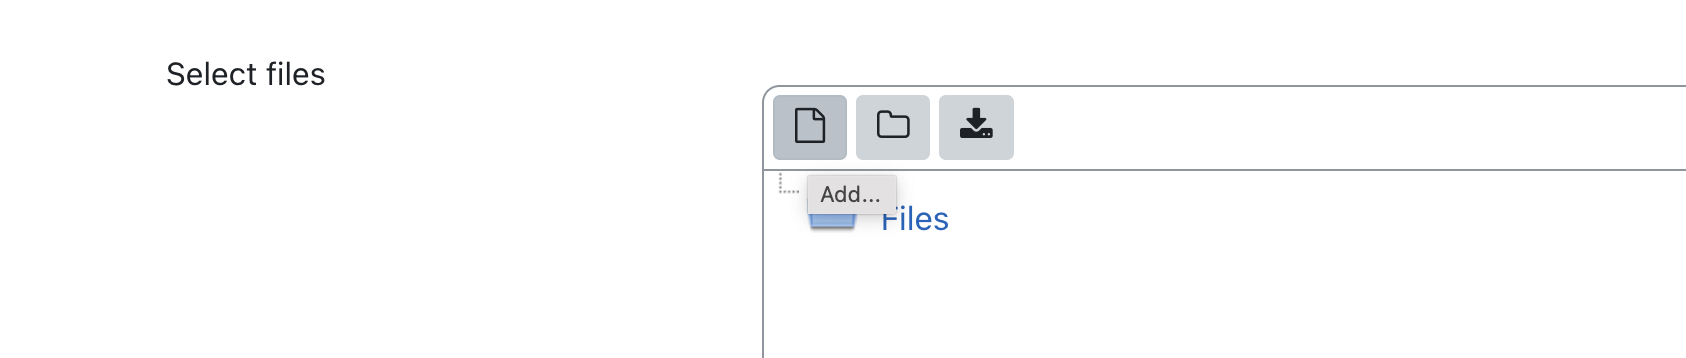
FileAdding Files This tutorial will help you upload a file, such as a syllabus, into your Moodle course. Most files can be uploaded and accessed through Moodle, but the student needs to have the correct software to be able to open them. For a video tutorial, click here.
| |||||||||||||||||||||
File (Resources)Adding FilesThis tutorial will help you upload a file, such as a syllabus, into your Moodle course. Most files can be uploaded and accessed through Moodle, but the student needs to have the correct software to be able to open them. Click here to access an adding files video walkthrough. (Video files are too large for the Moodle server, so click here for instructions on using the Yuja Streaming Server for video files).
| |||||||||||||||||||||

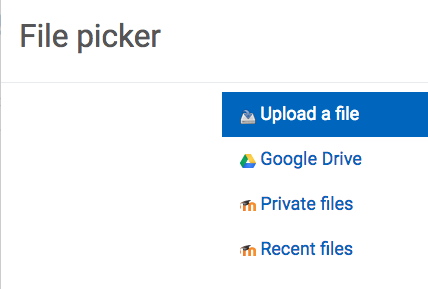

File - Adding from Google DriveInserting a File using Google Drive Moodle provides an easy way to share files with students via Google Drive. When you insert a file from Google Drive into Moodle using the steps below, Moodle will automatically update the sharing settings so that students may view and download the files.
| |||||||||||||||||||||||||||||||||
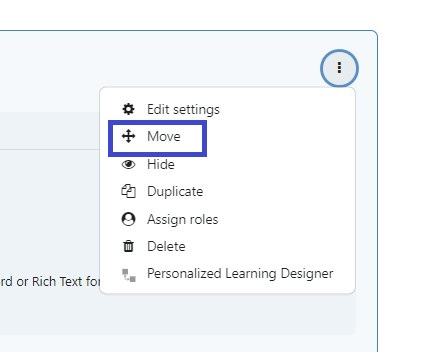
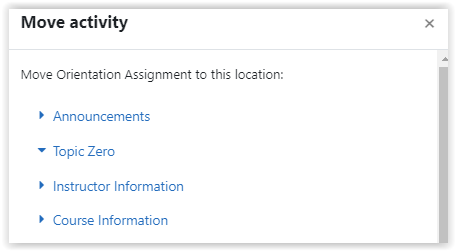
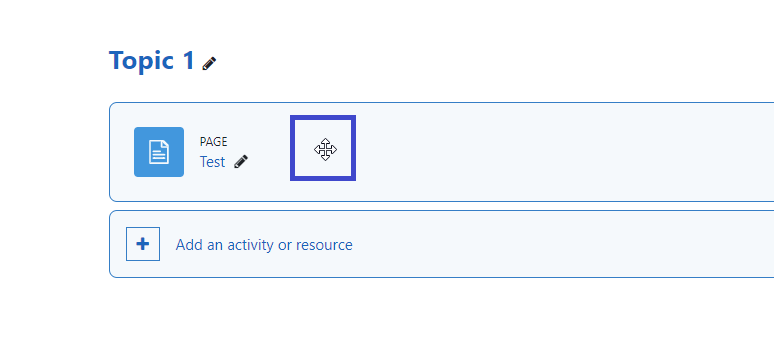
File - MovingYou may move items, assignments, activities, and resources within sections/topics or into different sections/topics. There are two ways to do this. A video tutorial can be found here: Moving Activities and Resources in Your Course
Questions? Please submit a Help Ticket to SCC E-Learning (under "Select Type of Help," choose "Moodle Assistance") | ||||||||||||||||||

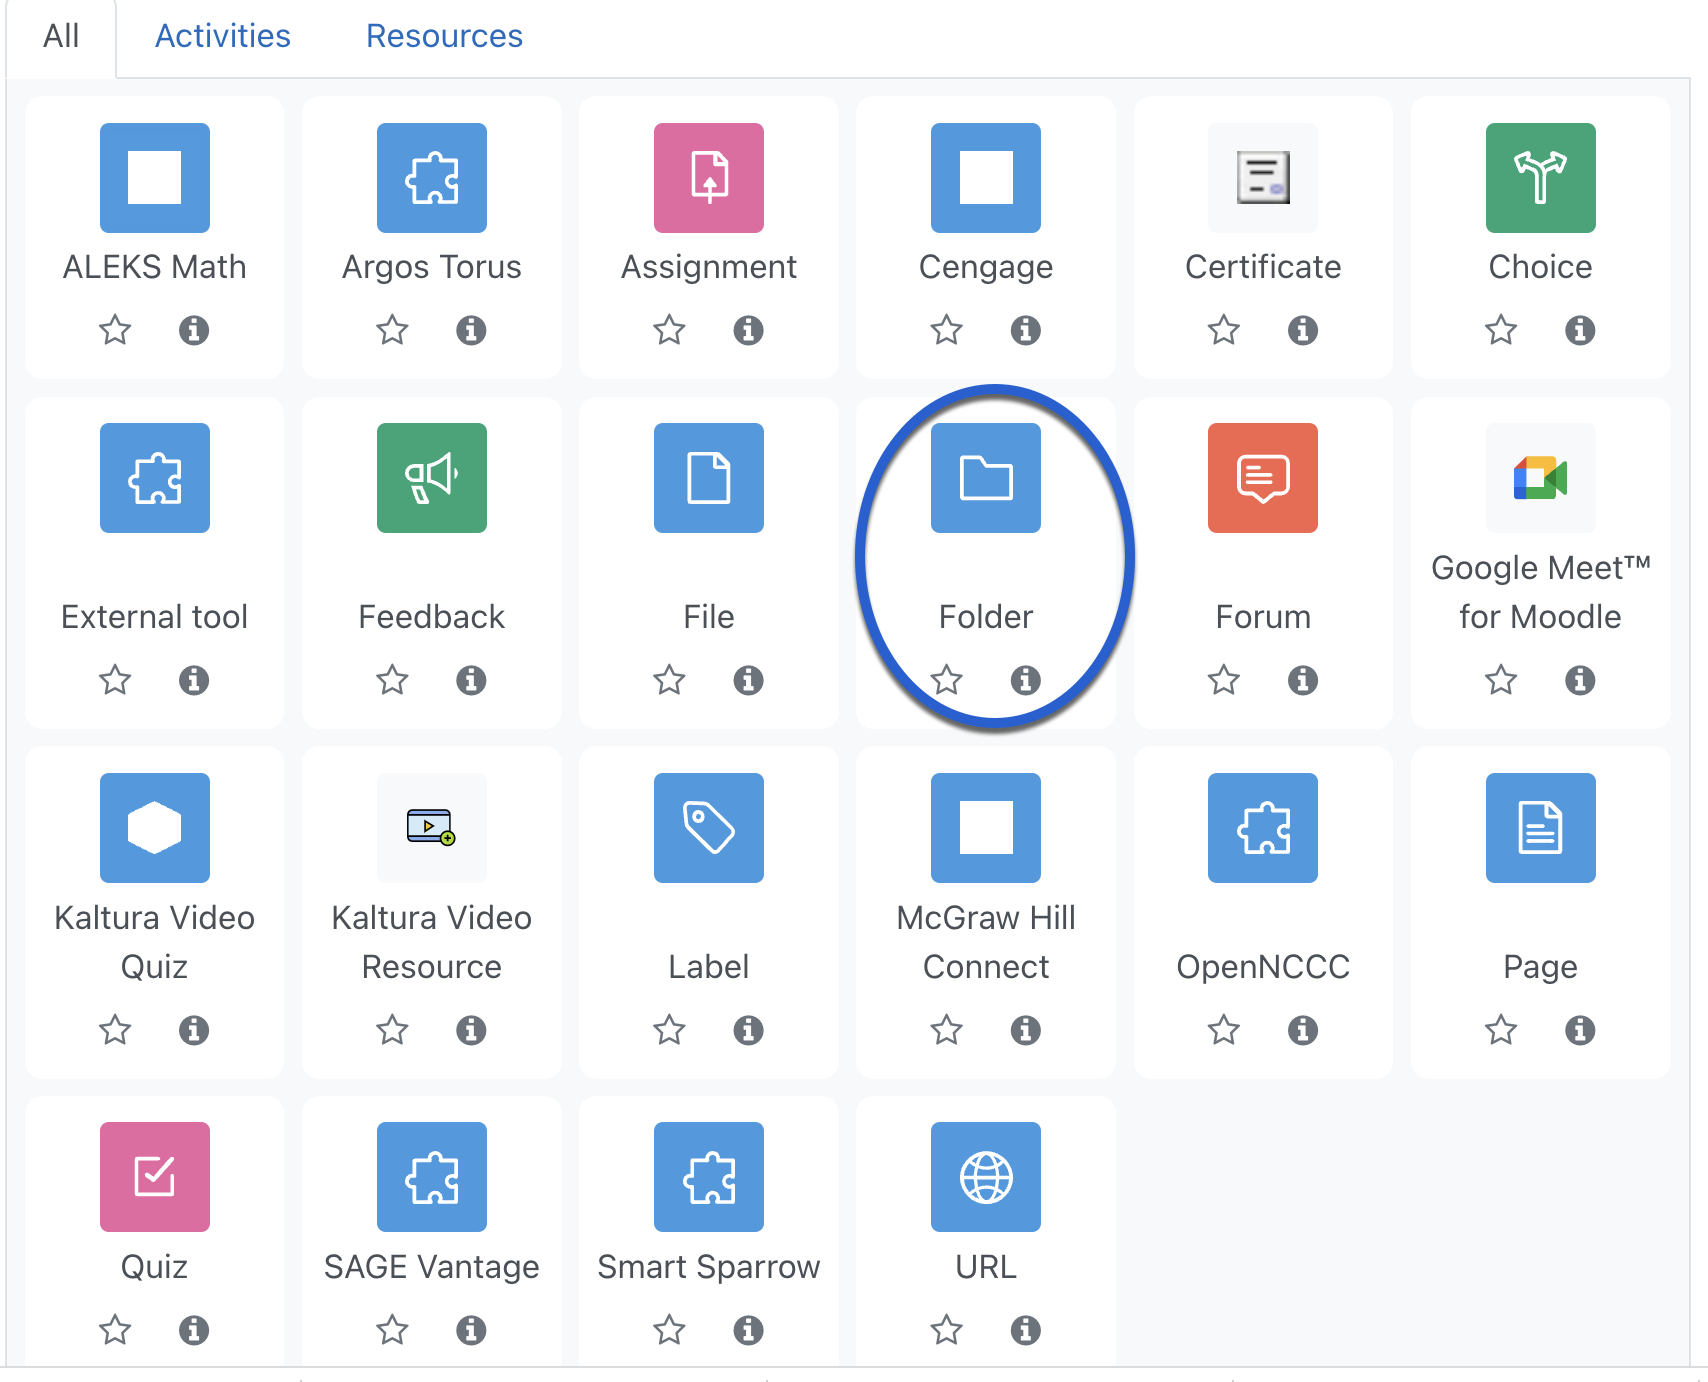
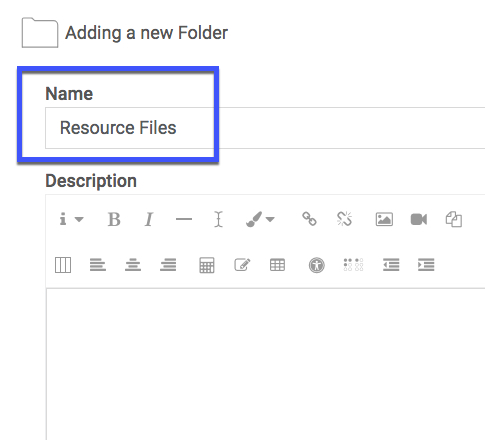
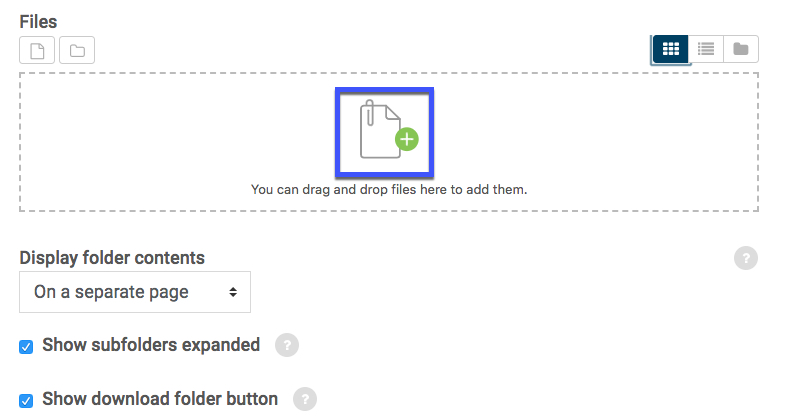
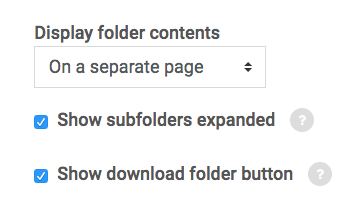
FolderFolder The Folder resource allows instructors to organize files. Activities (such as assignments and quizzes) and most resources (such as URLs, labels, and pages) cannot be added into folders.
| ||||||||||||||||||

Forum - Adding a Comments Field to a Forum for Feedback (Using a Grading Guide)
A video tutorial can be found here - Moodle 4.0 - Adding a Comments Field to a Forum for Feedback
| |||||||||||||||


Forum - Q&A ForumQ & A Forums are "question and answer" forums. Instructors begin the process by adding a discussion post including their questions. Students then must post at least one reply before they can see and reply to others. This encourages individual responses to questions. A video tutorial can be found here: Q&A Forums *Note: There is a bit of lag time (approximately 15 minutes) between when students post their first reply, and when they can see classmates' replies.
| |||||||||||||||||||||||||||


ForumsThe Forum activity allows students and teachers to exchange ideas by posting comments as part of a "thread." Files such as images and media may be included in forum posts. A video tutorial can be found here: Creating a New Forum
| ||||||||||||||||||||||||

Forums - Adding Comments to GradesThis tutorial will show you how to comment on forum posts while grading them.
| |||||||||||||||


Background Colour
Font Face
Font Kerning
Font Size
Image Visibility
Letter Spacing
Line Height
Link Highlight
Text Colour