Browse the glossary using this index

A | B | C | D | E | F | G | H | I | J | K | L | M | N | O | P | Q | R | S | T | U | V | W | X | Y | Z | ALL

Page:  1  2  3  4  5  6  (Next)
  ALL

A

Bethany Emory

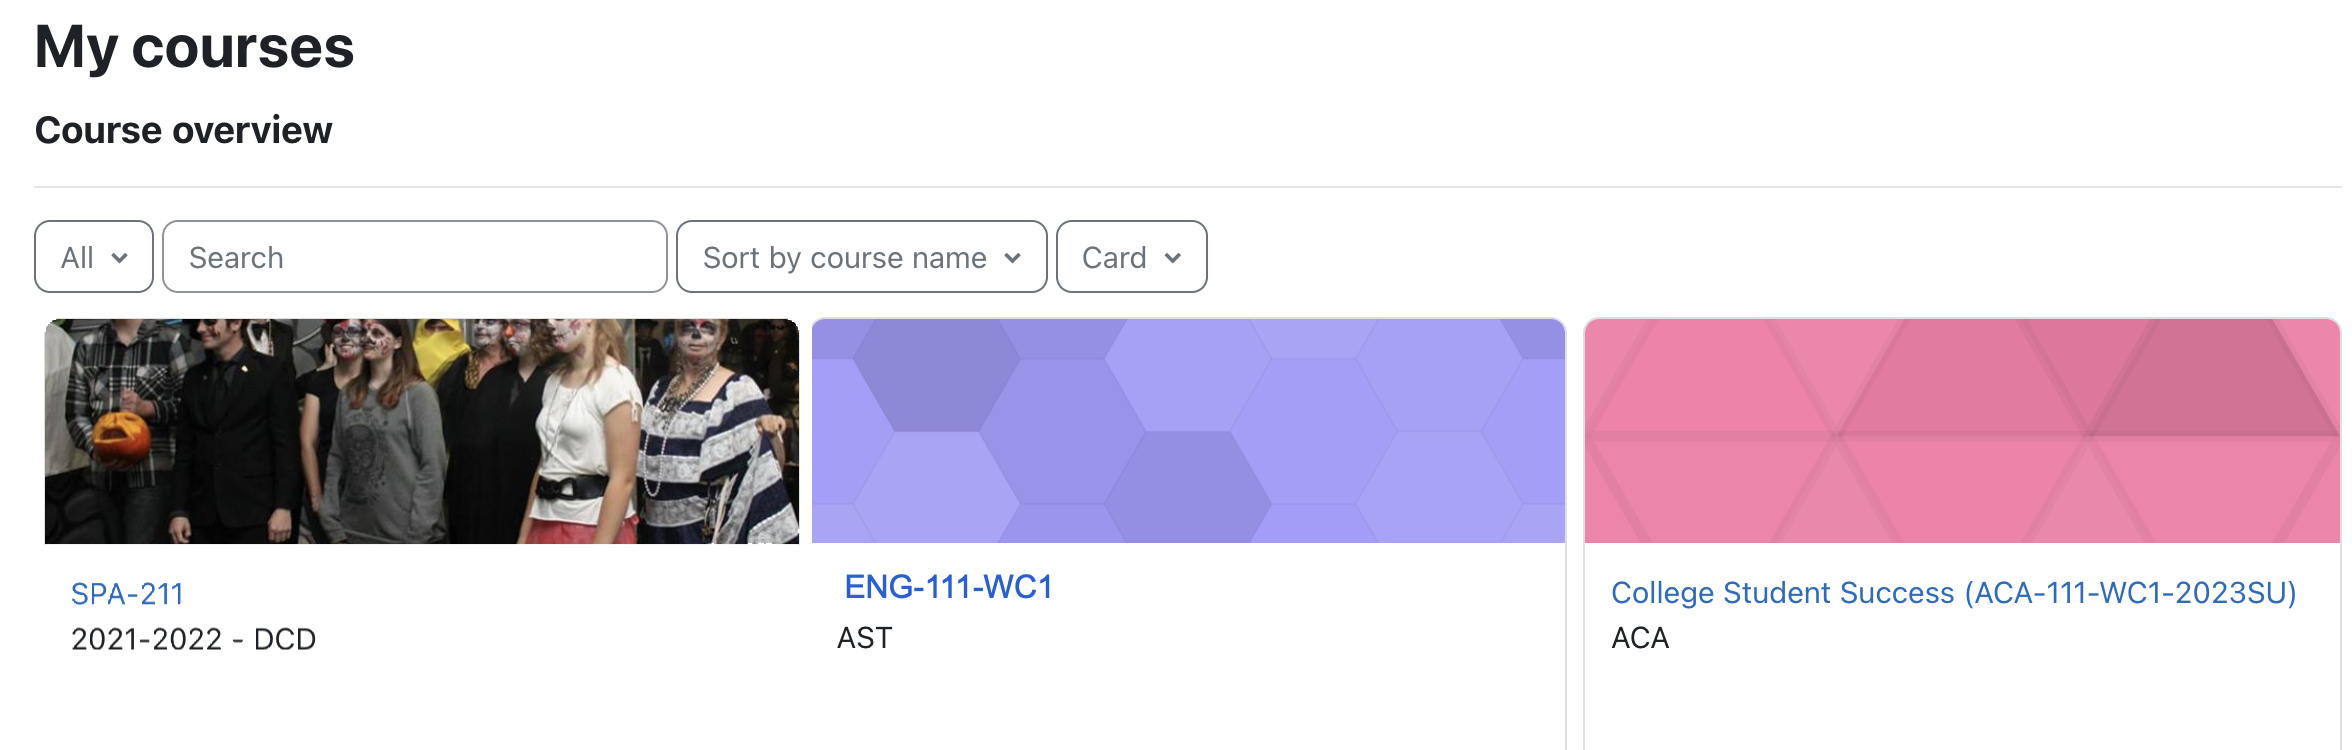
Accessing Your Courses

by Bethany Emory - Tuesday, July 8, 2025, 5:16 PM
 
Accessing Your Moodle Course

In this tutorial, you will learn the basics of getting around your Moodle courses.

Click here for a video of this tutorial.

Tutorial Steps:
Step 1

Click My Courses at the top of the e-Campus site.

  image of My Courses link
Step 2 Click on the course you want to enter.     Image of MyCourses area for students
Step 3 Once in your course, you will see a course index menu on the left. This displays all of the sections (also called "topics" or "modules" or sections) in the course. Click on the name of each section to view it. image of course menu 
 
Step 4 At the top of every page in Moodle, you will see the Get Help Menu, where you can find links to resources to assist you.  image of resources
Step 5
To access another course, click on My Courses at the top of the screen again. image of My Courses link 


Questions? Please submit a Help Ticket to SCC E-Learning (under "Select Type of Help," choose "Moodle Assistance")


Bethany Emory

Activity Completion

by Bethany Emory - Wednesday, July 9, 2025, 8:27 AM
 

Some courses use "activity completion" which shows you clearly what resources you must review and what activities you must do to "complete" a module/topic in a course. If your course is using Activity Completion, you'll also see a percentage complete on the course card on your My Courses page. 

 For an example of Activity Completion in action, you can look at the Moodle Orientation for Students course. (You may need to click the button to self-enroll.)

Step 1
Navigate to the course with Activity Completion. You will know Activity Completion is turned on if you see a small circle next to a resource or activity in the course index, as seen in the image to the right. If the circle is empty, the activity hasn't been completed. Once it's complete, the circle will turn solid. Image of a few sample activities
Step 2
Look for any resources or activities that have the circle by them in the course index. This indicates that the activity must be completed.  Discussion Forums with a sample activity highlighted in blue

 Step 3
When you open an activity with activity completion enabled, you will see actions labelled "To do" with information about what you must for the item to be marked complete, and they will be checked off as "Done" once the criteria have been met.  Image of a sample activity - This Week's Discussion


Questions? Please email e-learning@southwesterncc.edu.


Matt Litchford

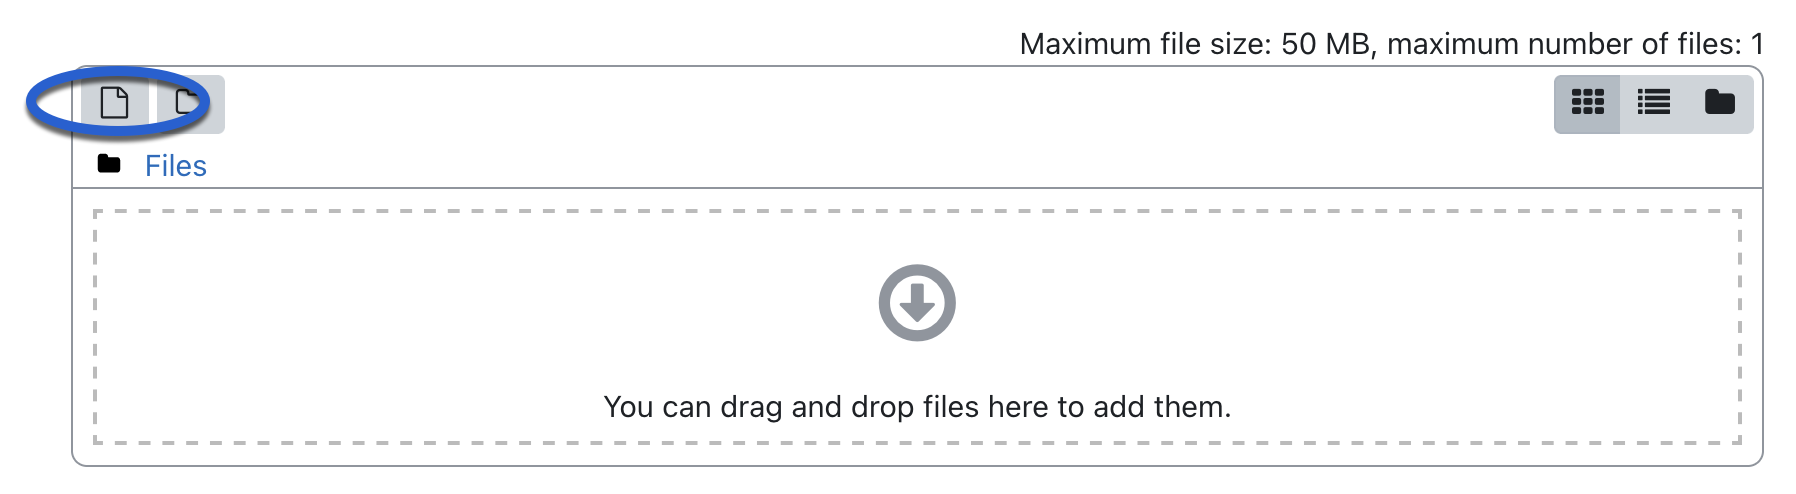
Assignment - Adding a Video File From Your Device to an Assignment

by Matt Litchford - Wednesday, July 9, 2025, 8:31 AM
 

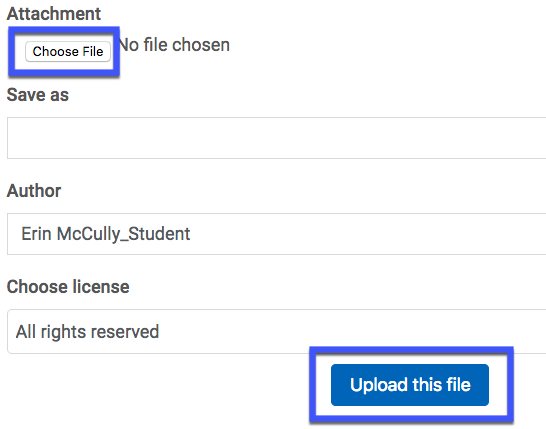
This tutorial shows you how to add a video to an assignment submission. Please note: To do this, your instructor must set the submission settings on the assignment to allow for a video submission. Below you'll find links to the other video upload tutorials.

Step 1

Navigate to the assignment in the course and click on the name of the assignment

Sample Assignment in Moodle

Step 2

On the resulting screen, click Add Submission.

Add submission button


Step 3

On the resulting screen, under Online text, click on the Yuja Video icon in the text editor bar.

Yuja TinyMCE button


Step 4

From here, you have multiple options. You can either choose Upload Media (to upload a video from your phone or computer).


You can also upload a video that you have previously added to Yuja in the Choose Media section, or create a new recording.

Media Chooser window


Step 5

After clicking the Media Upload option, either drag and drop a file or click Choose a file to upload and upload the video file from your computer. 

Upload media window

Step 6

The newly uploaded video will be the first option in Media Chooser. Once highlighted, select Insert Content in the bottom right of the window.

Media chooser with new upload highlighted

Step 7

The video will be embedded in the text area and you can now submit the assignment.

TinyMCE text window with embedded video.


Questions? Please submit a Help Ticket to SCC E-Learning (under "Select Type of Help," choose "Moodle Assistance")


Matt Litchford

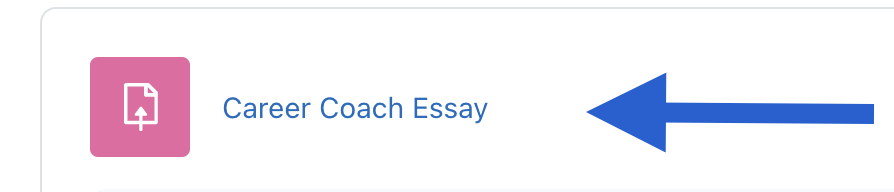
Assignment - Submitting an Assignment

by Matt Litchford - Tuesday, July 8, 2025, 5:19 PM
 

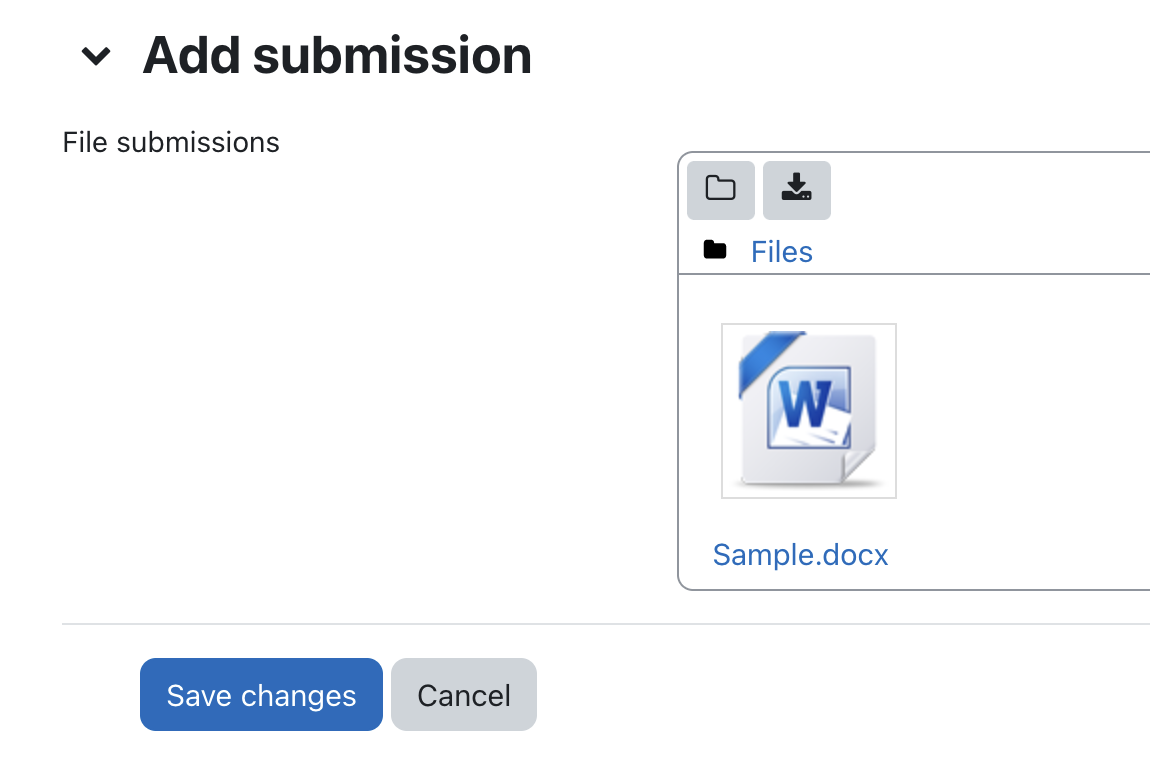
Submitting an Assignment

This tutorial shows you how to submit an assignment in Moodle.

Step 1

Navigate to the assignment in your course and click on it to access.


image of a sample assignment with a blue arrow

Step 2 On the resulting screen, click Add submission.

Note: some assignments may allow you to type directly into a text box for your submission.

image of the Add Submission button

Step 3 On the resulting screen, either drag and drop a file from your computer into the File submissions box or click on the file icon to browse your computer to upload a file.

image example of the File icon highlighted in blue

Step 4 If you choose to browse and upload a file, click the Choose File button to browse your computer to find the assignment file, then click the Upload this file button.

image showing Choose File and Upload this file highlighted in blue

 Step 5 Click Save changes.

image showing the Add submission screen and the Save Changes button

Step 6 On the resulting screen, icons will show you the status of your submission.

* If you only see the Edit submission button on this screen, you have submitted your assignment and you do not need any further steps in this tutorial.

* If, however, you see a blue Submit assignment button, click it and continue to Step 7 below.


image of the Confirm Submission screen and Continue highlighted in blue

Step 7 On the resulting screen, confirm your submission by clicking the Continue button.

Your upload is now saved and submitted.

Assign%20-%20Confirm%20Submission%20%281%29.png


Questions? Please submit a Help Ticket to SCC E-Learning (under "Select Type of Help," choose "Moodle Assistance")


C

Erin McCully

Changing the Read&Write Toolbar Settings

by Erin McCully - Thursday, August 21, 2025, 12:02 PM
 
Changing the Read&Write Toolbar Settings

In this tutorial, you will learn how to change the read-aloud settings of the Read&Write Tool.

Tutorial Steps
Step 1

Open a document in Google Docs or navigate to a website, and make sure that the Read&Write toolbar is visible by clicking the purple Read&Write puzzle piece in the Chrome extensions area Purple puzzle piece with white "rw" text to open the Read&Write toolbar.

Chrome window with Google Docs open and the Read&Write toolbar showing.
Step 2

You may also see a Read&Write tab - click the tab to expand the toolbar.

Top right of a Chrome window with the Read&Write tab showing
Step 3

The toolbar has three different modes: horizontal, vertical, and writing. 

Click More Three dark gray dots, arranged horizontally like an ellipsis, on the far right of the toolbar, and then click Settings to open Read&Write’s Settings window.

On the left of the window, click General.

The General page contains settings that control how the Read&Write toolbar appears. Choose the style you prefer. 

Settings - General showing the 3 toolbar views and theme options. 
Step 4

You can change the voice and reading speed as well. 

Click More Three dark gray dots, arranged horizontally like an ellipsis, on the far right of the toolbar, and then click Settings to open Read&Write’s Settings window.

On the left of the window, click Speech, which contains settings that control how Read&Write speaks.

Select a different voice from the Voice dropdown list.

The list contains all the voices available to you.

 Settings - Speech - showing options to change the voice, speed, reading and Speak as I type.
Step 5

Use the Speed slider to change reading speed.

When you are done making your selections, you can exit out of the window and your changes will be saved.

speed selection outlined in blue 


Questions? Please submit a Help Ticket to SCC E-Learning (under "Select Type of Help," choose "Moodle Assistance")


F

Matt Litchford

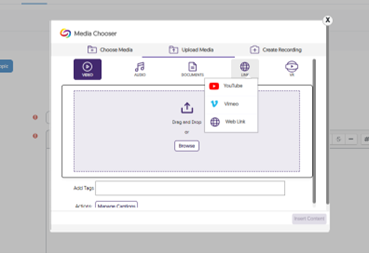
Forums - Adding a Video to a Discussion Forum Post

by Matt Litchford - Tuesday, July 8, 2025, 5:18 PM
 

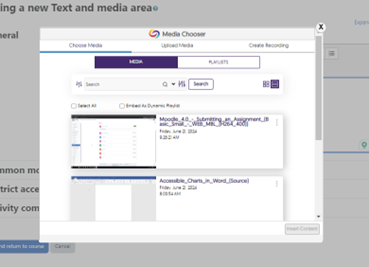
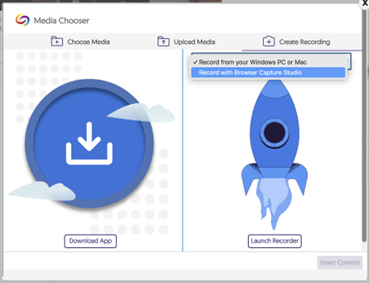
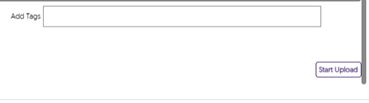
This tutorial shows you how to create a discussion forum post including a video.

Click the Video Icon to either upload a video you have recorded or record a video using your computer's webcam and microphone. (If you do not have one of these devices they can be borrowed from the Holt Library). 

Adding a Video to a Discussion Forum Post
Step 1

Navigate to the forum in the course and click on the name of the assignment. On the resulting screen, click Add discussion topic.

Add discussion topic button

Step 2 On the resulting screen, under Online text, click on the Yuja Video icon in the text editor bar. 

Yuja Icon

Step 3

From the Media Chooser, select the video you would like to post.

You may also select Create Recording to make a new video. 

Media Chooser

Step 4

Under Create Recording select Launch Recorder and Record with Browser Capture Studio.

Launch Recorder

Step 5

Give your video a title and select Launch Recorder.

A new browser window will open where you can make your recording. 

Once you're done the video will appear in your media chooser and you can add it to your forum post like normal. 

Title Text Box


A new browser window will open where you can make your recording.

Once you're done the video will appear in your media chooser and you can add it to your forum post like normal.

Video Browser Window


Questions? Please submit a Help Ticket to SCC E-Learning (under "Select Type of Help," choose "Moodle Assistance")


Matt Litchford

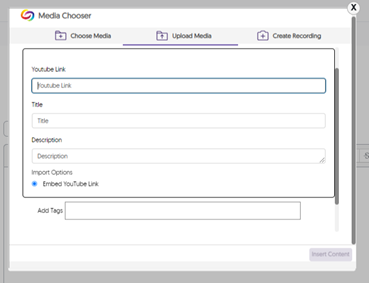
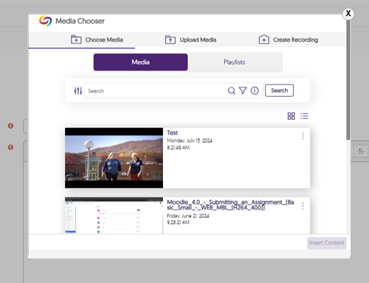
Forums - Adding a YouTube Video to a Forum discussion

by Matt Litchford - Tuesday, June 24, 2025, 10:06 AM
 

This tutorial shows you how to add a YouTube video to an assignment submission.

Please note: To do this, your instructor must set the submission settings on the assignment to allow for a video submission.

Adding a YouTube Video to a Forum discussion

Step 1

Navigate to the forum in the course and click on the name of the assignment. On the resulting screen, click Add Discussion topic.

 Add Discussion Button

Step 2

On the resulting screen, under Online text, click on the Yuja Video icon in the text editor bar.

 Yuja Icon


Step 3

The media chooser will pop up. If you haven’t already added the video to your Yuja library, select Upload Media.


Select the URL tab and then the YouTube tab.

 Media Chooser


Step 4

Copy and paste the YouTube URL address into the YouTube Link field.

 Upload Media Area


Step 5

After inputting the link a warning will appear asking to confirm that using an outside video will limit some Yuja features. Select Yes to use the video.

 Embed Confirmation

Step 6

Once you title the video, you can add a description and tags if you would like.


When done entering information select Start Upload.

 Tags Text Box

Step 7

The media chooser will pop up again, showing your recent upload as the first video in the list. Select the video and click Insert Content to finish the embed.

 Media Chooser

Step 8

The video will appear embedded in the text box of the forum.


When you have adjusted any other settings required, select Save Changes and then Submit.  

 Embeded YouTube video


Questions? Please submit a Help Ticket to SCC E-Learning (under "Select Type of Help," choose "Moodle Assistance")


Matt Litchford

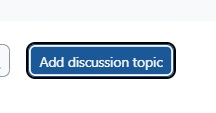
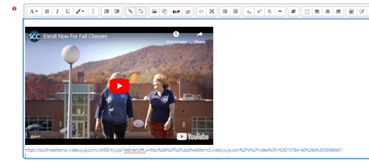
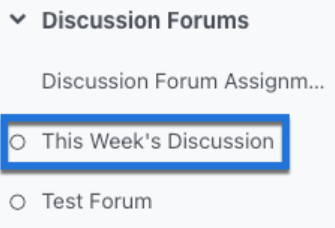
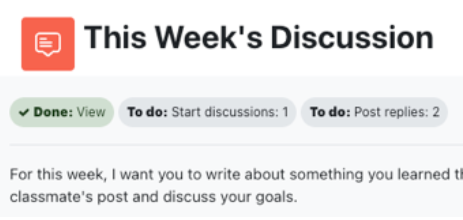
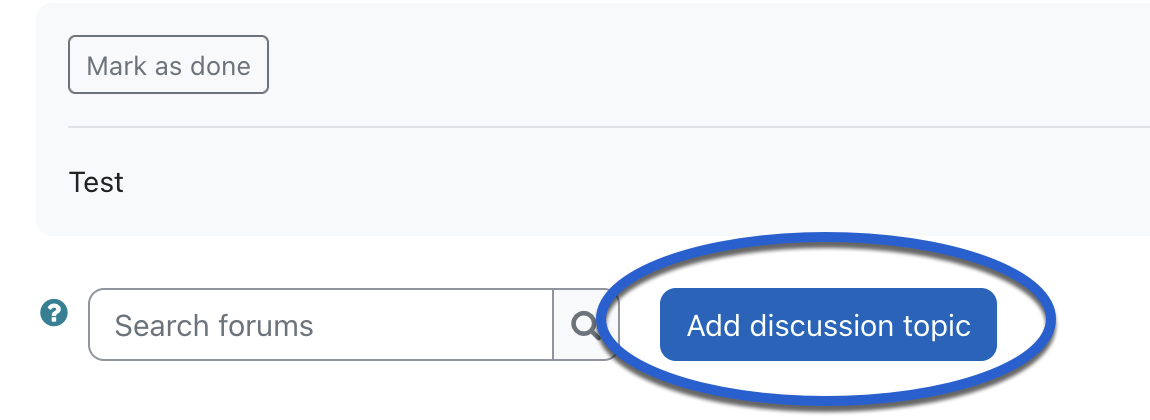
Forums - Creating a Discussion Forum Post

by Matt Litchford - Tuesday, June 24, 2025, 11:32 AM
 

This tutorial shows you how to create a discussion forum post, including how to add images and attachments.

Please also note that there is a 15-minute delay between when you submit your post before it displays on the forum page. You can edit your post during this delay if needed.

Creating a Discussion Forum Post
Step 1

Click on the name of the Forum.

Moodle Page, Sample Forum Highlighted

Step 2 Next, click Add a new discussion topic.

Add Discussion topic button

Step 3 To create a post, type a subject and write your post in the Message area.


Message Area

Step 4

For more editing options or to attach a file, add an image or video, click Advanced


Advanced button in blue circle

Step 5 Click Post to forum when you are ready to submit your post.

Post to Forum


Questions? Email e-learning@southwesterncc.edu or call (828) 339-4400.


Bethany Emory

Forums - Email Notification Preferences
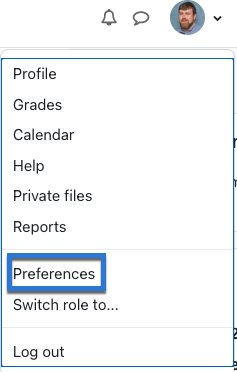
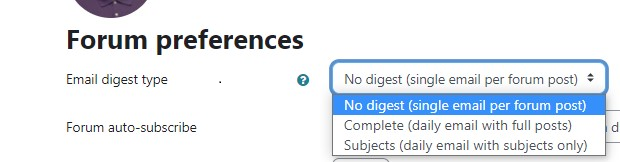
by Bethany Emory - Monday, June 23, 2025, 3:23 PM
 
Forum Email Notification Preferences

This tutorial shows you how to update your email notification preferences for forums you're subscribed to in a course. 

This tutorial shows you how to change from the default setting of receiving an email each time someone posts to a forum to which you are subscribed to a new setting of receiving an email digest (one email per day) of the posts. (If you are receiving digests and wish to receive individual posts, simply follow this tutorial but in Step 3, change your setting to "Default (No digest)".)

Step 1

In the upper right-hand corner of the screen, click on your photo (or your initials if you haven't uploaded a profile photo). 

User profile button
Step 2 Click on Preferences. Preference link in user menu
Step 3 In the leftmost column, click on Forum preferences

Choose Complete posts to get a single daily email that includes all the posts made to this discussion forum.

Choose Subjects only to get a single daily email that includes only the subject lines of any posts made to this discussion forum.

Once you make your choice, it will save automatically, and you can update other forums on this page as well.


Questions? Please submit a Help Ticket to SCC E-Learning (under "Select Type of Help," choose "Moodle Assistance")


Matt Litchford

Forums - Subscribing or Unsubscribing from a Forum

by Matt Litchford - Tuesday, June 24, 2025, 11:34 AM
 

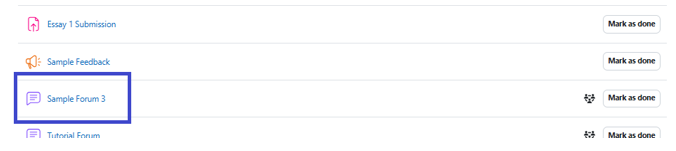
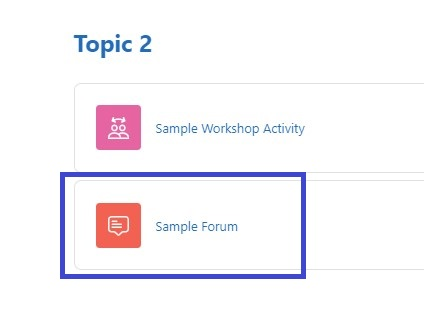
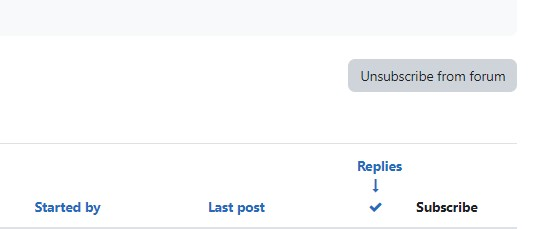
The forum activity allows students and teachers to exchange ideas by posting comments as part of a "thread." Faculty and students may receive emails when users post to the forum. If you wish to unsubscribe from these emails, please use this tutorial.

Please note: If you unsubscribe from a forum but then post to it again, you will automatically be resubscribed to the forum. To avoid being resubscribed, you can click on the Use advanced editor and additional options link, then choose I don't want to be notified of new posts in this forum in the drop-down menu under Subscription before posting.


Subscribing or Unsubscribing from a Forum
Step 1

Navigate to the forum from which you wish to unsubscribe and click on it to open.

Image of a sample forum  under a sample Topic

Step 2 Below the description for the forum click on Subscribe to this forum or Unsubscribe from this forum. You will no longer receive email updates from the forum.

Please note: if you do not see this option, it may be that your instructor has required subscriptions for the forum. Contact your instructor for more information.

  mage of the Unsubscribe from Forum button


Questions? Please submit a Help Ticket to SCC E-Learning (under "Select Type of Help," choose "Moodle Assistance")


Page:  1  2  3  4  5  6  (Next)
  ALL